The rugger is on the telly, Wales have just wacked Italy (never thought I'd be cheering for Italy!), so now it's Ireland v Scotland.
Time to write up the drivers step area..........
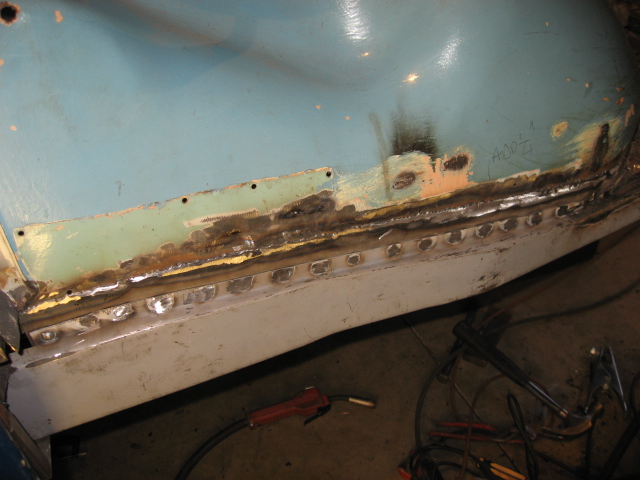
First, all the rubbish was chopped out. There is a smallish piece of outer cill to replace, and because of the coachbuilt sides, this has to be done from the inside, and that means doing it first. Easiest approach was to cut the cill above the flute line to make for an easier weld.
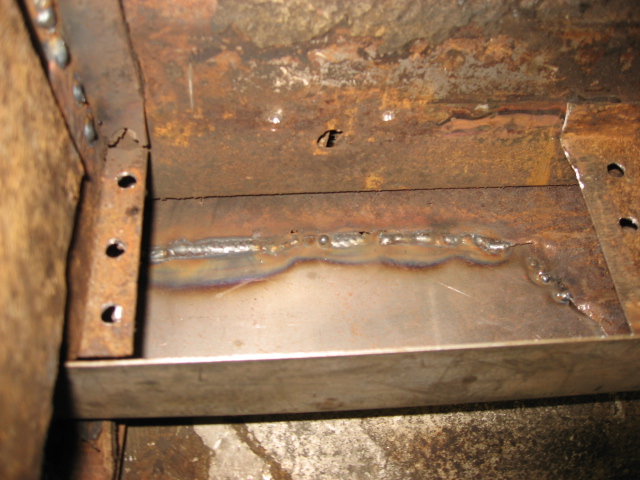
Here's the new piece welded in.
The metal's not very clean, but it's the best I can do without ripping off the coachbuilt outer skin. It will have to come off at some stage, but not now.
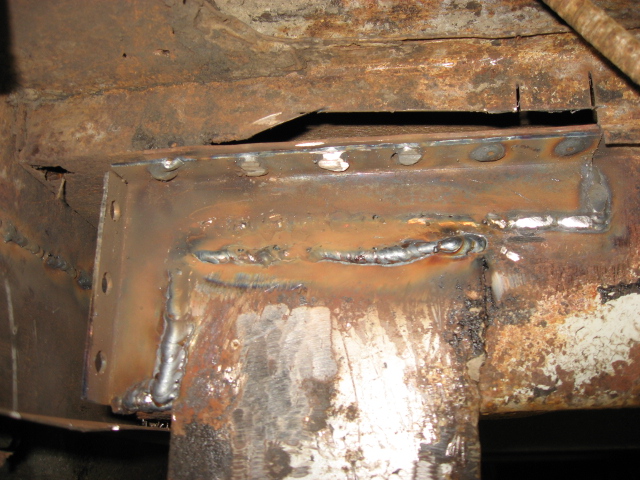
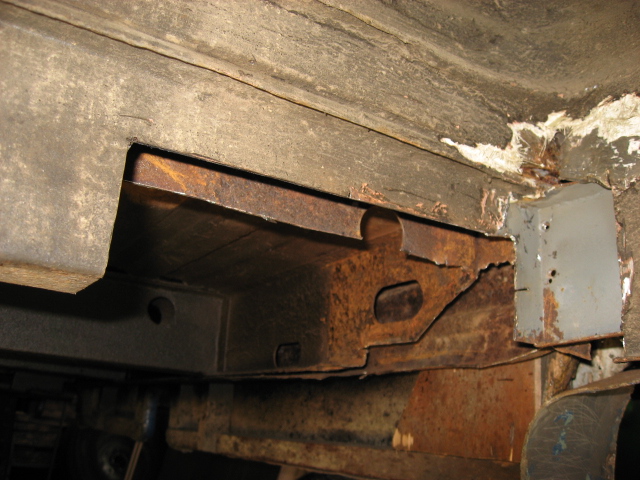
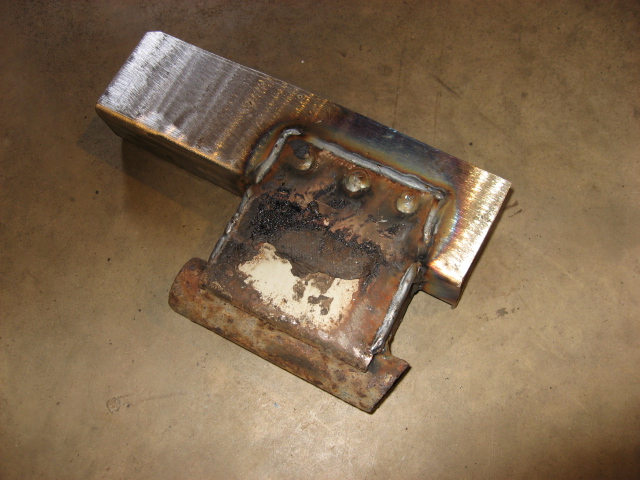
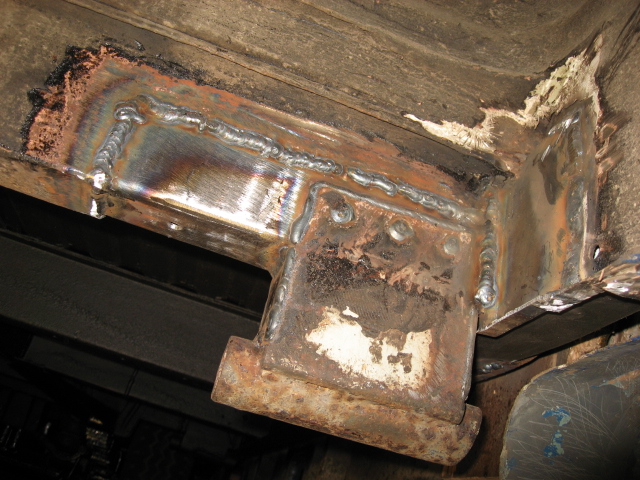
Once that was done, the front jacking point outrigger could be strengthened. The original JP wasn't bad, but the outrigger had a couple of small holes right at the top, and the top cover was flaky at the outer end. A new section of top cover was made up and plug welded to the other side of the outrigger, to avoid setting fire to the living area floor.
An L shaped piece was let into the side of the outrigger, and plug welded to the new top closer. Then I put a bead of weld along the top of the JP to keep water out.
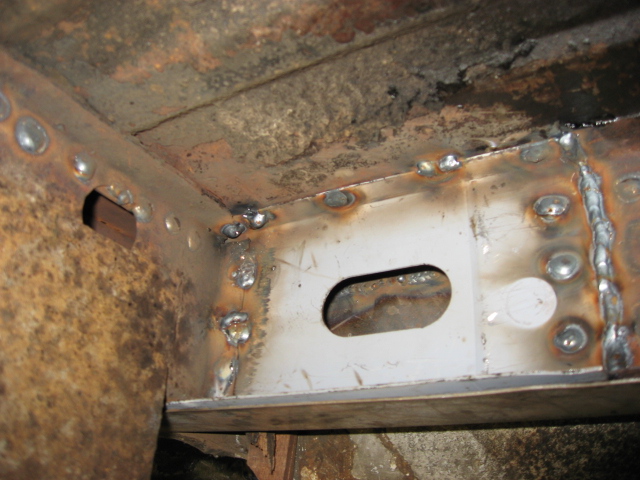
Then I could position the inner cill. Slight problem here getting it really close to everything it had to be really close to, but eventually it was ready for welding.
The plug welds top left are for the new top section of the outrigger. At this point my auto-darkening helmet started to play up, giving me arc-eyes, so a few of the plugs are a bit "guesswork". I had to cut the old inner cill quite short to get the front section out, so I plug welded a plate on the back of both, before butt welding the two sections of inner cill end to end. Then the driver's floor was plugged down to the inner cill, but I'll leave the rest of this area till the van is off the blocks, and I can open the door fully. I'm also leaving the bottom join of the outer cill, as I've got this to do all along both sides right to the back.
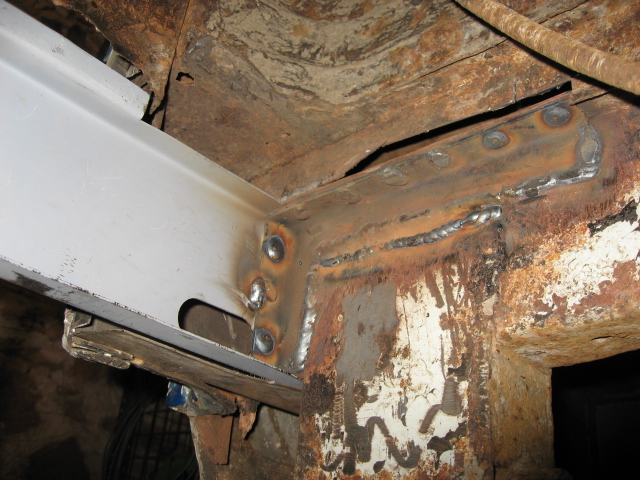
Here's the front of the outrigger all buttoned up, except for a bit of thin stuff to fill the holes and keep the mud out.
I've tested the JP to see what happens when it takes weight, and there's no noticeable deflection anywhere.
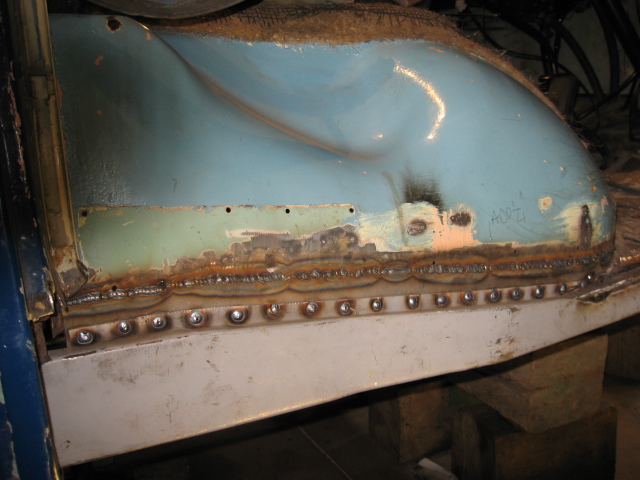
Backtracking a bit, I had previously prepared an inner skin to join the wheel arch and inner cill, so this could now be welded in.
It was plug welded to the back of the inner cill, and seamed to the wheel arch. Quite difficult to get all the layers really close before tacking, but well worth messing around with clamps to get it right. There's real strength going back in now.
A lick with the grinder, and looking a bit better.
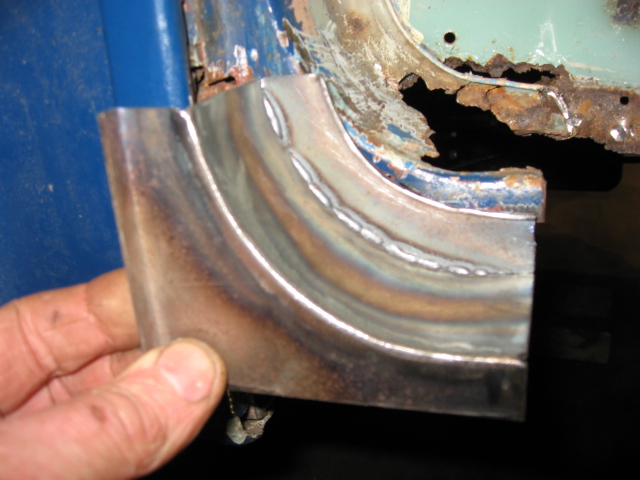
Next will be to fit the outer drivers step, but before I do that, I've made up a new curved section for the bottom of the B post. This will also cover up a new small piece taking the weight of the B post onto the inner cill.
This all feels like a bit of progress after a few days of headscratching and going backwards. This is probably the most difficult bit of rebuilding I've done to date, so I had to take it real slow. Learning all the time.
Commer PB Jennings