The New Project

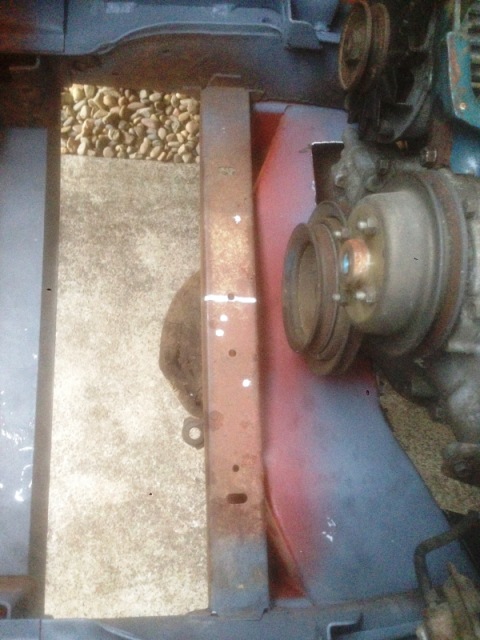
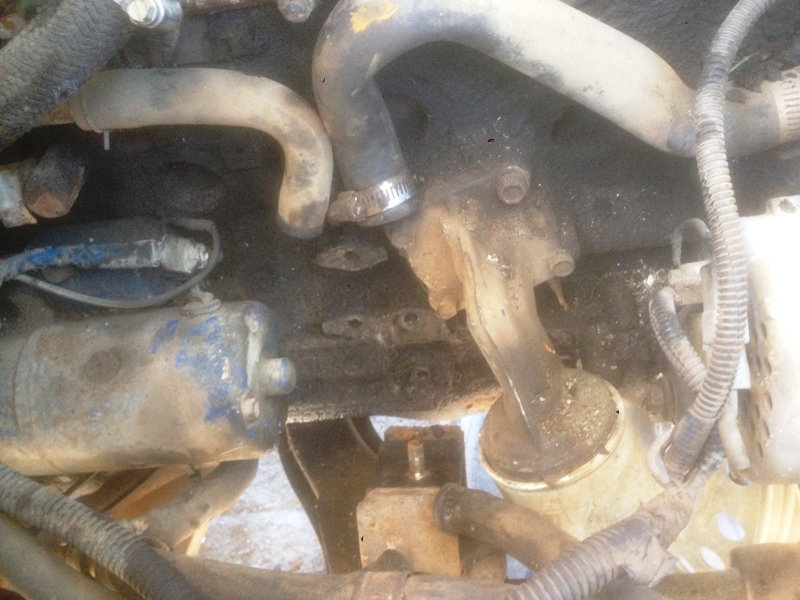
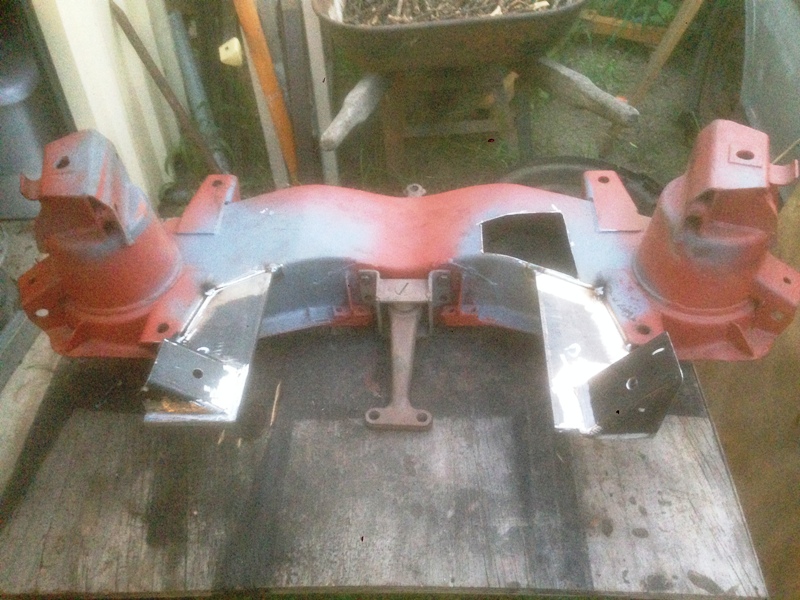
Can anyone tell me if this section across the front of the engine bay is important. I think its just there for supporting the radiator. It's just that I might need to remove it as it would give a little more room for the radiator when I get around to it.

2014122281031_005.JPG


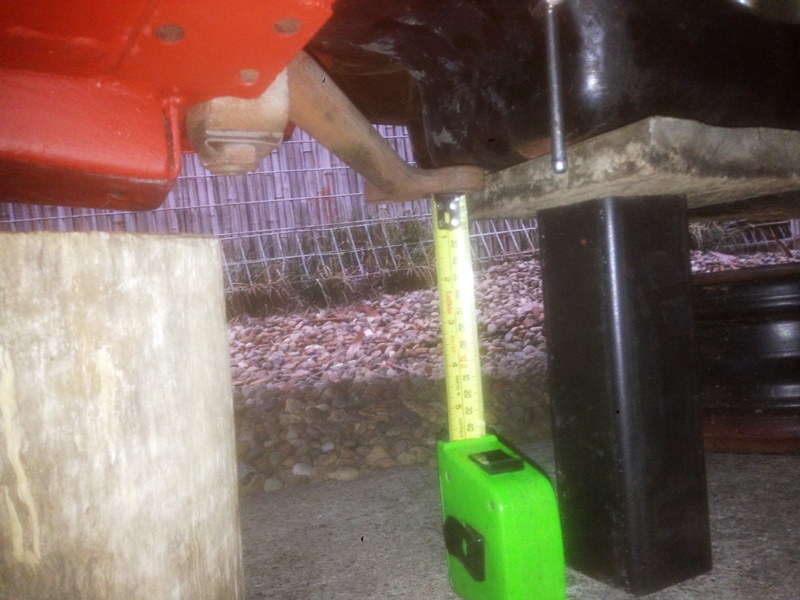
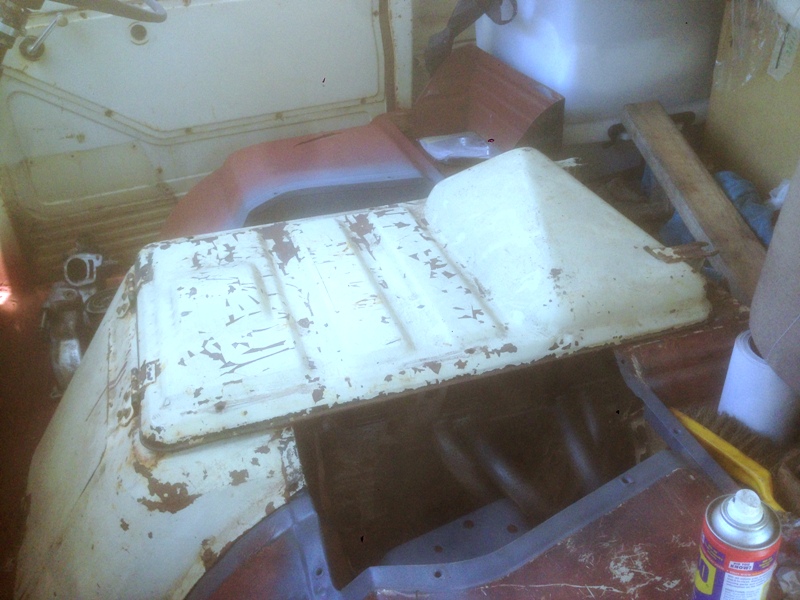
Also can someone give me a measurement from the steering arm face to the ground on a standard height van. if not the steering arm, the square section on the base of the engine cross member. Just want to check my heights and clearances

2014122281356_007.JPG


Cheers Stephen
 
Hi Stephen, I get the measurement from the bottom face of the steering arm to the floor to be 180mm. I don't think chopping the bracket out will cause any issues, I cant even see it on Bonnie.

41fa30c8-22ce-43e8-bd12-188475a80292.jpg
 
Hi All

Very quiet out there in Commer-land, so thought I'd give you an update. Still working on the mounts for the motor, looking at some other ideas before committing. The wreckers were open again and headed down to see if I could find a better mount of the drives side of the motor than the one my motor came with. I was about to give up hope when I came across an old 1983 Nissan Urvan. I usually ignore these as they were fitted the out-dated H Series Datsun motor, but thought worth a look at the motor mount just in case. Well I learnt something today, it appears the last production runs of the old E20 Urvans used the 2 litre Z series motor.

It was quiet a find really, most importantly it still had the carbie and inlet manifold fitted, being the swan-neck type I have mentioned earlier and have been trying to find. Out came the spanners and off it came. Removed the carbie as I will eventually run a DGV Weber like I have on the L300 Express.

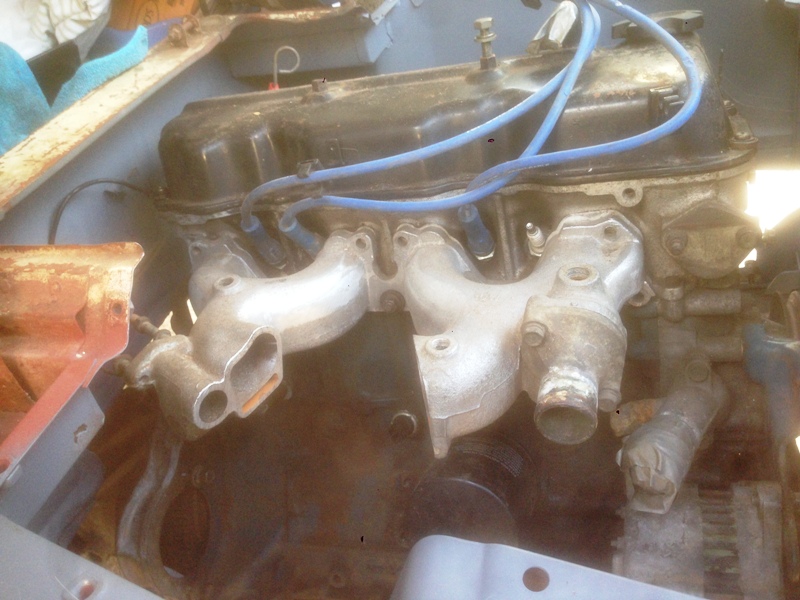
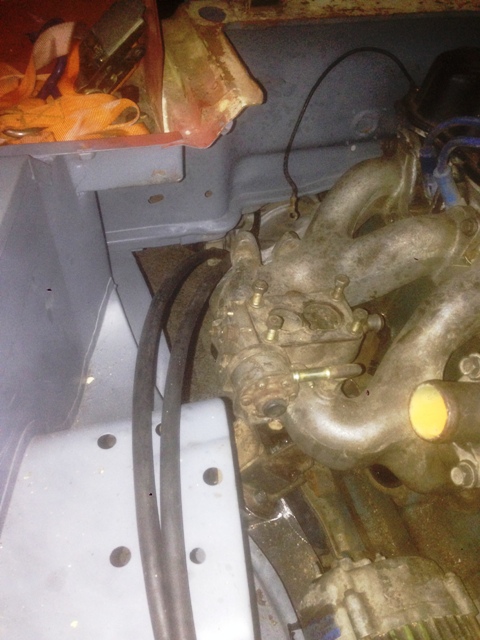
Cleaned it up when I got home and tried it on the motor for size. This first picture is the standard Navara Manifold that I started cutting as the height of the carb would have cased problems. The manifold comes straight off the head and you can imagine where the mounting flange for the carb used to be.

20141228111837_018.JPG


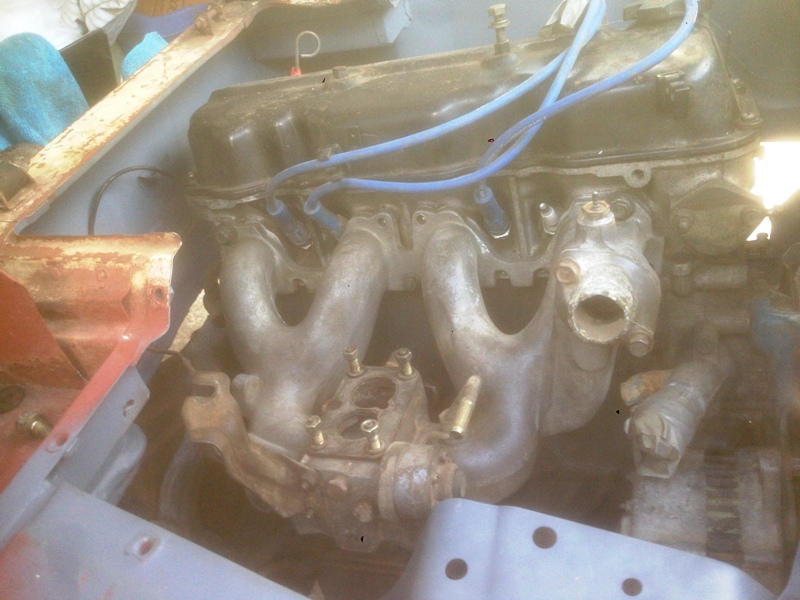
Now the Urvan version is for a van and drops down from the head and the carb mounting flange is 3-4 inches lower as you can clearly see in the next picture

20141228111928_019.JPG


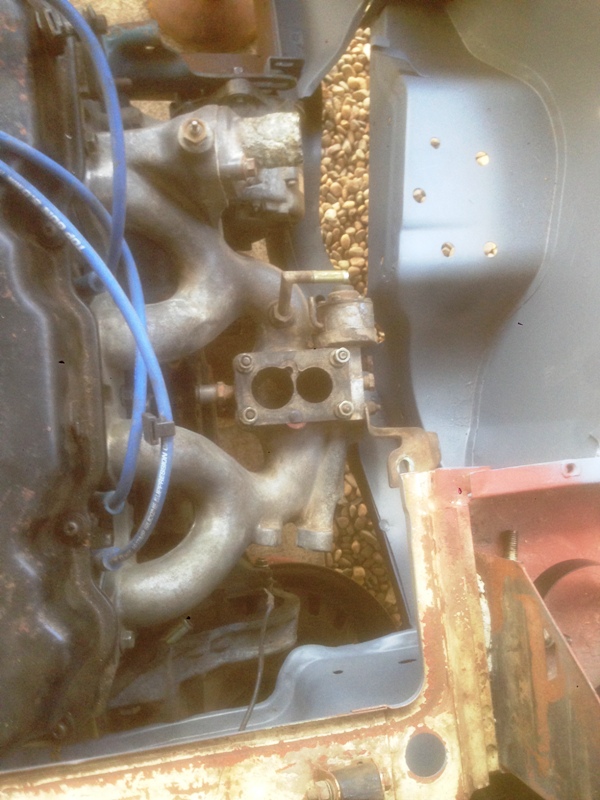
I was concerned the manifold might foul on the side of the engine bay before fitting, but clears with room to spare.

20141228112856_021.JPG


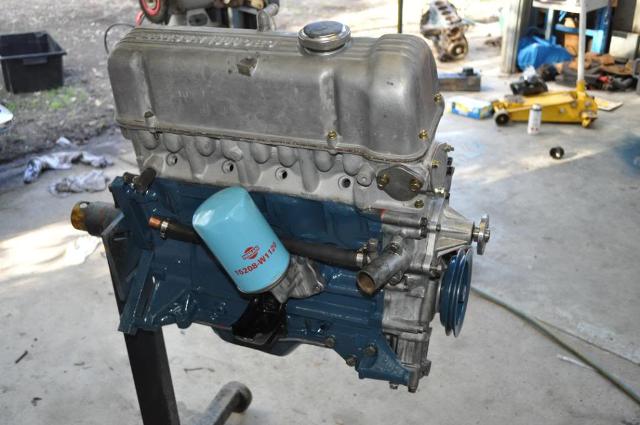
Unfortunately the manifold does foul on the oil filter located under the manifold, you can see it in the first picture. Nissan in their wisdom set up oil filters on these motors as direct spin-on like mine or spin-on to filter to a 90 degree mount for this manifold. First pictures shows my current set up where the filter spins on to seal straight to the engine block

2014122811443_Z24 Oil filter standard.jpg


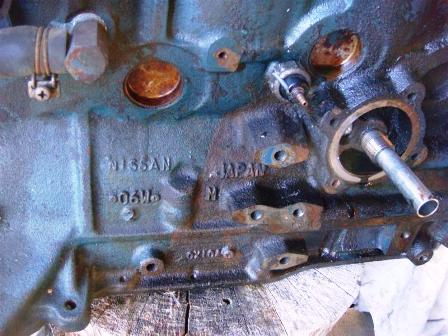
Couldn't find a picture of the set up on the Urvan, however Nissan have been building the engine blocks so they can go either way. The last of the L series and Z series blocks are basically the same and managed to find a Picture of an L series version.

2014122812638_L20b Oil Filter option.jpg


On this motor the filter goes up, but on the Z series in the Urvan it is rotated 180 degrees and points down and forward slightly. If all else fails I could go to a remote mounted filter, but will try the factory option first. Things are a little cramped in that area and suspect the angle adaptor will be fine but think there might not be enough room for the large Z9 oil filter. Only one way to find out, back to the wreckers tomorrow to grab the oil filter mount and see how I go.

Cheers Stephen
 
Hi All

Checked out the oil filter off the Urvan and it won't work as not enough room and will foul on the front chassis rail, plus the new engine mount will be below and access to replace if it had fit would have been impossible, Picture below is of the Urvan motor at the wreckers.

2015120552_002.JPG


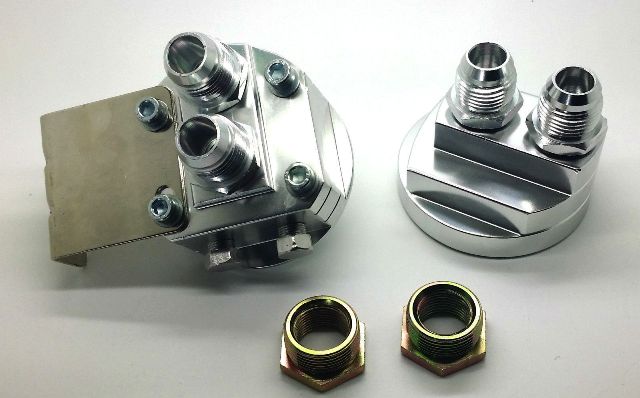
So will be going for a remote filter arrangement. Had a search on Ebay Oz and found this set up, no hoses, but quiet reasonable price at AUS$50

201511235511_Remote Oil Filter 1.jpg


Have changed the arrangement for the engine mounts off the cross-member and should have them completed in the next day or two. It hasn't been the best weather for welding, 30+ degrees and sun that you can feel burning as soon as you're out there, so only been working late afternoon when I get some shade and the temperature drops, sometimes.

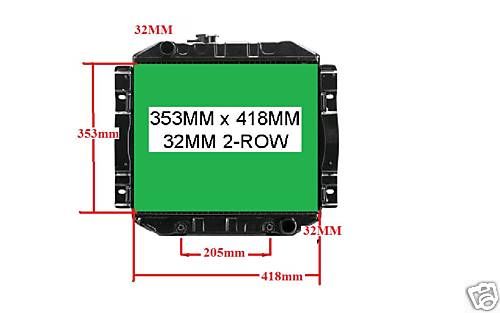
Have been looking at radiator options, as mine didn't have one when I bought it. Difficult findings something that will fit between the chassis rails quiet a few just a little too wide. Have checked the Escort/Capri radiator and looks promising.

2015120295_Escort radiator.jpg


Though the top hose is on wrong side, can work around that, the bottom hose should be fine. There are some aluminium 3 core versions available which, combined with the oil cooler should keep the temperature under control

Cheers Stephen
 
That manifold looks awsome. Like it was made to fit the commer bay. Having the manifolds on opposite sides is also a godsend. I love it when folk get creative with engine adaptions. I wouldnt know where to start. Keep up the good work and pics.

I just need a good rootes...
 
Thanks, the cross flow certainly does make things a little easier. The L series motor that Miss Piggy is using isn't cross flow and would still be a good fit as the auxiliaries like oil filter and alternator are on the opposite side of the engine. It's an advantage that Japan is right hand drive and they tend to leave plenty of space around the drivers side firewall for brake booster/master cylinder and clutch arrangements. If you have a look at some of the modified Datsuns in the USA, everything is on the same side and very crowded, which is part reason they went to the cross flow Z Series motor like mine to balance up the space issues.

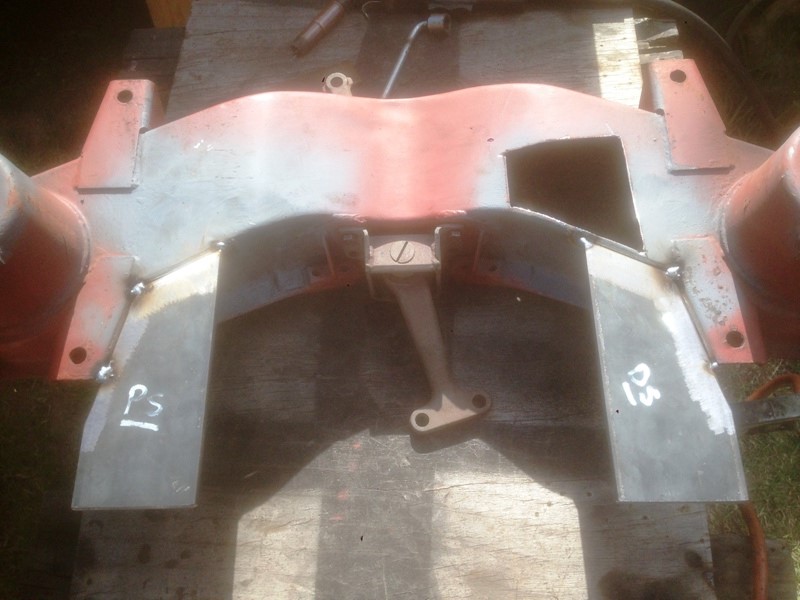
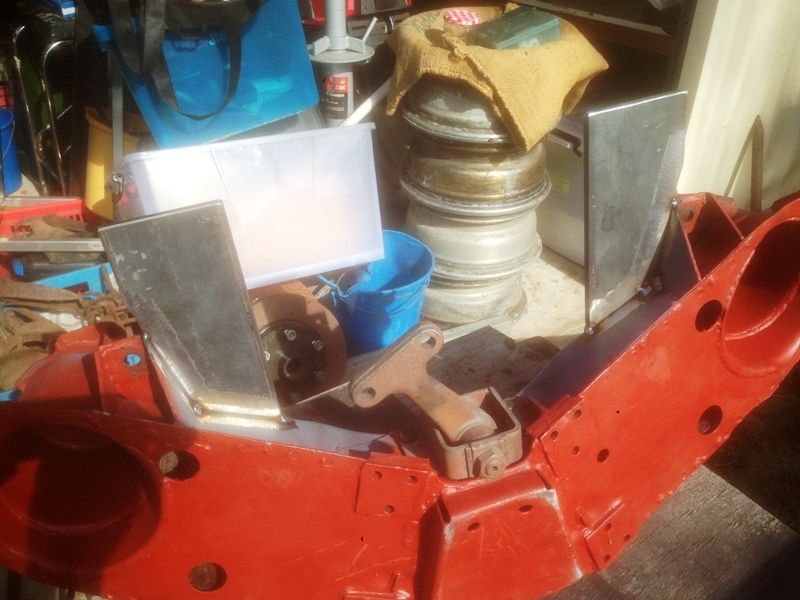
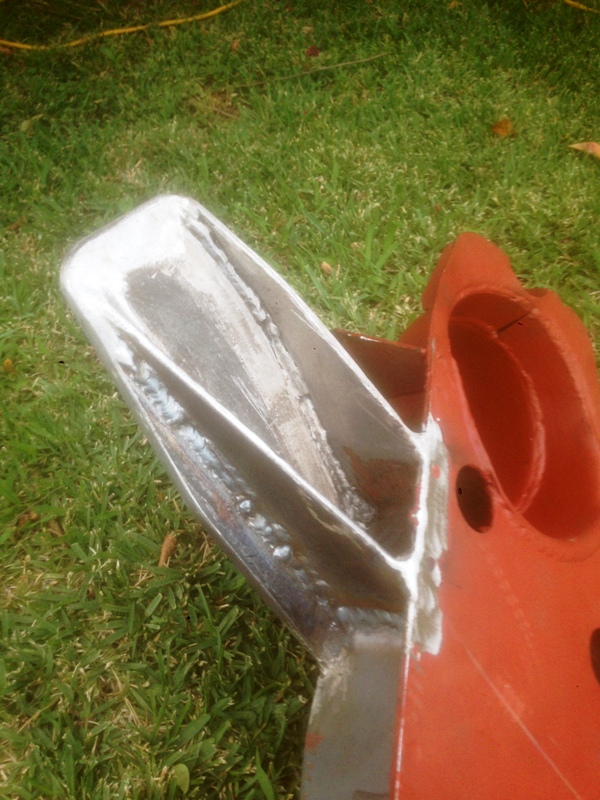
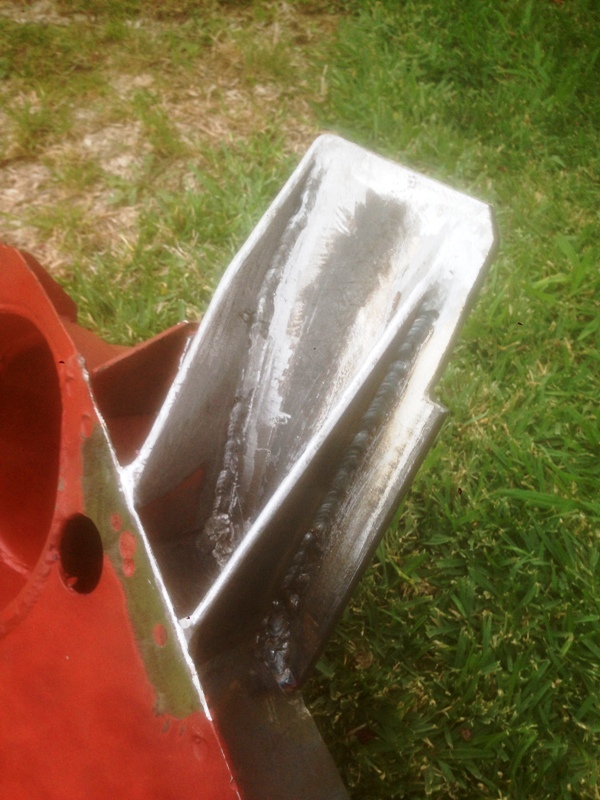
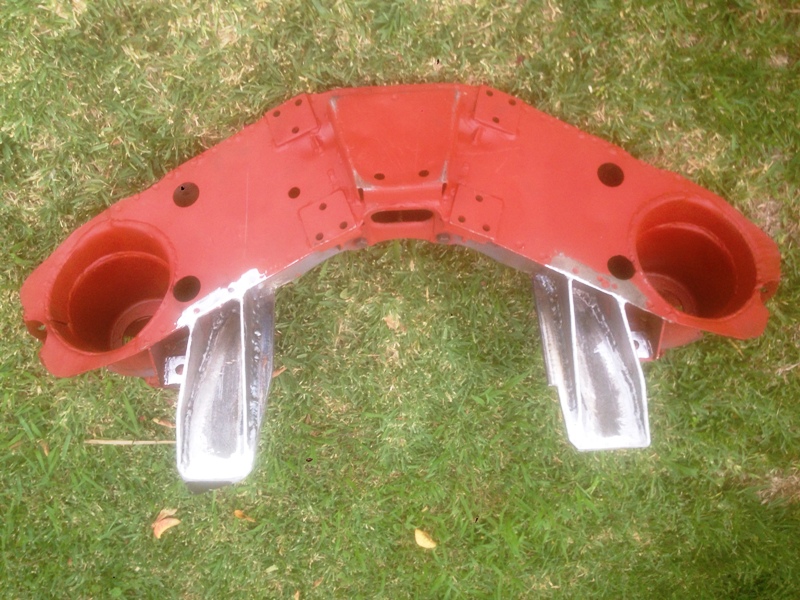
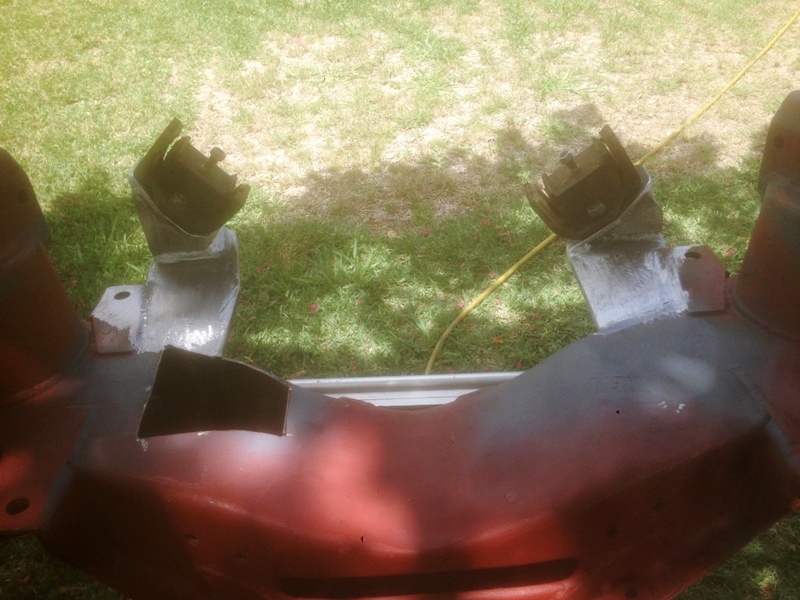
Another busy day cutting, grinding and welding the mounts to the cross member, scrapped the original idea and firstly added some 10mm plate as a platform for the engine mount to be located.

201512124116_005.JPG


20151212421_006.JPG


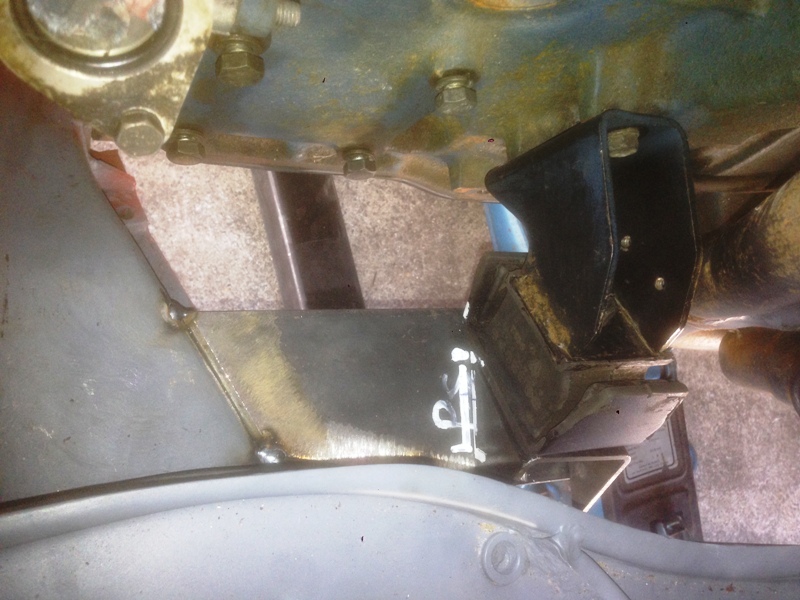
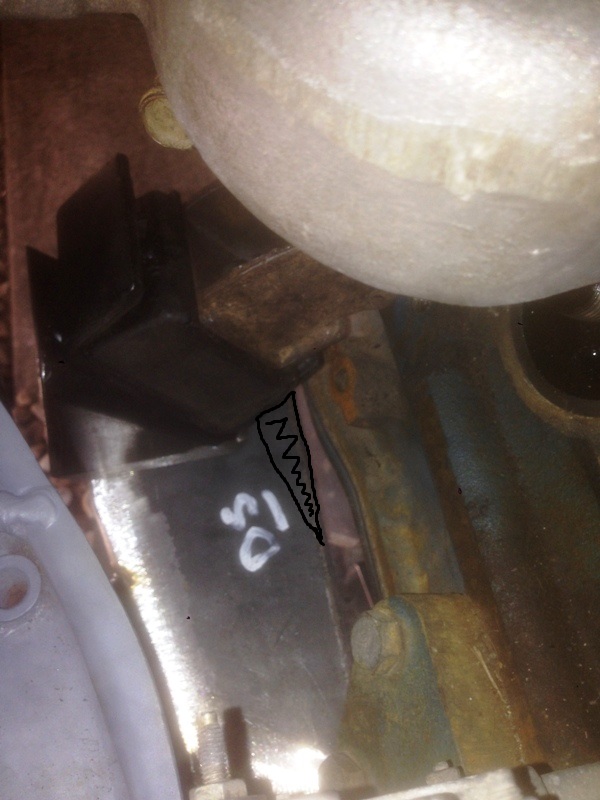
Probably could have used 8mm but have been raiding the off-cuts at the local steel merchant as cheaper price. Spent some time getting the mount seats angles right and located properly, use 65 x 65 box section 4 mm thick. The two sides have different face angles and positions, currently these are just tack welded in place and will only weld up once I've put it all together again and checked all goes together properly.

Passenger side.
201512125434_008.JPG


Driver's side, have trimmed of the marked area since this was taken as close the bottom of the motor and was excess not required.
201512125838_009a.jpg


This is the top view once I removed the cross member again.
20151213533_017.JPG


Re-fitted the front and top engine covers while everything was in place to check the clearance to the top of the motor.
201512133441_011.JPG


All was good, though I might make an "adjustment" to the top PCV pipe by shortening it a little and rotating it 90 degrees to face the rear in the future.
201512133841_007.JPG


Once I had that sorted set about making some bracing to support the two flat platforms. Using 75x 4mm flat bar I cut out the first brace which is welded to the platform side and butt welded to the angled web of the original cross member on each side. Then a second brace was cut up to run along the opposite side of the platform using the same flat bar, then set to welding it up.

Here's the Drivers underside bracing.
201512131152_022.JPG


And this is the passenger side.
20151213139_023.JPG


And this is the over all view of the underside of the cross member.
201512131544_019.JPG


Still a need to re-fit and check the position of the tacked angled seats and close up the hole I had to cut so the oil pump to clear, but getting closer. Very please with the progress as it's only just over 4 weeks since I moved the van back into the driveway and started on fitting the motor and gearbox. Heading off to the cooler weather of the Blue Mountains for a couple of days, as the forecast where I live in Sydney is for 34-35 degrees until next Thursday.

Cheers until then, Stephen

 
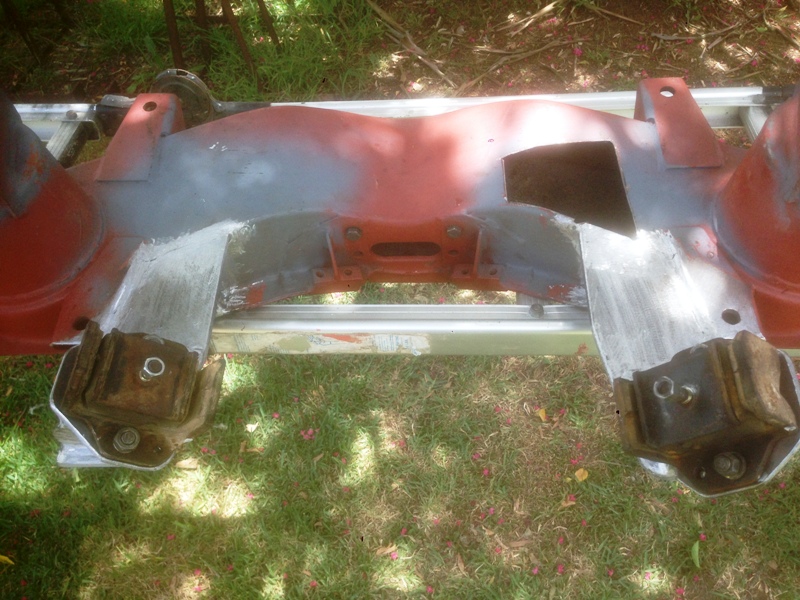
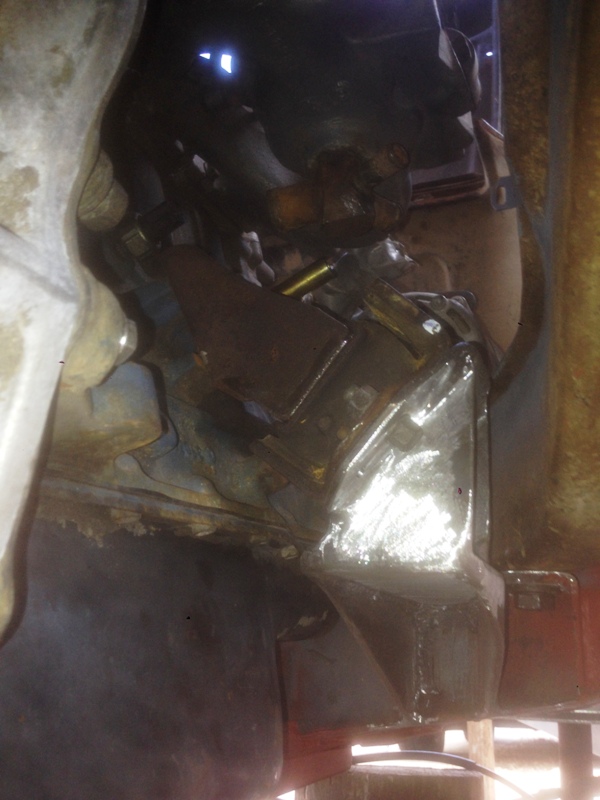
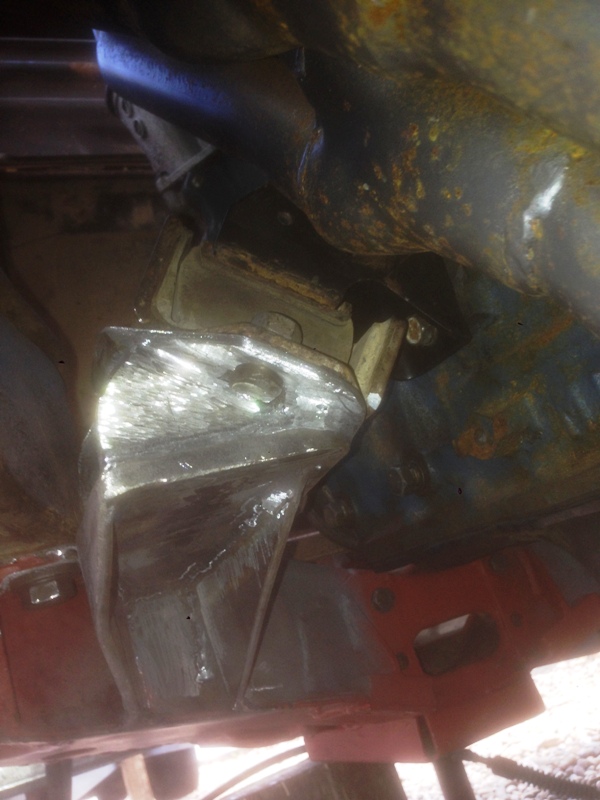
Hi all, another couple of busy days, making the most while on leave from work. The cross member is complete except for filling in the cut out for the oil pump. Ended up using the original rubber Urvan engine mounts instead of the old Skyline ones in previous pictures. Basically they are the same except they have a bottom flange held in place with a bolt each side, which makes them easier to replace when the time comes. Second smaller hole is so you can stick a screwdriver in there and move them to help the bolt holes line up.
2015161211_001.JPG


Sorry for pictures in the shade, but that sun was bloody strong again today.
20151612143_002.JPG


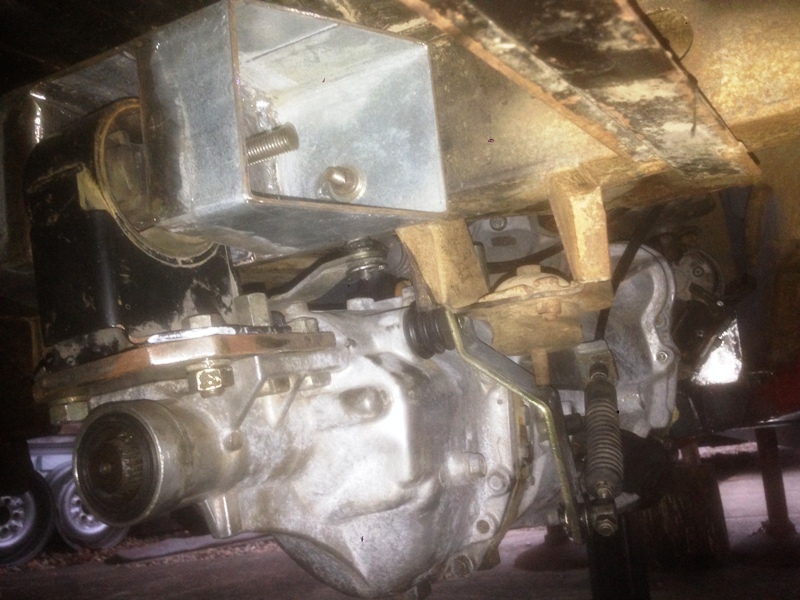
Fitted it up to the van and all fell into place perfectly. The extra flanges for the mounts raised the motor about 1/4", which wont cause any problems. A couple of pictures of it all in place and bolted up.

Driver under side looking forward from the bell housing
20151612946_005.JPG


Passenger under side looking forward from the bell housing
201516121025_006.JPG


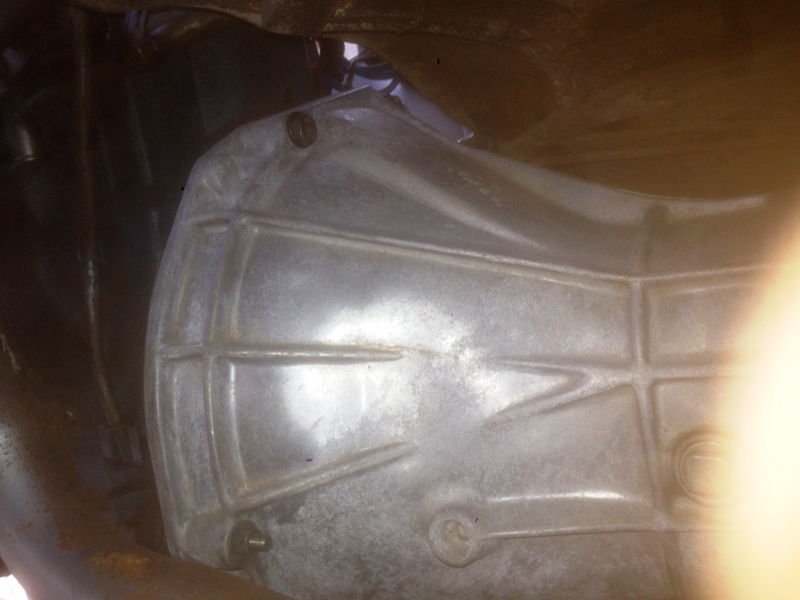
Plenty of clearance at the rear of the motor and around the bell housing.
201516121356_007.JPG


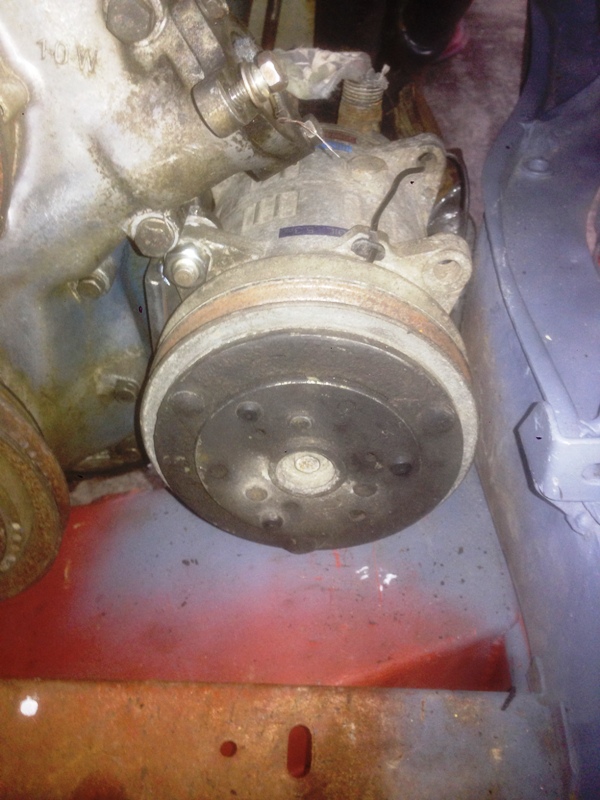
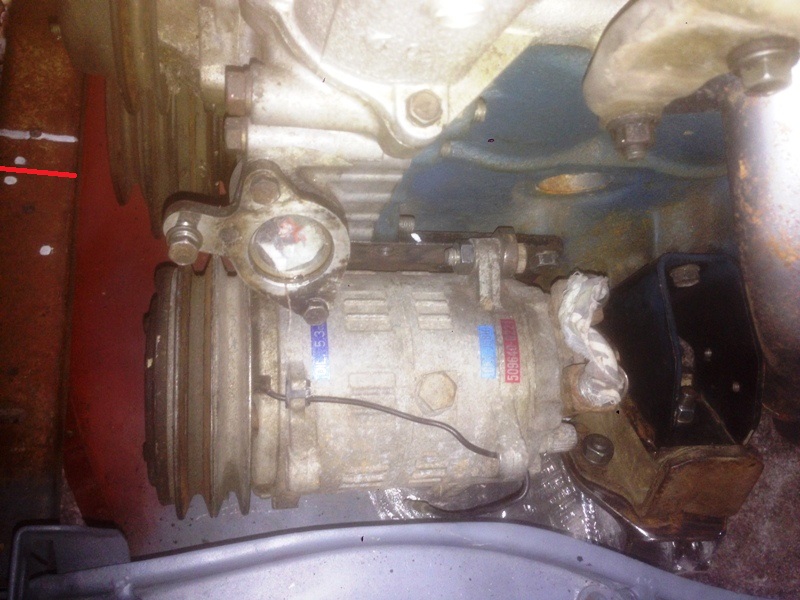
With everything in place I set to work cutting up the old air conditioning compressor mount so it will sit higher to clear the cross member. Not a lot of space to play with, but managed to get it located with enough clearance to the chassis rail.
201516122114_009.JPG


I'm now glad that I off-set the motor in the engine bay, in line with the Diff drive flange. The white line is the centre line of the crankshaft and the red the centre of the engine bay/chassis. With out that I don't think it would have fitted.
201516132652_011.JPG


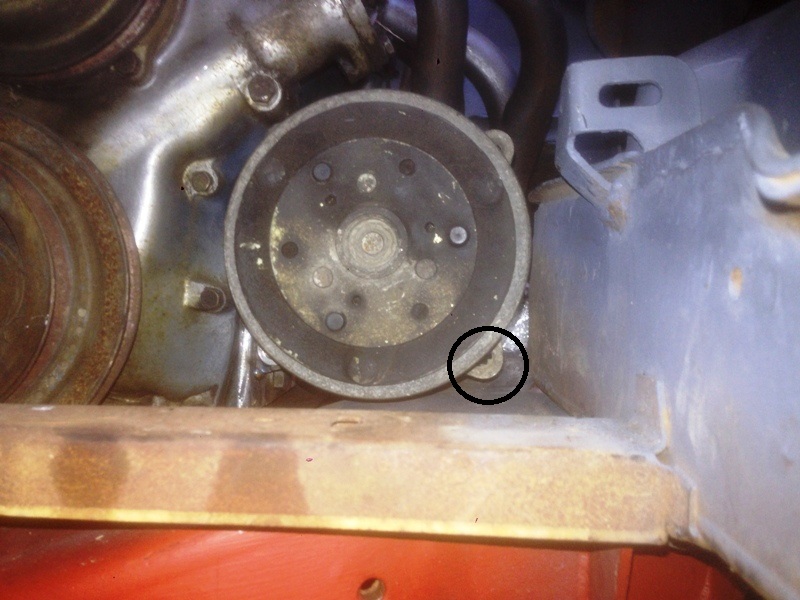
Will most likely remove these 2 lower mounting lugs, which are unnecessary and will give a little better clearance as they could hit the cross member when the motor is flexing on the rubber engine mounts.
201516122846_015.JPG


Still need to fit the compressor belt tensioner, which should be a challenge. I always wanted to fit air-con and will probably be the only Air Conditioned Commer in the world. Will locate the dryer in the space in front of the radiator, when I get one. I am thinking of laying down the condenser core, horizontally. I saw one fitted to a modern van like that as original equipment. I had a picture that I took ages ago, but can't seem to find it. Will worry about that later, once the compressor tensioner is set up I will be happy.

Cheers for now, Stephen
 
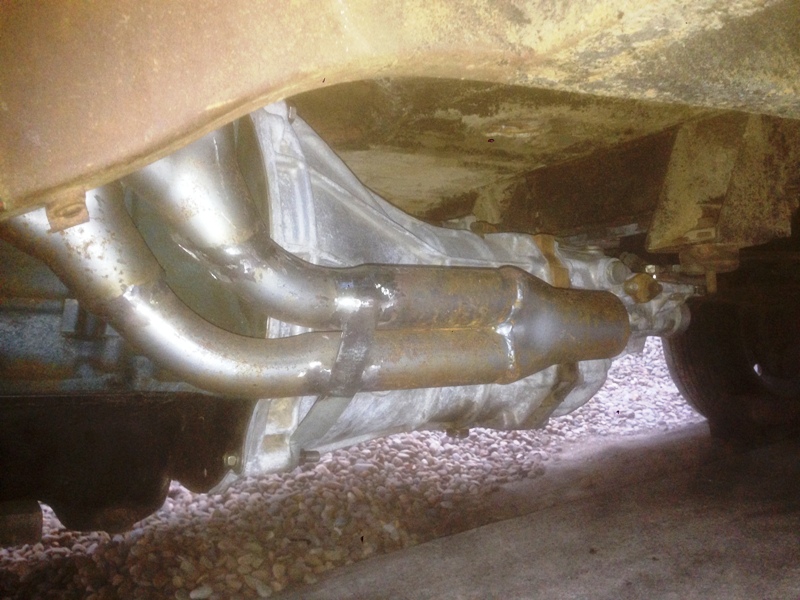
Unfortunately the Air-con tension pulley is too big and will need to investigate further before solving this one. While I couldn't progress on that front, decided to make the adjustments to the extractors so they weren't so low and get them pointing in the right direction. Cut them off at the intermediate collectors, ground out the old pipe and welds then shortened up the pipes until I got it all sitting nicely and welded them back up.

201517114130_001.JPG


Added a support bracket for the extractors that bolts up to the Bell housing to help minimise vibration and flexing. The extractors on my old Sunny wagon cracked after a few years, around one of the welds. That exhaust had no forward supports, only the one in front of the diff and the one at the rear of the car

Cheers Stephen
 
Started on the gear lever mount yesterday after I finished the changes to the extractors. Managed to get all the material cut to size and went to weld it, but MIG welder was out of gas, bugger! Very hot morning today, so elected to do some running around. Amongst other things, I picked up some more gas and headed to my local Nissan Spare parts for the nylon bushes in the selector arms on the gearbox that were missing. By the time I got home it was almost 3pm and still 32 degrees. Oh well, it is Summer I suppose.

201518123812_007.JPG


Only $12 for the pair, not in stock, but will be able to pick them up tomorrow. Unfortunately the large bolt that secures the gearbox mount (that I put somewhere safe and now can't find) is no longer available. Seems to be a special diameter as 16mm or 5/8 bolts are just too big with 12mm or 1/2" too small. Will have another look for the original, but think I'll be making something to suit.

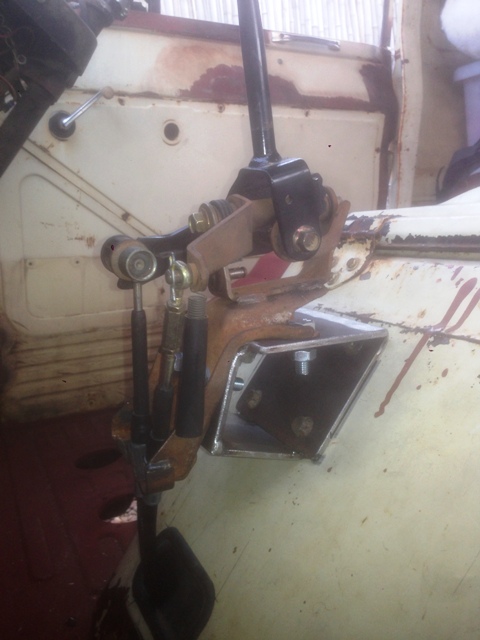
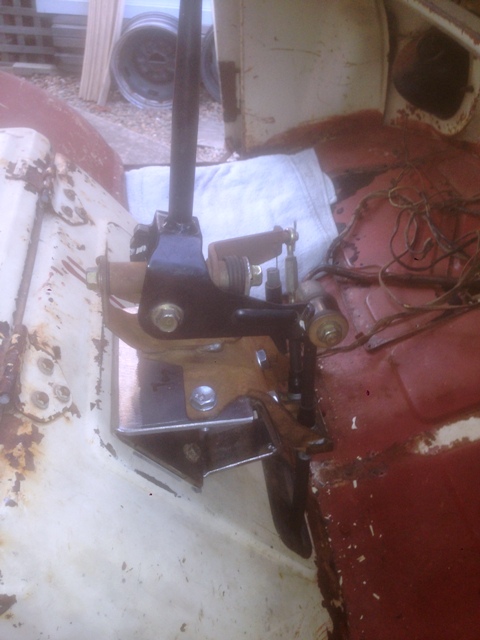
With the Mig gas re-loaded, got cracking and welded up the gear lever mount and sort out mounting it on the front engine cover. The gear lever is from an Urvan again and using the Urvan cables to the gearbox, so all basically original equipment, just not on a Commer.

201518125253_001.JPG


201518125332_002.JPG


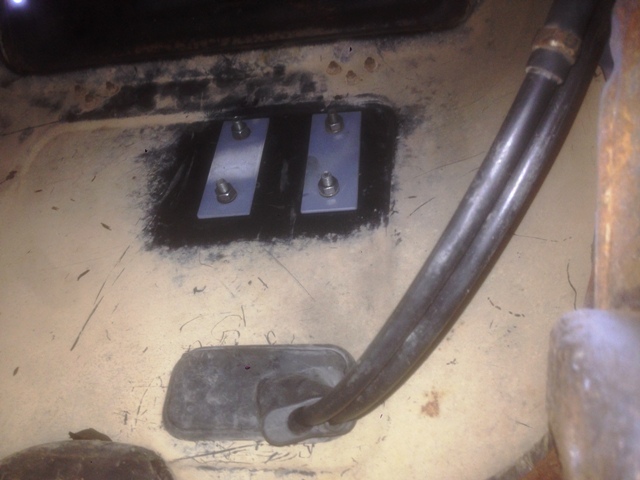
Had to cut a rectangular hole for the cables, which is sealed nicely with the original grommet fitted to the cables. Made a couple of plates for the underside to reduce flexing in the front engine cover.

201518125954_003.JPG


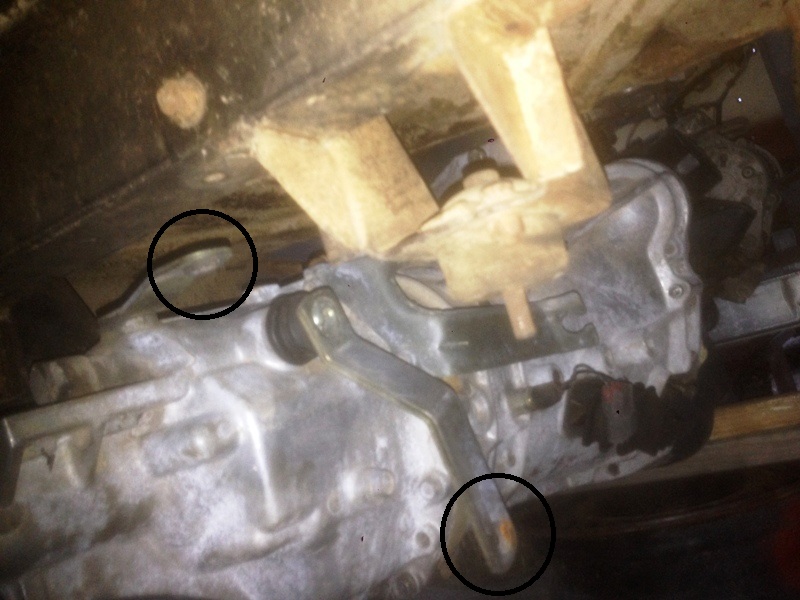
The cables were the perfect length and run around the driver's side of the engine bay and down the bell housing to the mounts on the gearbox. Will post some pictures once I have fitted the bushes to the selector arms on the gearbox and hooked up the cables

Will need to create some type of cover eventually for the gear lever arrangement, just pleased for now it all went together as planned.

Having this weekend off, as I return to work next week, after what has been a pretty busy few weeks on the Commer.

Cheers Stephen
 
Everything just seems to be made for it (with a bit of Suinnyboy magic)[^]
Chrome the gear shift and leave it on show[8D]
41fa30c8-22ce-43e8-bd12-188475a80292.jpg
 
Thanks Panky,
Don't think the registration authorities would like that idea. Most of the mods will need will need to be checked/approved prior to getting it back on the road. Still a lot to do, and thanks for the positive feed back from all.

My theory has always been, build something like the van it would be in modern times. By sourcing as much as possible from an equivalent van from the 90's I should be right, no point in re-inventing the wheel. As much as I would love to build something outrageous, this will eventually be my everyday ride, so common sense must prevail, though the idea of sitting a Commer on an old Range Rover chassis is appealing. Maybe when I win the lottery, and if I could find another one, they're pretty scarce here.

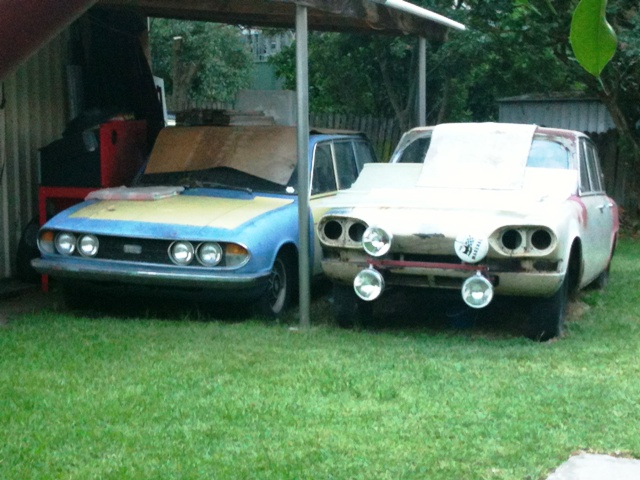
Once this is done I need to get back to my pair or 2.5pi Triumph's

20151815167_001.JPG


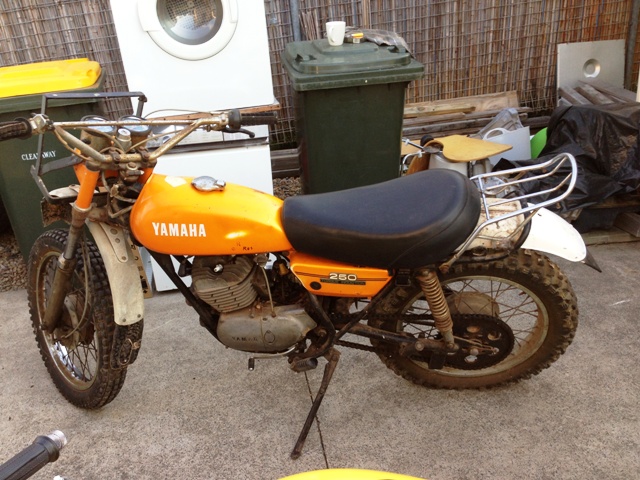
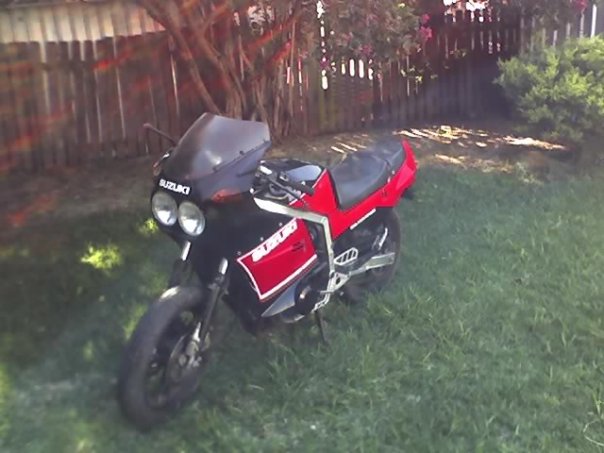
Plus the 2 other motor bikes currently in pieces in the shed, which have all been set aside while the Commer takes preference.

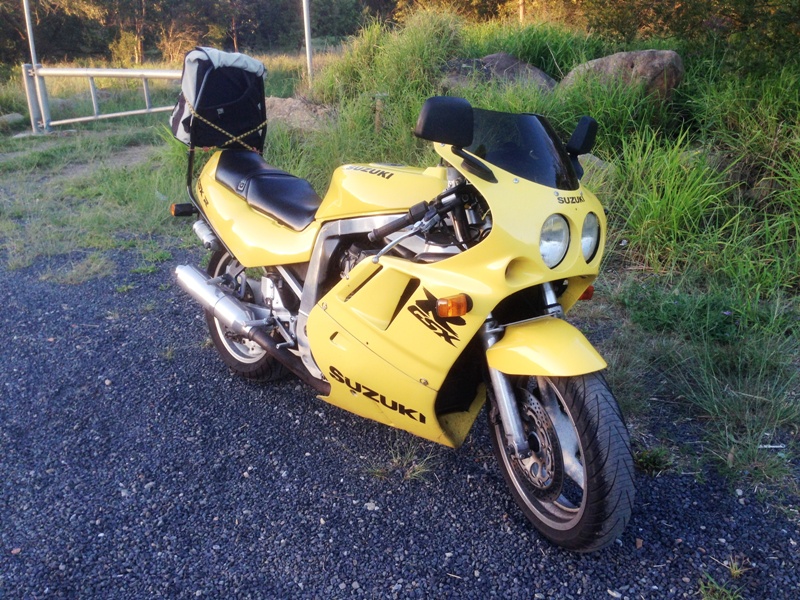
201518153534_GSXR 400.jpg
201518154131_004.JPG


Though this one isn't in pieces and ridden most days to work.
201518154812_020.JPG


Can never have too many toys. Well enough to keep me busy for the moment.

Cheers Stephen
 
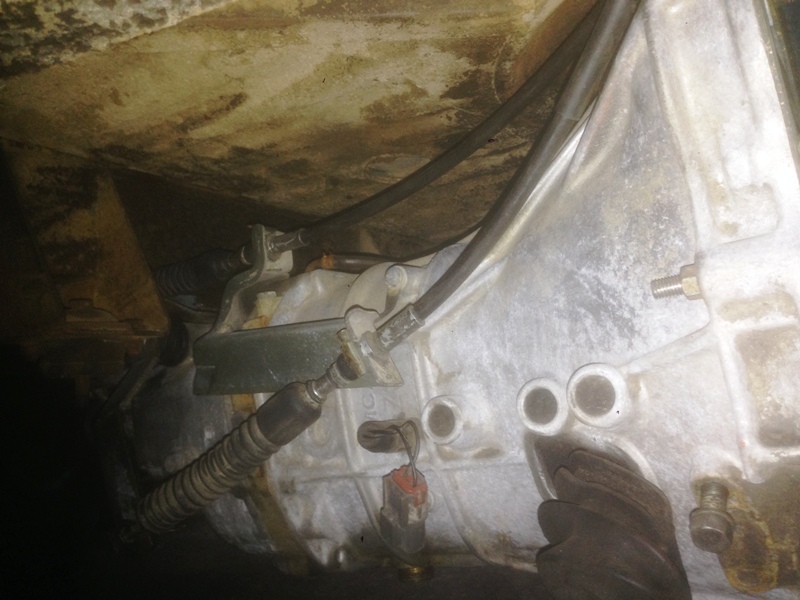
Picked up the bushes today and finished hooking up the gear change cables to the selector arms. So these pictures continue from yesterday. Firstly the cables exiting the cabin from the gear lever arrangement and going around the side of where the radiator sits and running up and around the engine bay.

201519113042_001.JPG


Now they head down along the bell housing towards their mounts on the gear box.

201519113450_002.JPG


Now all mounted and connected to the gearbox selectors.

20151911381_008.JPG


201519113841_005.JPG


With it all connected I discovered the side selector arm just touches the original gearbox mount when selecting 1st or 2nd gear. Was planning on removing, but now a definite candidate for the angle grinder.

I will saddle the cables in place further down the track when I have a better idea where the hoses for the remote oil filter will need to go. The electrical cables for the starter motor and alternator, both located beneath the inlet manifold plus the hydraulic lines for the rear brakes and clutch are all in this area, so it could get messy if I'm not careful.

Currently awaiting the adaptor plate to arrive so the DGV Weber can be fitted to the manifold and then some changes to the manifold porting, I'll explain this when I get there. The radiator won't be too far behind. Both these will have their challenges, but that's half the fun.

Cheers Stephen
 
Mate your up to the same stage I am just hooked up the auto shifter cables and brackets,I'll upload photos later in the week.Great work man love the ingenuity behind it all in

Such is Life

e754d6ee-8a0d-477f-8642-4a3bfbd24b90_zpsd0b5718d.jpg
 
Thanks, but I think Miss Piggy has a big head start on body work, something I'm leaving till later, it's not too bad, just not what I'm best at. Really in two minds what how to finish off the bodywork, nicely re-sprayed or try to keep it original.

There is some rust, nothing like as bad as the UK crowd deal with, but spots in the cabin floor, the side flutes and the lower rear corners that will need replacing. The driver's door has a crease in it where it has been opened too far, and the side load "suicide" door and panel are dented where the previous owner didn't close it properly when transporting it and it blew open causing the damage. All repairable, but I think loosing the old signwriting under a new coat of paint seems wrong, and a little like taking away it's identity and heritage.

Yes Panky you're pretty right, the Japanese were good at "borrowing" ideas and designs from all over the world in the 60's. Having rallied a Datsun 1600 (510) I was quite amazed when I bought my Triumph 2.5pi some years later and saw it had basically the same front and rear suspension set up, except for the rack and pinion steering. Considering the Triumph 2000 was released in 1963 and the Datsun in 1968, it's not hard to imagine where they got the design from. With the original 240Z they copied the Triumph front suspension completely. Datsun re-developed that suspension layout in most of their cars right through to the 90's

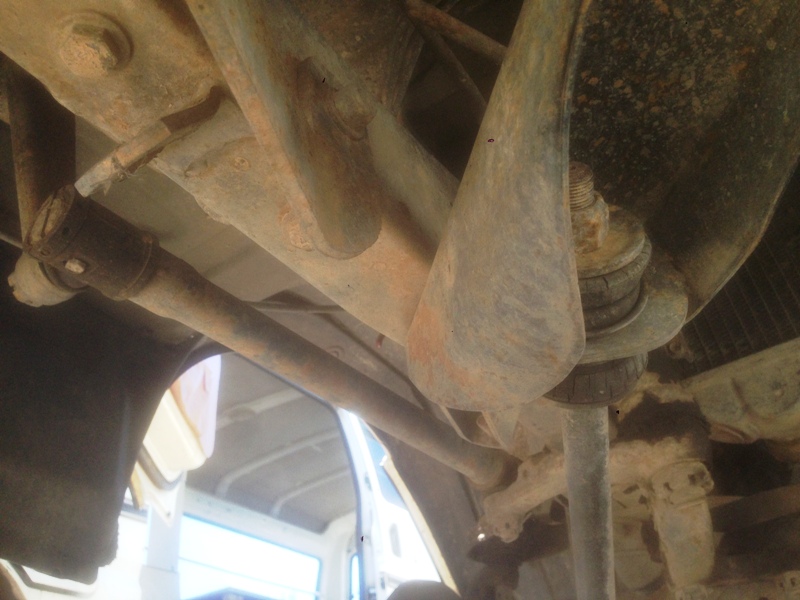
While under the old E20 Urvan I saw this again, the steering arrangement looks very "Commerish". I took this picture the other day while back at the wreckers hunting for bits.

2015112142158_006.JPG


I suppose they all do it, even today. The Japanese were very good at taking good original engineering designs in the 60's, then improving and often simplified them.

back to work tomorrow, ho hum, end of my fun! Will keep at it making the most of day light saving, so got until April to get as much done as possible in the afternoons and weekends.

Cheers Stephen
 
Back
Top