The New Project

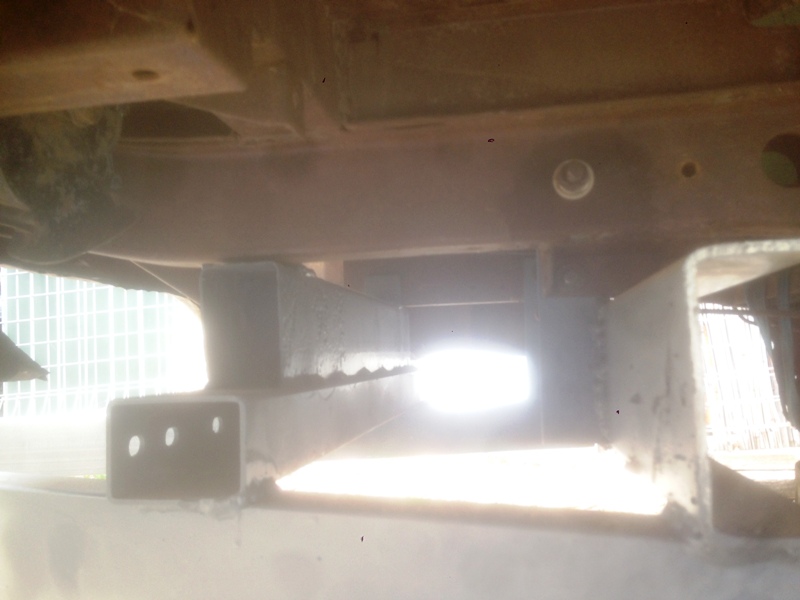
After having the van sitting in the front garden with no front suspension I had a brilliant thought. Make a draw bar that I can fit to the front of the Commer so I can hook it up to my other car and relocate to the driveway so I can get some work done. Well after a lot of thought I elected to bolt the draw bar to the steering arm mounts at the front of the chassis, fortunately there are 2, for RH & LH drive models. with a weight bearing section across the front chassis rails behind the radiator inlet. the A is 75x50mm (3x2") steel box section 1.5 metres (5')long fitted with the usual tow hitch.
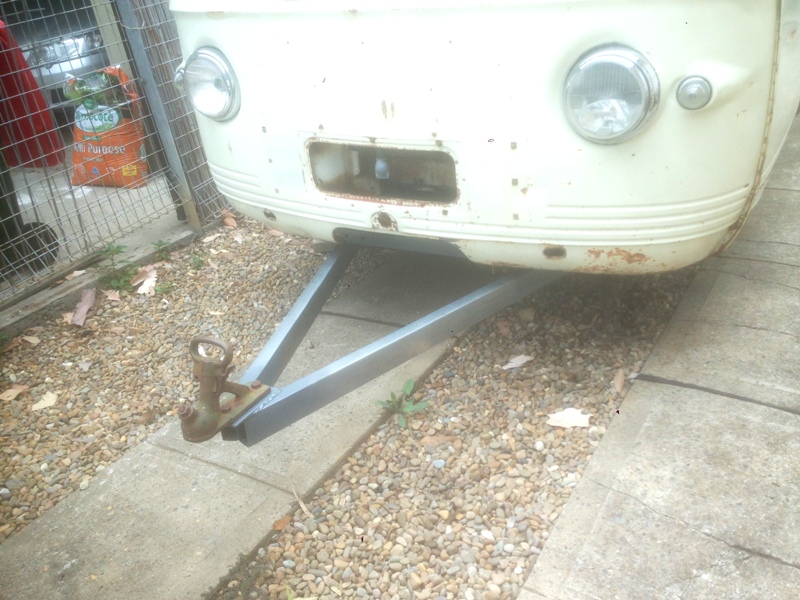
2014113034758_007.JPG


2014113034939_009.JPG


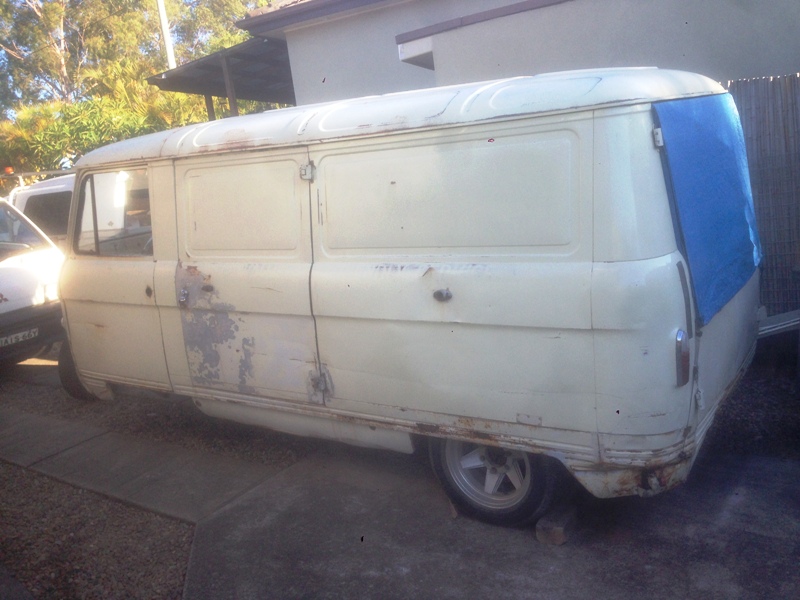
So once hooked up away we went and she's now relocated to the drive in front of the shed. I will be making a small modification so lifts it a little higher as the draw bar dragged a little going over the rise in and out of my driveway. If it was dead flat clearance wouldn't have been a problem. Since the move the van has had a good wash and light polish to give the paint some protection and looks much better for the attention.
2014113035818_004.JPG


The blue tarp covers the back as there are no rear windows. I cut some templates out in some thin Perspex I had laying around and with most likely have to have some cut to suit as I cannot imagine anyone in Australia having replacements, (Any of the Aussie crowd out there have a couple Spare they don't need??)

Just in case can someone advise the height, width and thickness of the original rear glass. I will need rubbers too, but will check out the local suppliers first

Next I want to clear out he front of the cabin so I can start working on getting the Nissan Z24 & Urvan gearbox in position and seeing what mounts need to be made.

Just looking back at this thread and shocked it is over 4 years since I got the van.

Cheers Stephen
 
Fortunately at the moment there is no motor or gearbox, but yes my L300 van was well loaded and the clutch was screaming "enough" by the time I finally got her parked up.
 
Hi All,
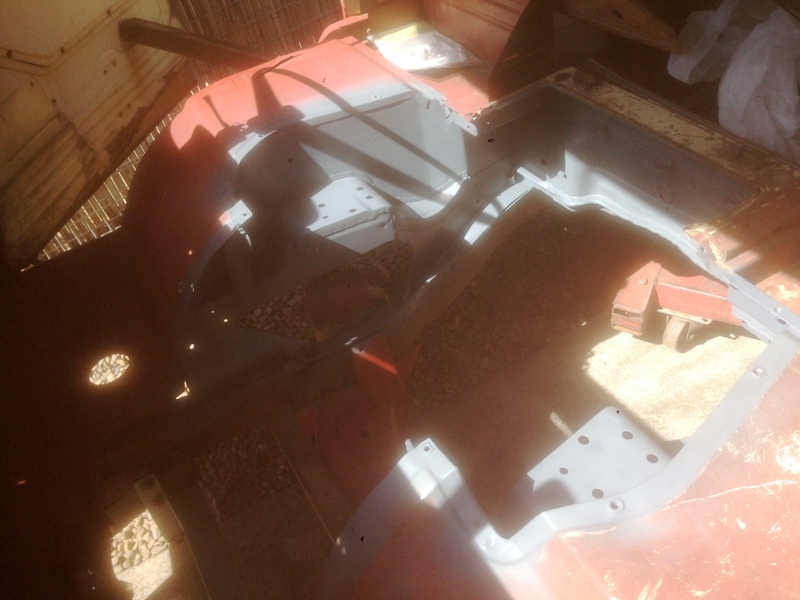
Well after a couple of weeks of crazy weather here in Sydney, we managed to have a relatively normal weekend. Since moving the van back into the drive I have managed to get into the engine bay and clean things up, remove all the wiring and brake lines and give it a coat of primer.
20141214123750_002.JPG


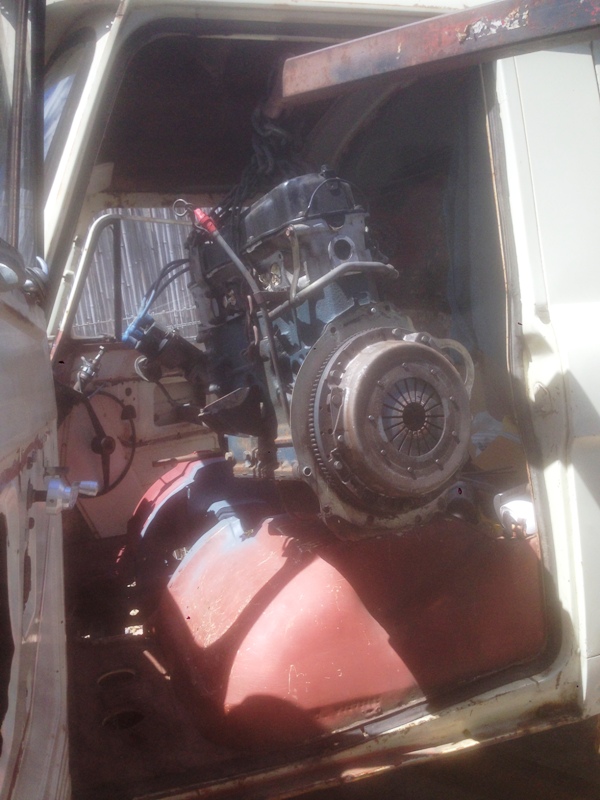
With that done I crossed my fingers and got to it dropping the Nissan Z24 into the engine bay. It was good to see the door opened enough for easy access and I had an inch or two clearance getting the crane and motor through the door into the van. So much easier than what I had to go through with the Mitsubishi L300 recently, had to take the door of on that!

2014121412479_003.JPG


With the motor now in and roughly in place I was able to have a preliminary look around for issues. To be honest I was pleasantly surprised, I always thought the motor might be too tall, being 2.4 litres and Overhead Cam, but looks like that wont be an issue. My other big concern has always been the steering arm that comes out of the cross member. I was relieved to see that wasn't going to be the problem I expected, but may still need to take a little of the sump for clearance for the tie-rod ends.
201412141338_011.JPG


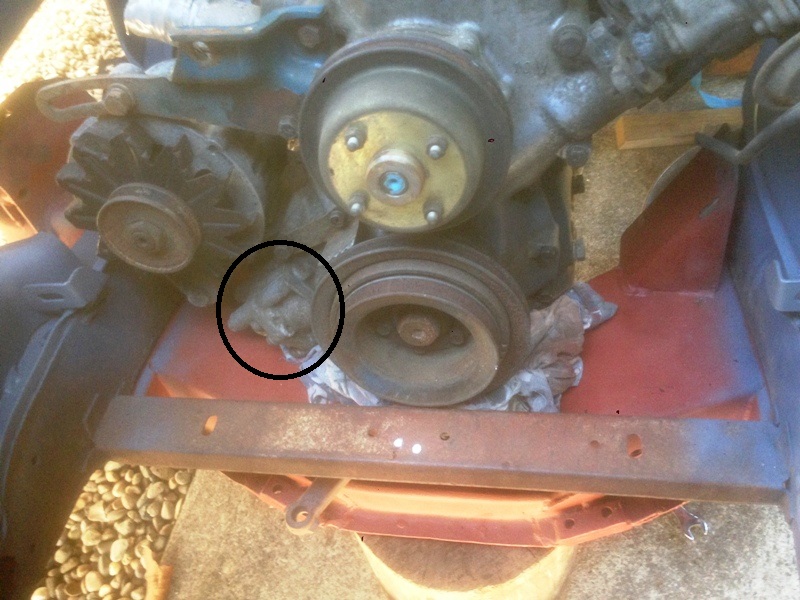
Looks like I will cut off the original cross member engine mounts as they are way too much forward of the mounts on the engine. Removing the one on the driver’s side will free up some space for the alternator and removing the passenger side might give me enough room for the air-conditioner compressor. I may need to scallop the cross member to give a little clearance for the Oil pump, circled in the picture. It currently clears, but not by much.
20141214132919_008a.jpg


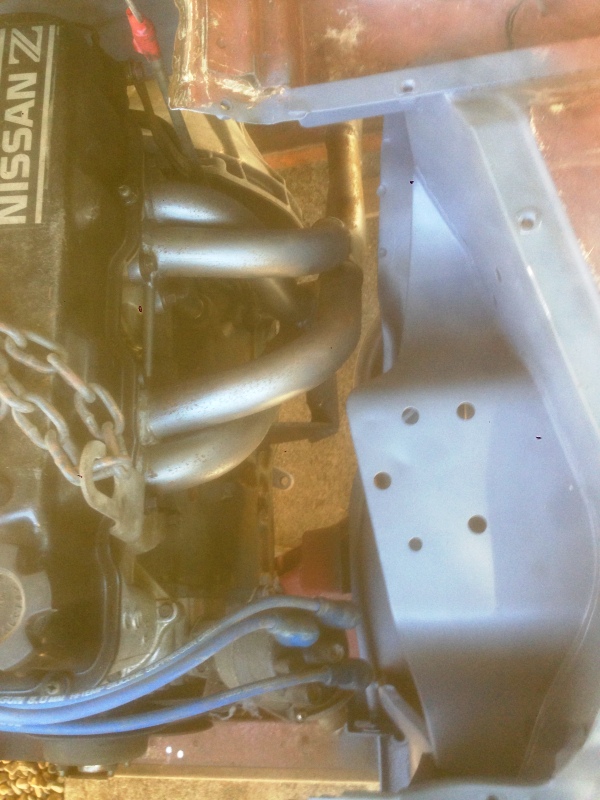
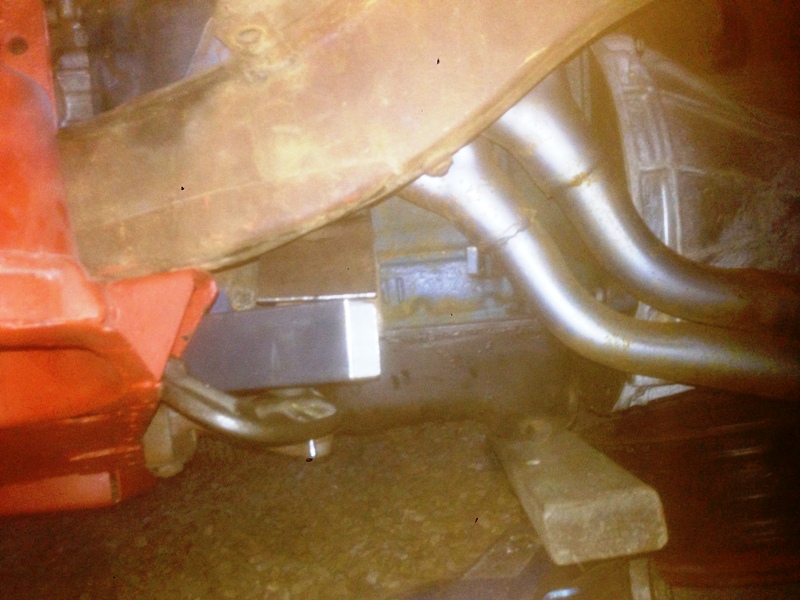
There seems to be plenty of space on the sides of the motor and was able to drop in the set of extractors I had bought and bolt them up and not foul on anything.
20141214133448_006.JPG


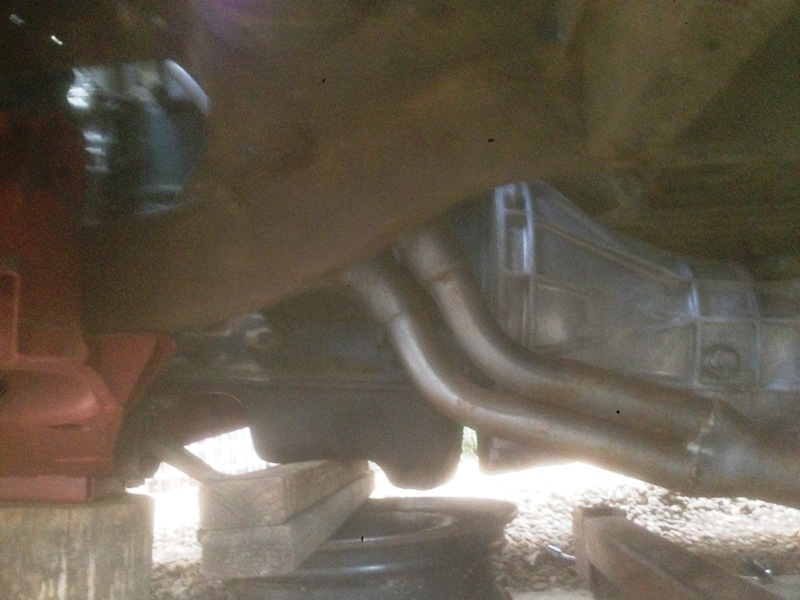
I'm not that happy with the way they angle out underneath, not bad considering they are made to fit a Navara D21 not a Commer. Will leave that for the moment and will make those adjustments later to bring it up and level.
20141214134138_010.JPG


With the gearbox fitted, it too seamed to clear what obstacles I had envisioned. The selector arm on top of the box clears the member above it and the rear mount should be OK. I have 2 different Nissan Urvan Gearboxes, one mounts has it's mount on the top, currently fitted, the other has it's mount underneath. Not sure which way I'll go at this time. The gearbox fitted is a better box, but shouldn't be too hard swapping the rear housings.
2014121413566_009.JPG


Will leave it at that for now. I'm very pleased with the progress and the way it has fallen into place so far and that it all looks like it’s going to work. Next the trick stuff begins as I figure out the engine mounts, etc, etc ..........

Cheers, Stephen
 
That looks about as good as you could wish for[^] I don't think you will have any trouble with the steering relay lever that's about as close as it will get to the sump, the ball joints will add a little but I think it will clear OK.

41fa30c8-22ce-43e8-bd12-188475a80292.jpg
 
Hi All

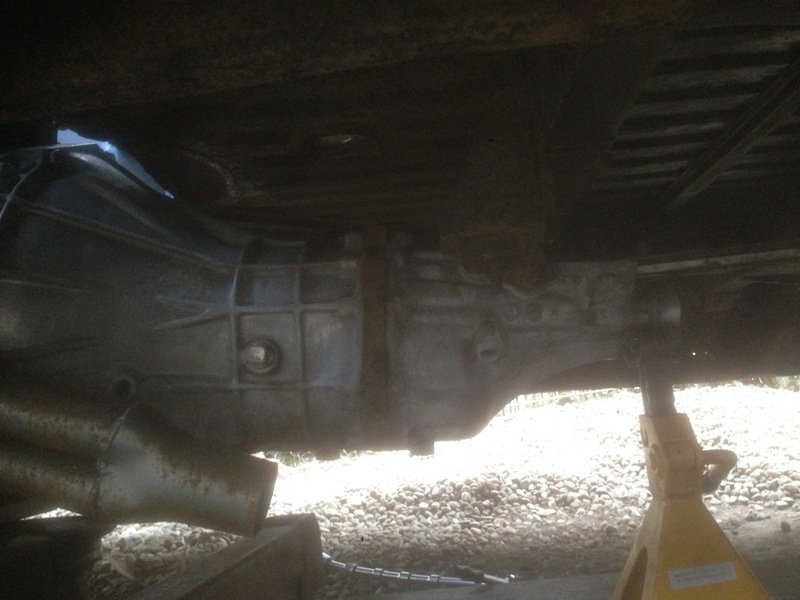
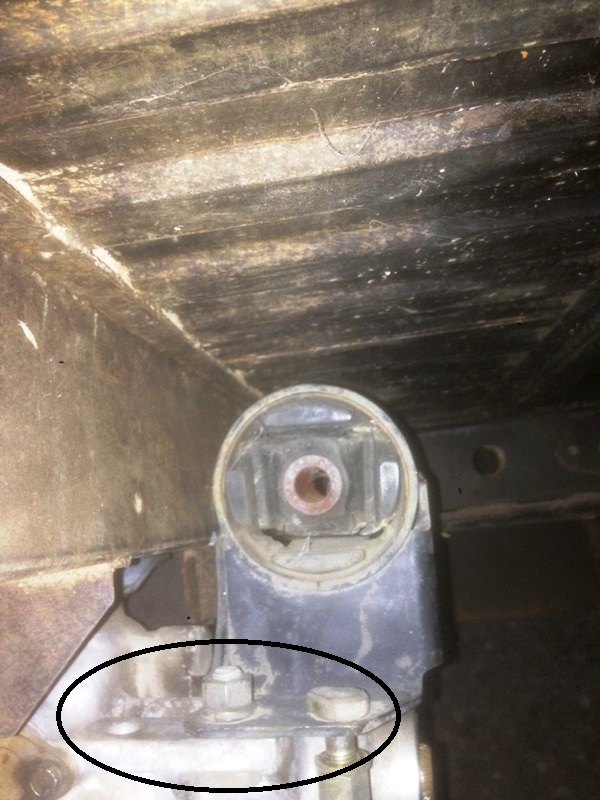
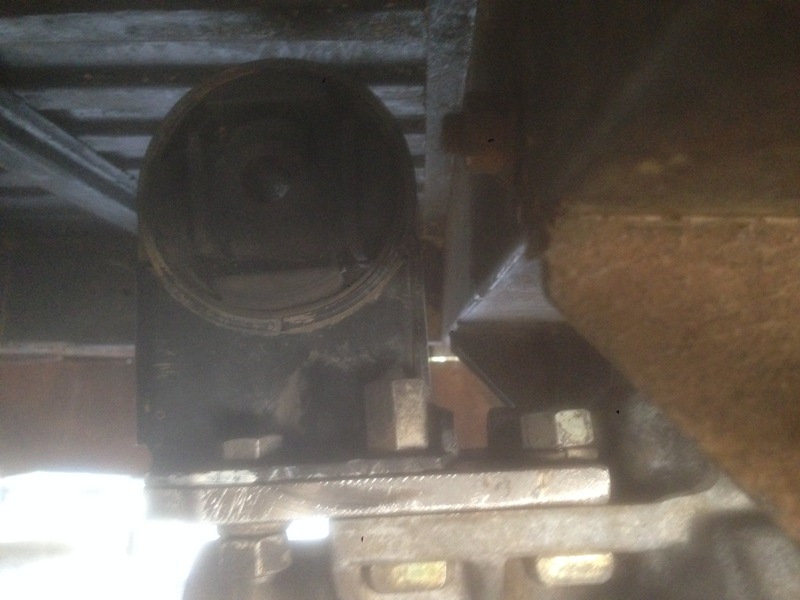
Been under the van looking at how to do the engine and gearbox mounts, which I have pretty much sorted in my head and roughed out on paper. Have elected to stay with the gearbox currently in place, which has mounting point at the top of the gearbox. The mount point will need to be moved rearward to miss the chassis rail, but this will work in my favour as I plan to make up a new mounting point that comes off the back of that rail. Picture shows the top mount on the gearbox and the position of the chassis rail above it.

20141219132019_009a.jpg


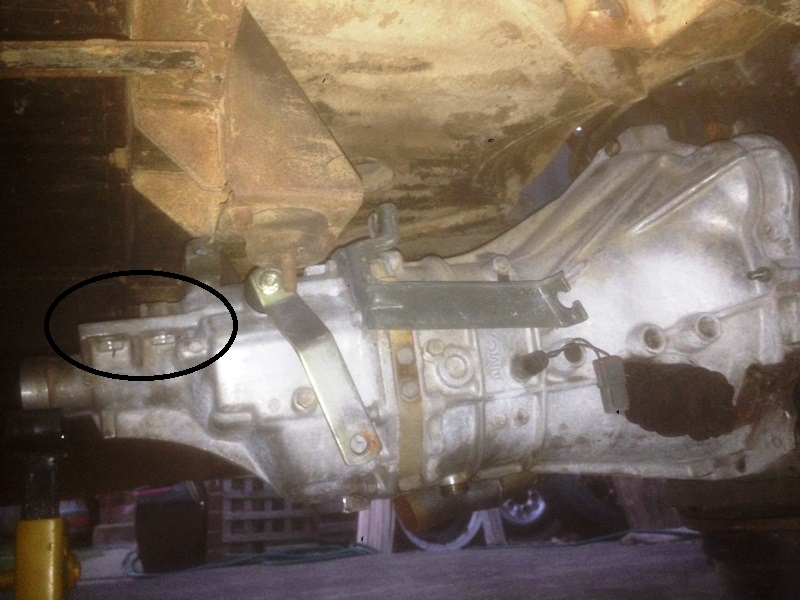
Planning on moving the mount back to the rear set of holes with an adaptor plate so all bolt holes in use, like in the picture (haven't made the adaptor yet, tomorrows job)

20141219132725_002a.jpg


This puts the mount point in an excellent position and all being well I should have it fabricated tomorrow, will also remove the old original mounting points as they are not needed.

Was checking out another thread, which showed a picture of an original O/D gearbox in place and was quite surprised how much shorter my 5 speed is.

Will update with tomorrows progress then. Forecast is for scattered cloud and 25 degrees, so should be a productive day

Cheers Stephen
 
Slotting into place nicely:) Are you gong to re-position and re-use the original mount on the box or fabricate a completer new one?

41fa30c8-22ce-43e8-bd12-188475a80292.jpg
 
Awesome job its exciting seeing this major step in progress i'm at the same stage but i'll update my thread when i get photos.
It's good that your sump is low at the back and you can have the motor further forward mine is the other way around its a pain.

Such is Life

e754d6ee-8a0d-477f-8642-4a3bfbd24b90_zpsd0b5718d.jpg
 
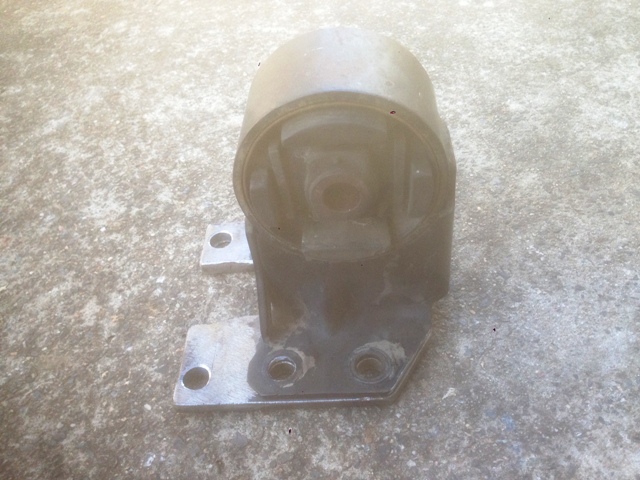
Will be using the mount shown, will have a plate between it and the gearbox face with 3 pairs of holes. The gearbox will use the 2 forward pair and the mount the 2 rear pair, so the centre pair will go through the mount, adaptor plate and through to the gearbox. Will post a picture today hopefully Hearing off to get the steel and some more MIG Gas shortly, almost 10am Saturday Sydney time, suppose you lot are in bed right now.

Thanks Miss Piggy, Will have another look at you thread for a picture of your L20B motor/sump, if not there can you post one on your thread. Those motors had 3 different sumps the L16 with the sump at the rear, the L18 in the middle and yours at the front. Also the Z and L Series blocks are basically the same and you might find that my sump and pick up could bolt straight on. Will check some of my parts books.

Cheers Stephen
 
I don't thing that engine and gearbox is as readily available over here, otherwise I'm sure there would be a British version on the go:I

41fa30c8-22ce-43e8-bd12-188475a80292.jpg
 
Hard to think Nissan/Datsun didn't sell Navara's in the UK. I think most of the new models are built in Spain. The this motor came from a D21 model Navara, they were available here in 2, 2.2 & 2.4 litre capacity. two versions of cylinder head the 8 spark plug or the 4 spark plug. the 4 plug is the better option as so much simpler. The gearbox from a Nissan Urvan Late 80' s to mid 90's as it has the external side lever gear change set up. Will have a look on UK ebay to see if I can find the models for you.
 
Sorry for some reason I had Urvan engine in my head:I
Yes Navaras are everywhere, checking them out now on ebay

41fa30c8-22ce-43e8-bd12-188475a80292.jpg
 
90's Urvans here had the same Z series motors as the Navara's, though they were mostly 2 & 2.2 litre. The Urvans have an inlet manifold like a swan neck which swoops down off the head so the top of the carbie is lower. The older L series motors that Nissan/Datsun have are basically the same block with different heads, the Z is a cross flow and I think a little shorter than the L series from the head up. Both have the same bolt pattern for the gearbox too and just for good measure you can swap the heads between motors as long as you swap the sump & timing cover too. If that's not enough, there were also Diesel versions of the Urvan and Navara and their motors would most likely drop in just as easily.

Lots of fun, like adult Meccano.

Got my steel, MIG Gas and picked up a set of engine mounts from the wreckers off a 90's Skyline, now I'm off to the shed

Cheers Stephen
 
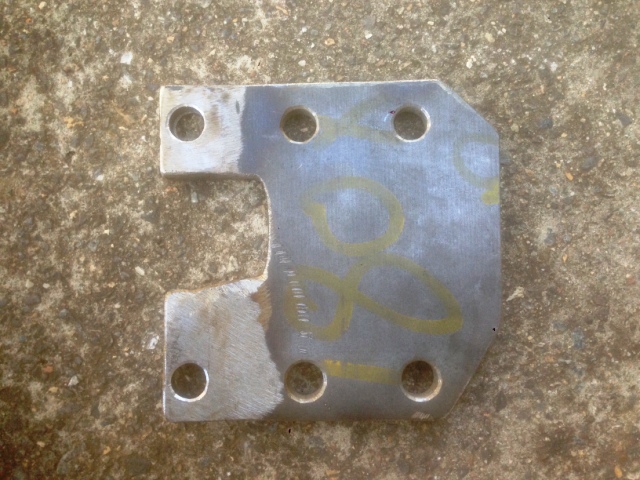
Quick update, stopped for a cuppa, have completed the adaptor for the gearbox, pictures will make it clear what I was trying to explain

201412205518_009.JPG


Had to notch out a section to clear part of the gearbox

201412205534_010.JPG


With this adaptor I stagger the original mount backward one set of holes, this way the mount clears the chassis member above the gearbox.

2014122055539_012.JPG


Mounted in place, Gearbox currently a little high and will drop it slightly to give some clearance for the selector lever located on top of the gearbox.

Cuppa finished, heading back out, more later

Cheers Stephen
 
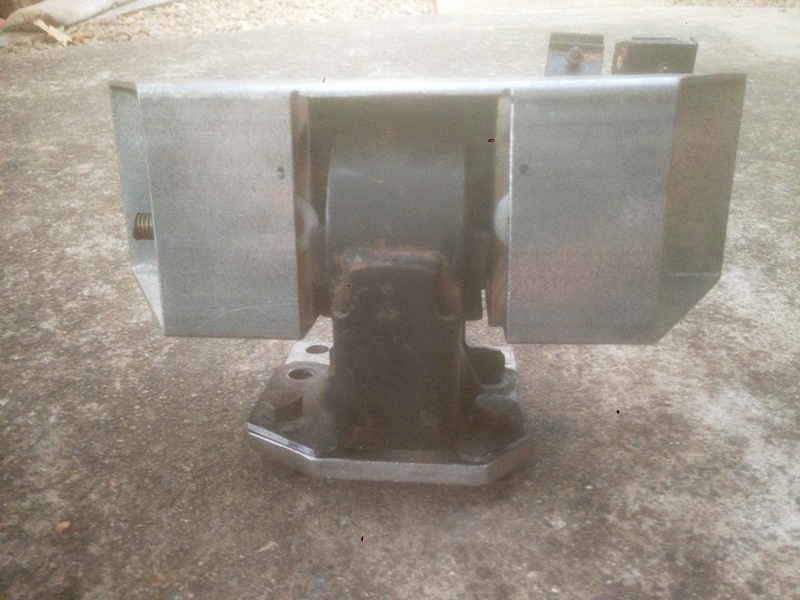
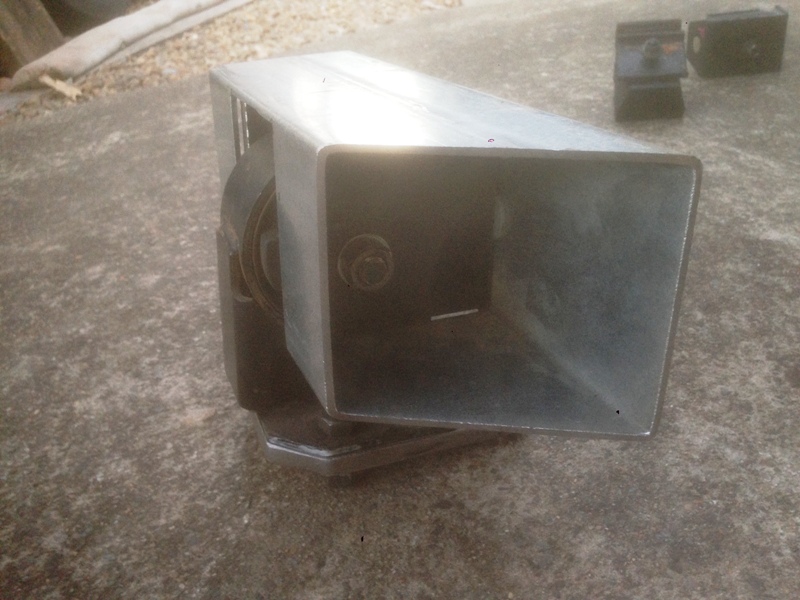
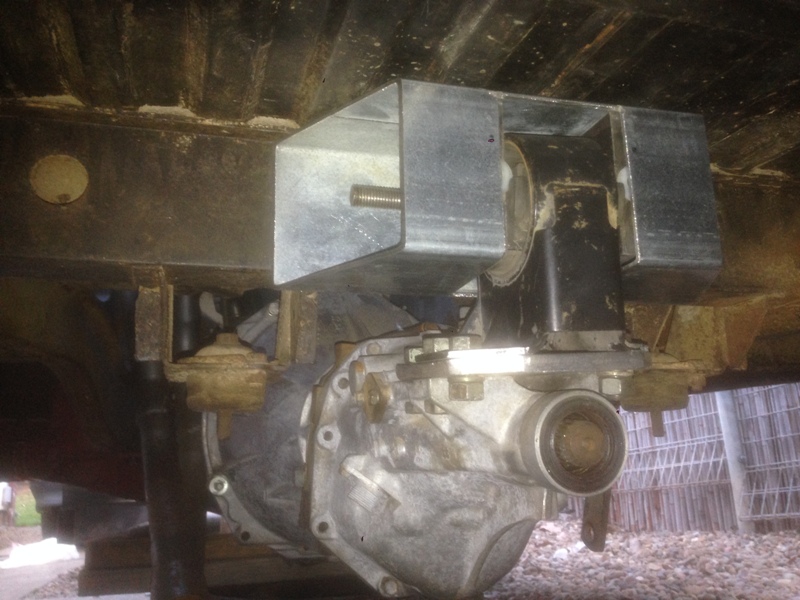
A busy day indeed. Once back in the shed I got stuck in to the upper mount that will fix to the Chassis rail. The main part is 100 x 100 x 3mm square tube 300mm long, ends cut at 30 degrees cos I felt like it. Centre section was cut out for locating the gearbox mount and filled with 10 mm thick plate.
20141220122229_008a.JPG


20141220122338_009a.JPG


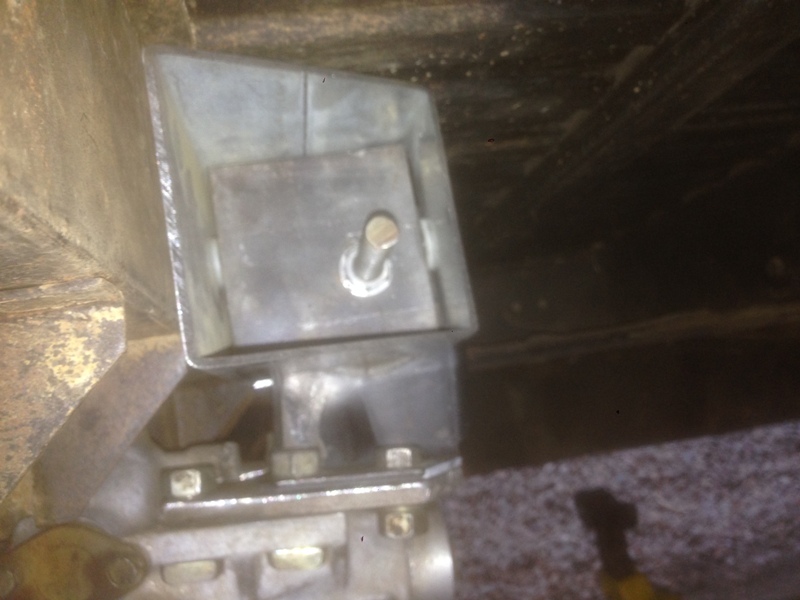
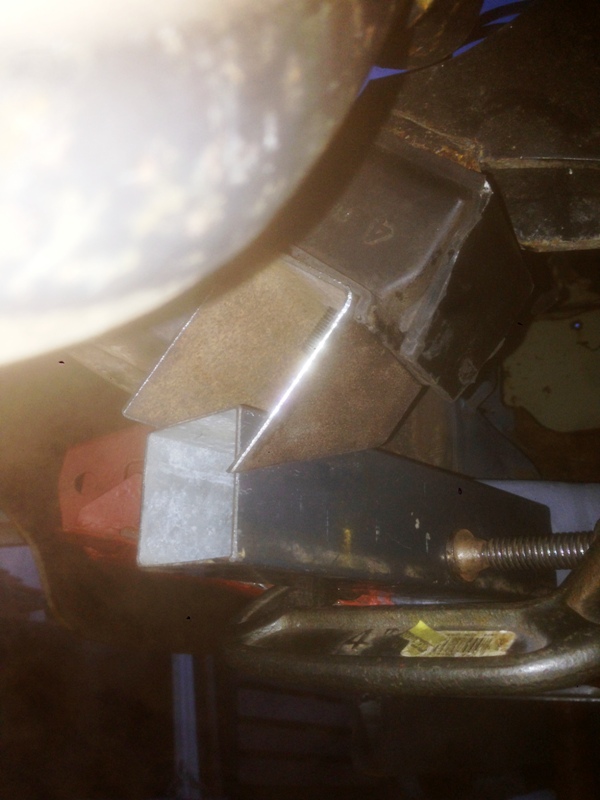
The plated inserts are not welded in these shots as I was still checking positions and clearances at the time. Once fitted up and in position it all looked OK.
20141220122826_004.JPG


20141220122910_005.JPG


Planning on bolting through the chassis rather than weld in place. Most likely have 3 bolts per side through the chassis rail and another 4 through the load area floor, which I will sort tomorrow and make a start on modifications for the engine mounts

Cheers Stephen
 
Very well thought out and brilliantly executed, class stuff[^] You've probably got it in hand but you will need to weld some tube supports into the chassis rail for the bolts to pass through.

41fa30c8-22ce-43e8-bd12-188475a80292.jpg
 
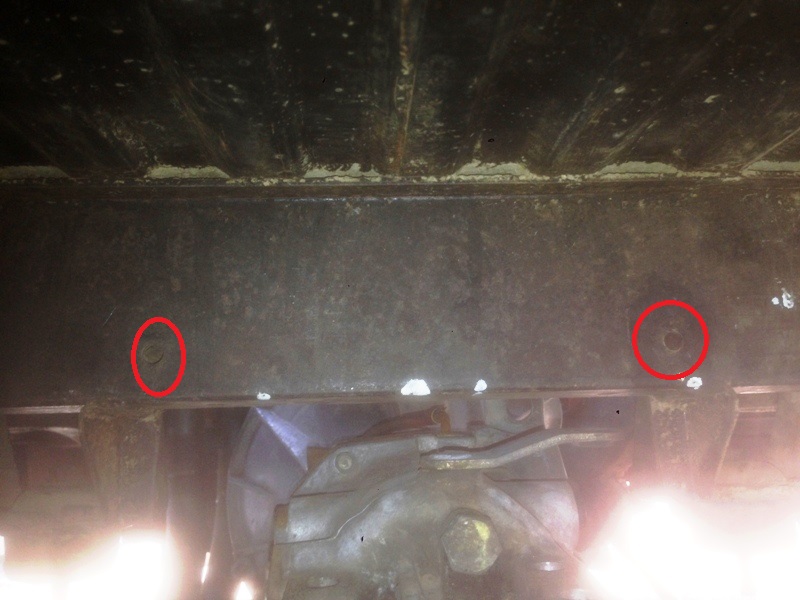
Another busy day, started off by cleaning up the upper gear box mount. While under the van fitting it all up I checked out the 2 bolt holes that already exist in the Chassis rail I'm mounting it to.

20141221121118_001a.jpg


One side had a bolt fitted and the other nothing. Removed the bolt and gave them both a poke with a screw driver and was pleasantly surprised to find both are sleeved through the chassis. So have decided to use these 2 fixing points and the remainder, most likely 2 pair, will come through the floor in the load area, which should be more than enough considering the original cross member hangs off a pair of 3/8" bolts. Got the upper mount drilled and fitted up using only the 2 chassis bolt for now (back of the van still full things in storage) and that was that sorted, but forgot to take a picture.

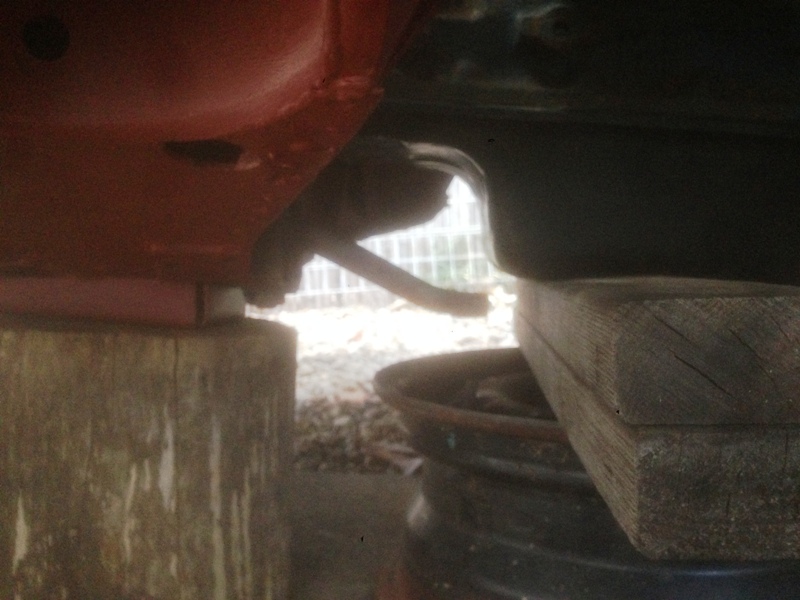
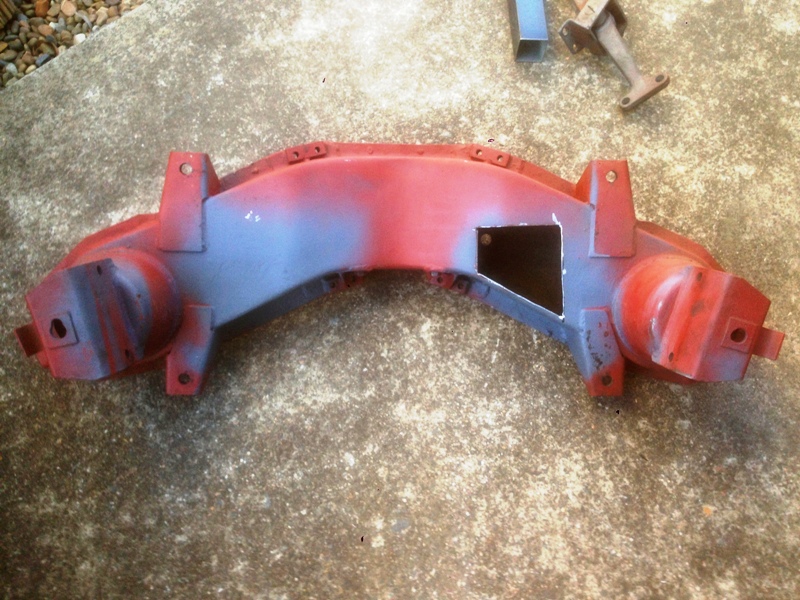
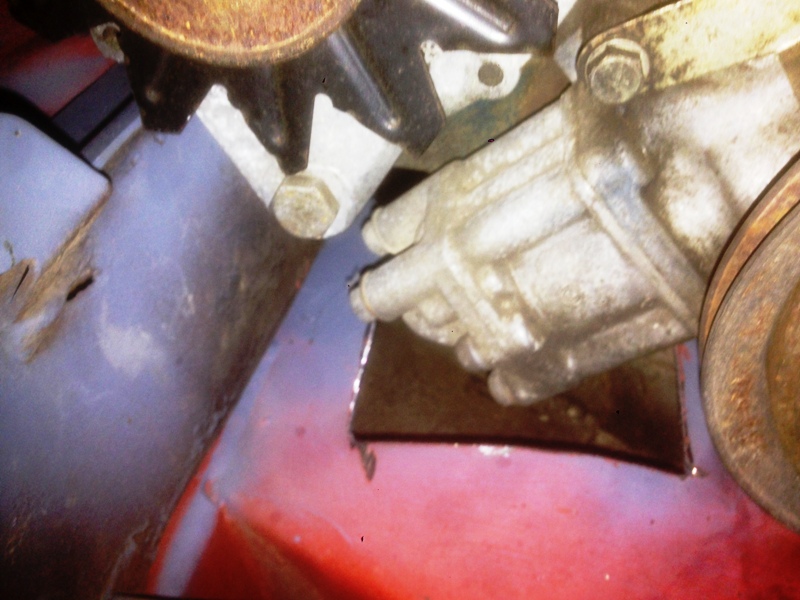
With that done I headed to the engine bay and spent some time getting the engine in a position I was happy with. I had previously cut off the original engine mounts as they were useless as I have mentioned previously. Unfortunately the oil pump was still fouling on the front cross member, and I still wanted the motor a little lower. Only one solution, removed the cross member and cut a section out.

20141221122910_002.JPG


With this done I was now able to drop the front of the motor enough and positioned where I wanted it. Will make a scalloped section in steel to fill in the opening eventually.

20141221123450_012.JPG


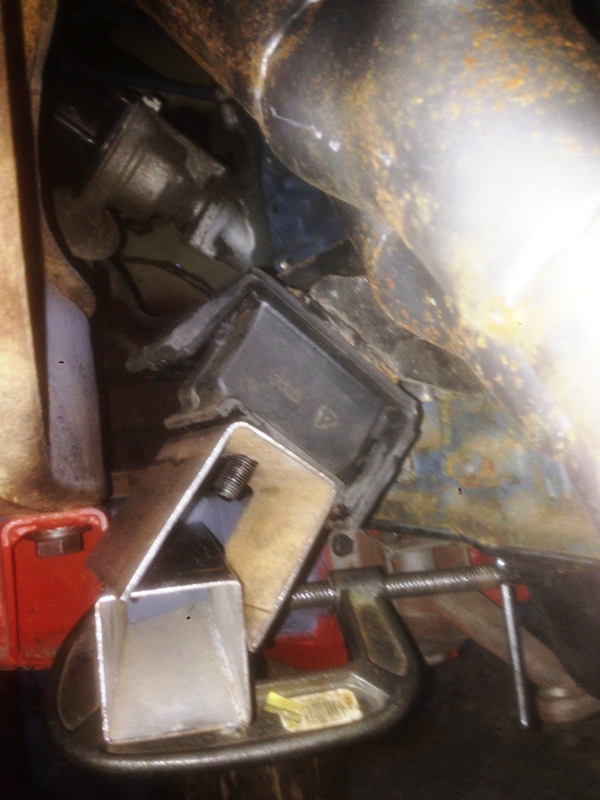
With the motor now in position I started on the engine mounts, which will be 50 x 50mm box section welded to the cross member with a raised section for the rubber mount to sit on. I had previously checked online and discovered the Navara mounts were pretty big with large mounting plates, Ok in the Navara engine bay, but not in the cramped confines of the Commer. The rubber engine mounts I got from the wrecker yesterday were from a 1988 6 cylinder R31 Skyline, much more compact and if they can cope with 2.4 litre 6 cylinder they will be fine for a 4 cylinder 2.4 litre.

So started cutting up some lighter gauge steel for the mounts to get things right prior to using the heavier gauge I picked up yesterday. Working on the passenger side first and after some more cutting and grinding I settled on the arrangement below

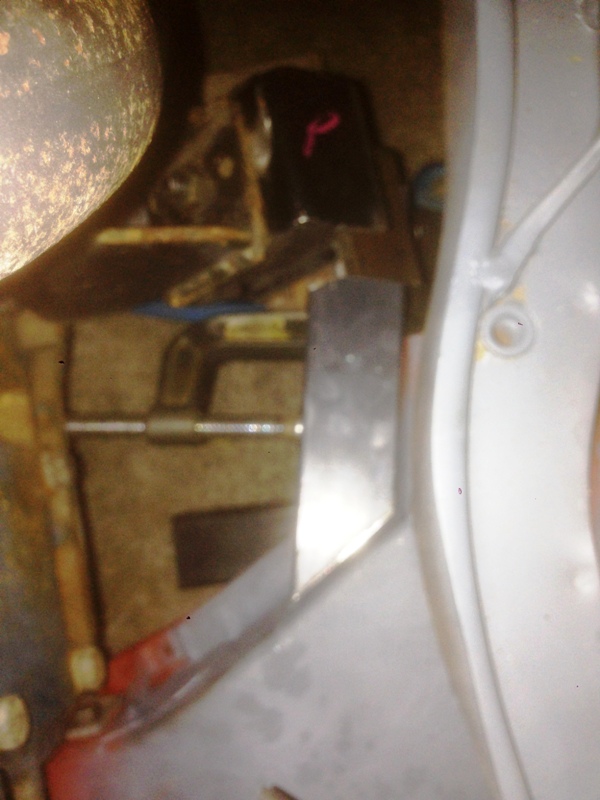
20141221125724_004.JPG


Was a little short on the 50 x 50 and the still need some minor adjustments, all seems pretty good. The square section extends back from the cross member along the side face of the back cross member mounting hole.

20141221131610_010.JPG


Will eventually be welding it all in place and may consider a bracing web or two if necessary, will wait and see.

2014122113515_003.JPG


Just a bit concerned about the tie rods form the centre arm out to wheel and that they won't foul. I reckon they should be alright. Hard to see in the picture, but will spend a bit more time checking prior to committing to the welding.


20141221131321_011.JPG


Will stay with this side of the Van for now. I will be looking for some alternative Nissan/Datsun Mounts off the motor for the driver's side. The bracket the the motor came with moves the mount forward about 2" to where the chassis curves in to the engine bay and is a little tight. So rather than remake I will check the other models first to see if I can find a better option

That all for now, a big weekend and some good progress made and if there was to be a novelty race for wriggling on you back, I'd be a chance for Gold for sure

Cheers Stephen
 
Result with the existing bolt holes, nicely positioned. The new mounts could hit the steering arms as the suspension compresses but hopefully not, maybe a little bit of notching required. Looking good though[^]

41fa30c8-22ce-43e8-bd12-188475a80292.jpg
 
Back
Top