Meet Ted

Looks the nuts Mr P

The Blue Toaster
commercrop_zps68ea08d6.jpg
 
How do these wheels affect the handling and the lightness of the steering? Would be interested to know as I've thought about doing the same. I had 165 X 14's on standard rims and that was dreadful!
 
I was a bit worried that the steering would be heavier but in fact it feels lighter and much more responsive. 165's on a standard rim are way too big, they will flop everywhere[xx(] I've got 165/70/14's on these 5 1/2" J's which give the same diameter as the 145/80's that were on the standard 4" rims. I could have gone to 175's but wasn't sure if they would have cleared the top trunnions, but I think they would have judging by the gap I have now.

41fa30c8-22ce-43e8-bd12-188475a80292.jpg
 
Should clear no worries. I had 185s on my morris years ago and they really helped keep the car planted in the wet.

I just need a good rootes...
 
Ted's wheelie pleased with them, but he's feeling a little tyre'd after a trip out today:)

41fa30c8-22ce-43e8-bd12-188475a80292.jpg
 
Ted's latest mod is not for the purists even though it would have been an option when new. Fed up with carrying a spare battery around after a bit of a breakdown on a very dark very busy road in the rain:I I decided to drag him kicking and screaming into the 21st century.

The feeble old dynamo just wasn't up to the job of short runs with lights blazing, heater blasting and wipers wiping


So the system got an upgrade:)


20141118_112158.jpg


A bit of new bracketry

20141118_114311.jpg


To hold this in place

20141118_121049.jpg


Still had to connect the wiring up when this was taken but it took me all of five minutes including taping the old dynamo wires up into the loom. I'm very impressed with the kit which took about an hour to fit from tools out to tools away and it works perfectly [8D]

41fa30c8-22ce-43e8-bd12-188475a80292.jpg
 
Nice one panky, an essential mod i believe. Its all well to keep our classics totally original but they were not designed withe the modern world im mind.

I just need a good rootes...
 
That was the first job i did on the Riley, after it took us 14 hours to get home from Birmingham [xx(]

4650583641_dba2503b41_o.jpg

"You,re only supposed to blow the bloody SLIDING doors off"
Founder of the 6 speed club
 
When I fitted the alternator I had to re-position the coil on the inner wing but I wasn't happy with it dangling of one existing bolt[B)]

20141203_155056.jpg


so I altered the original dynamo coil mount to fit on the inner wing.

20141118_112158.jpg


20141205_141852.jpg


It just so happens the elephants trunk is about the same diameter as the dynamo

20141205_143139.jpg


20141205_143151.jpg


One side of the bracket was the perfect length and about an inch or so to cut off the other end:)
The king lead could do with being a tad longer to look neater but the original isn't stretched.

41fa30c8-22ce-43e8-bd12-188475a80292.jpg
 
Nice mod that bracket looks real tidy. Fitting an alternator is the way to go. Currently restoring a 1962 Mini Morris Traveller and although we wanna keep it standard it's also not gonna be a garage queen so some essential upgrades are need. Better brakes and a alternator are 2 of the things on that list.

This is a great little cat anyway wheels are awesome. Funny enough I just bought some like that but 10 inch. There normal mini steels wheel centres but with a big dish and aren't banded.

1962 Morris Mini Traveller
1968 Austin Mini Saloon - SOLD
1973 MK2 Raleigh Chopper
1979 Mini Clubman Saloon
1980 Mini Clubman Estate
1980 Ford Escort 4 Doors For More Whores
1983 Austin Mini City e
1988 Austin Metro L - The GF's Car
1994 Rover Metro Casino - The GFs other car.
On the hunt for a Commer camper van!
 
Watch out about mounting the coil vertically, sometimes there is not enough oil to cover the contacts under the plastic end and they fail as they overheat. I have had some fail because of this, ideally it should have the metal end up. I always have a spare one in the tool box! Hope you don't have any problems!
 
Thanks for the tip, I'll keep my eye on it. The coils is normally mounted on it's side and those in the know on the Moggy forum recommend fitting it vertical, I think the problem you describe is mainly with new coils, not as good as the old ones apparently:I

41fa30c8-22ce-43e8-bd12-188475a80292.jpg
 
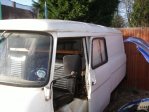
So now he's got his nice wheels it's time to give the little old chap a bit of pep:) 
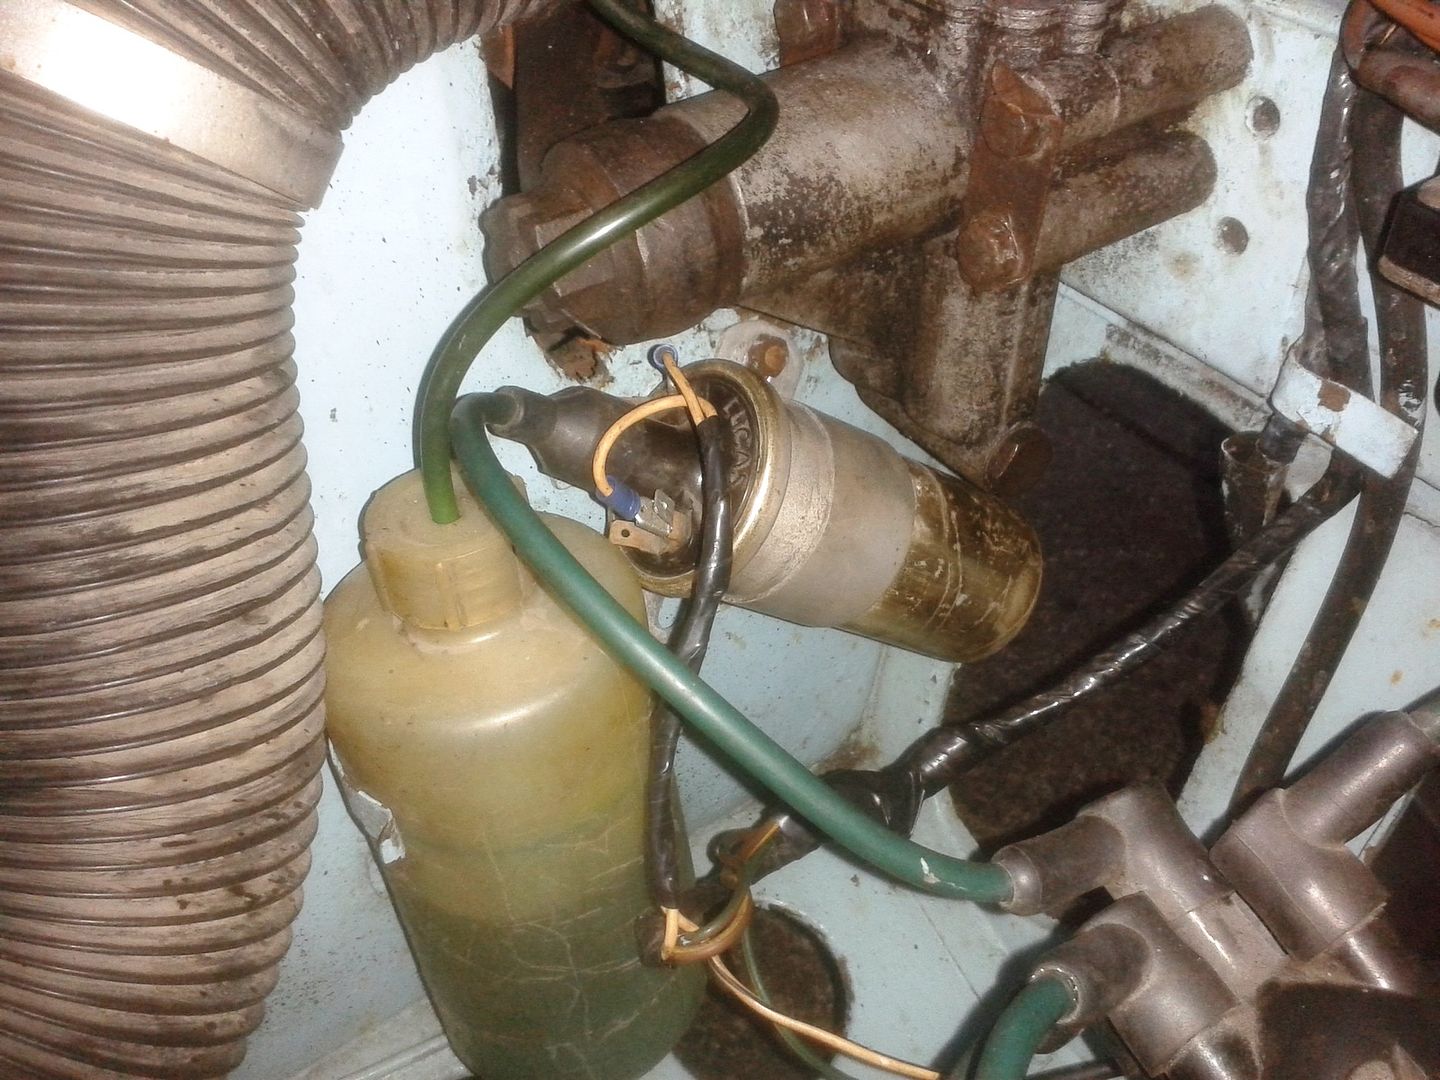
I had all the old Mini stuff laying around so I though it might be better put to good use:p
A nice 12G940 un-leaded head with nice big vales would be a start but the valve and bore spacing on the 1275 head is different to the 1098 and valves hitting the top of the block is an issue[xx(] There are a couple of ways around this the first being to 'pocket' the block where a recess is formed to give the valve room, another way is to cut the valve seat so the valve sits lower in the head. The magic number is .320" between (closed) valve face and the head face. As the clearance problem is only with the exhaust valves, and there's loads of meat on them, I decided to trim the valve face back to give the desired clearance.

Still plenty of meat left even after skimming

20150102_153733.jpg


Now clearance ranges between .322" and .325"[^]
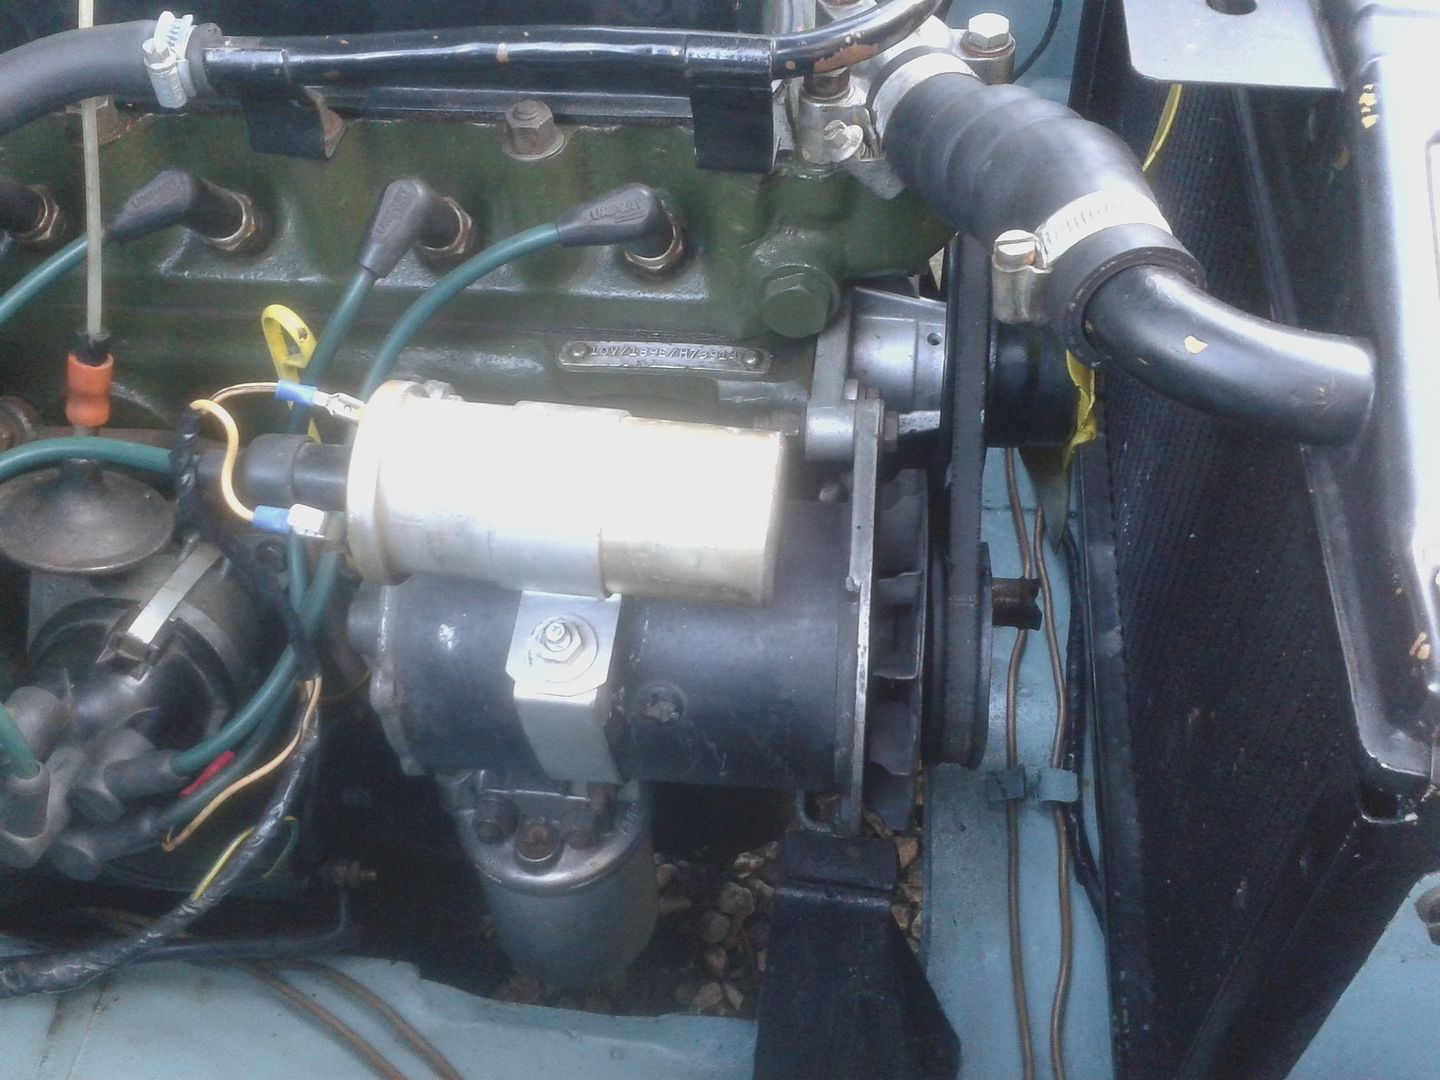
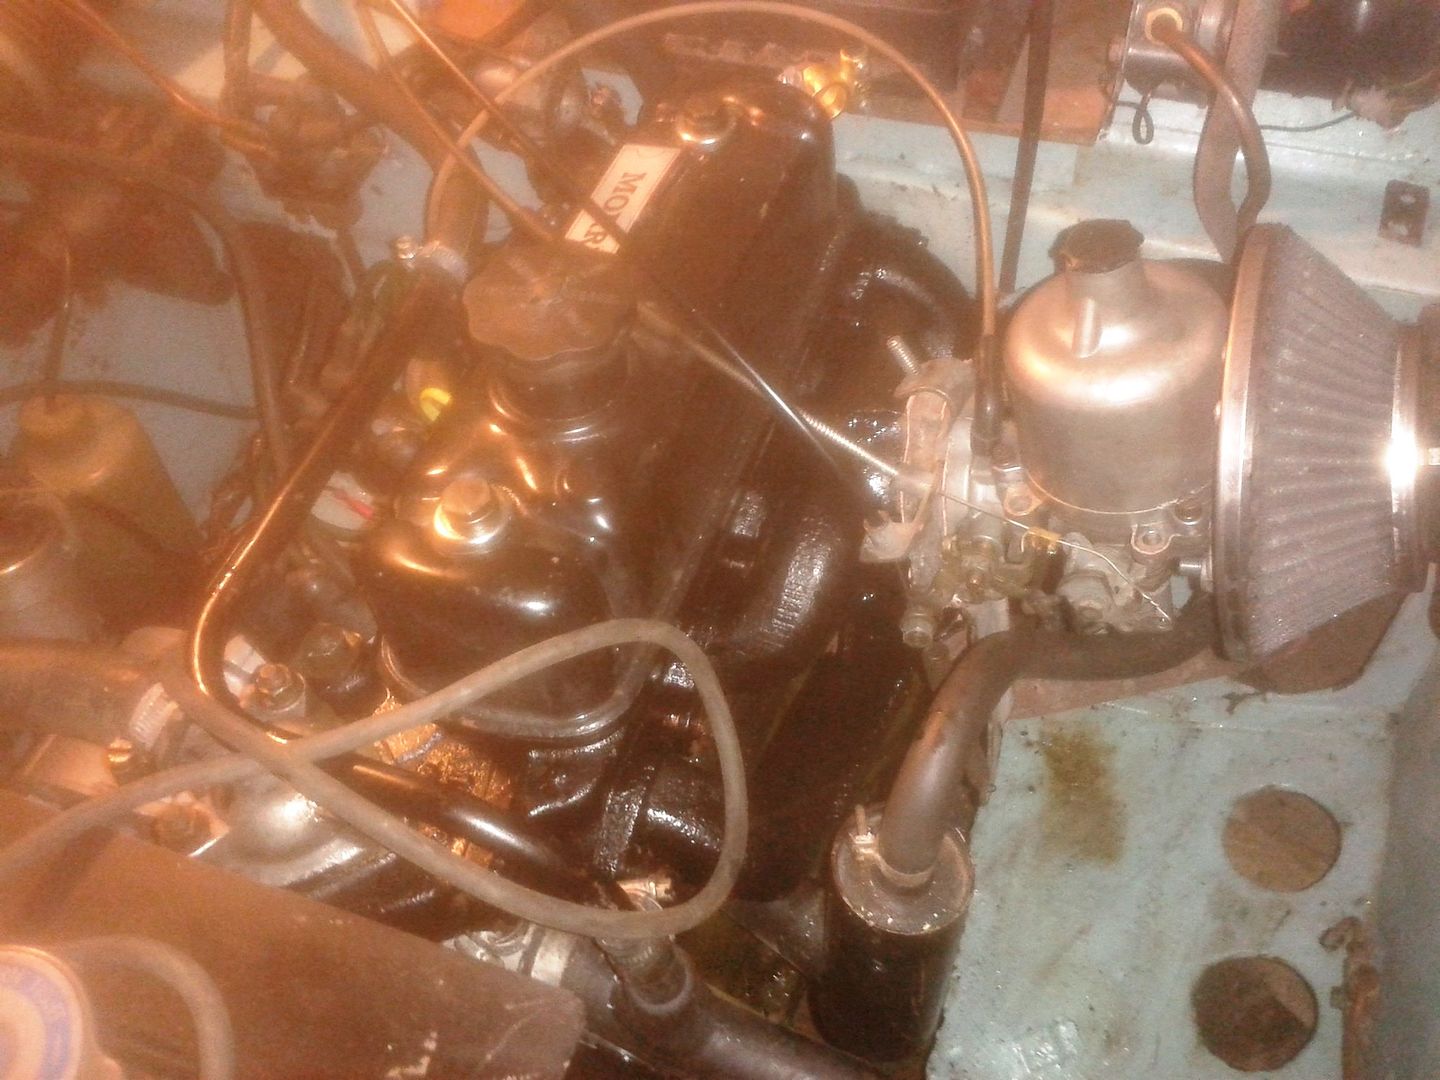
I decided to use a HS4 1 1/2" SU (sorry Tim:I), as any bigger on a standard 1098 just seems too much, and fit it to the manifold I nicked off a Mini 1100 engine I just happened to have kicking about. A couple of advantages in that it holds the carb at the correct angle and the existing exhaust fits straight on. Eventually I'll need a new exhaust and I'll fit a larger bore one but need to find a matching manifold to go with the alloy inlet manifold I already have[^]
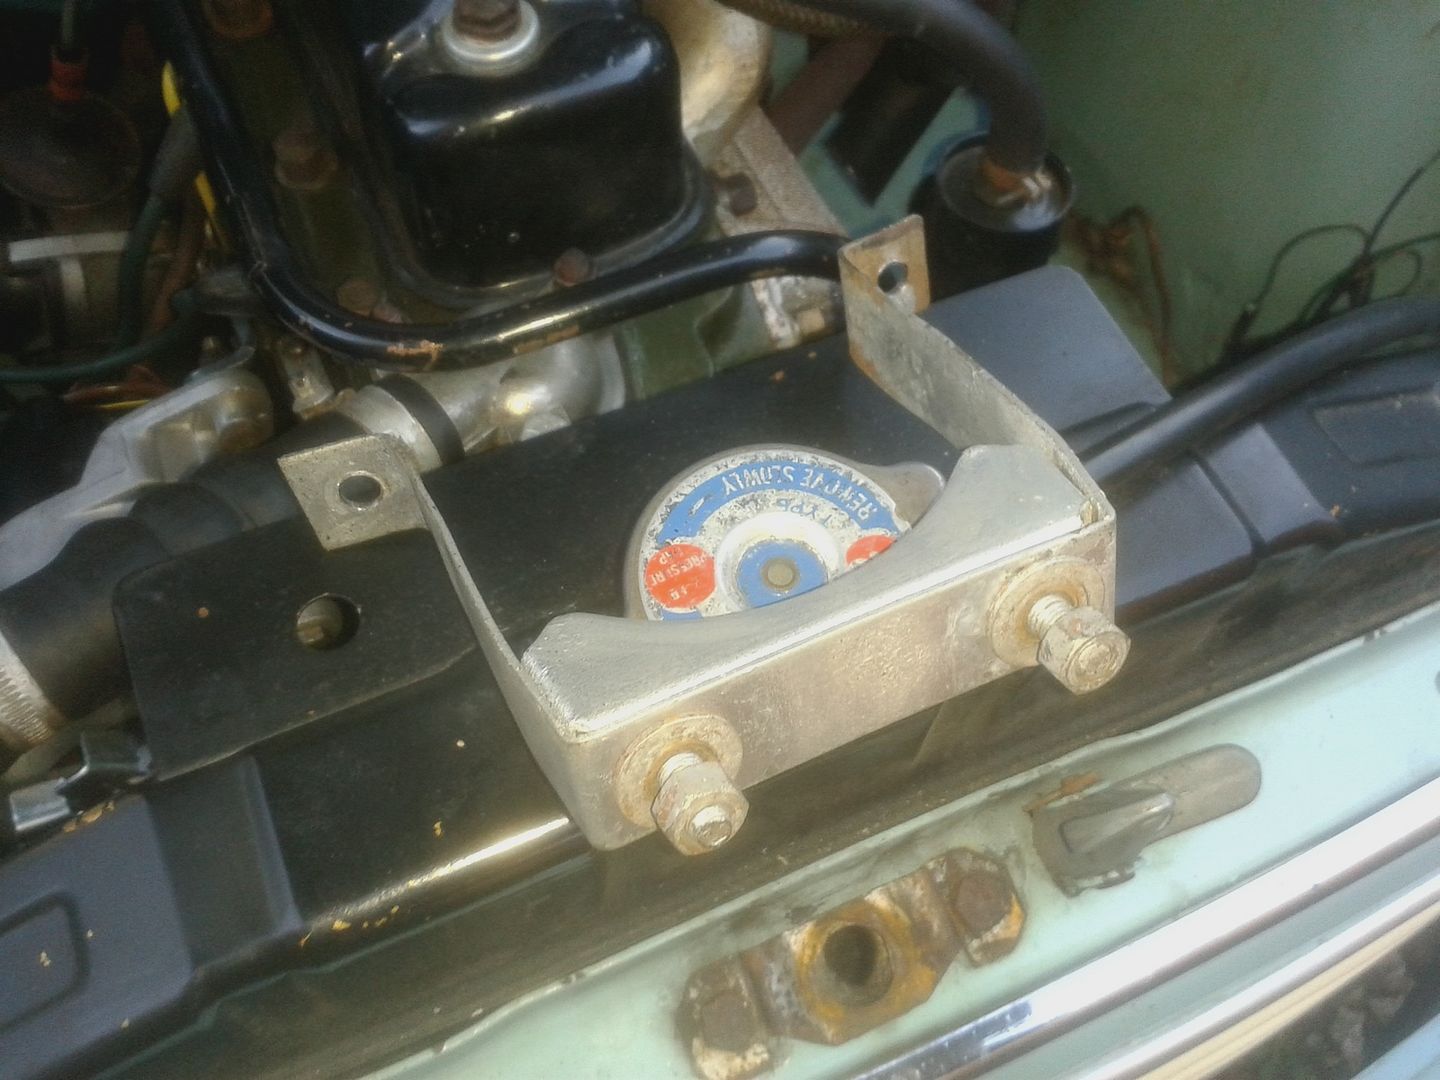
While I was at it I fitted a crank shaft damper pulley.


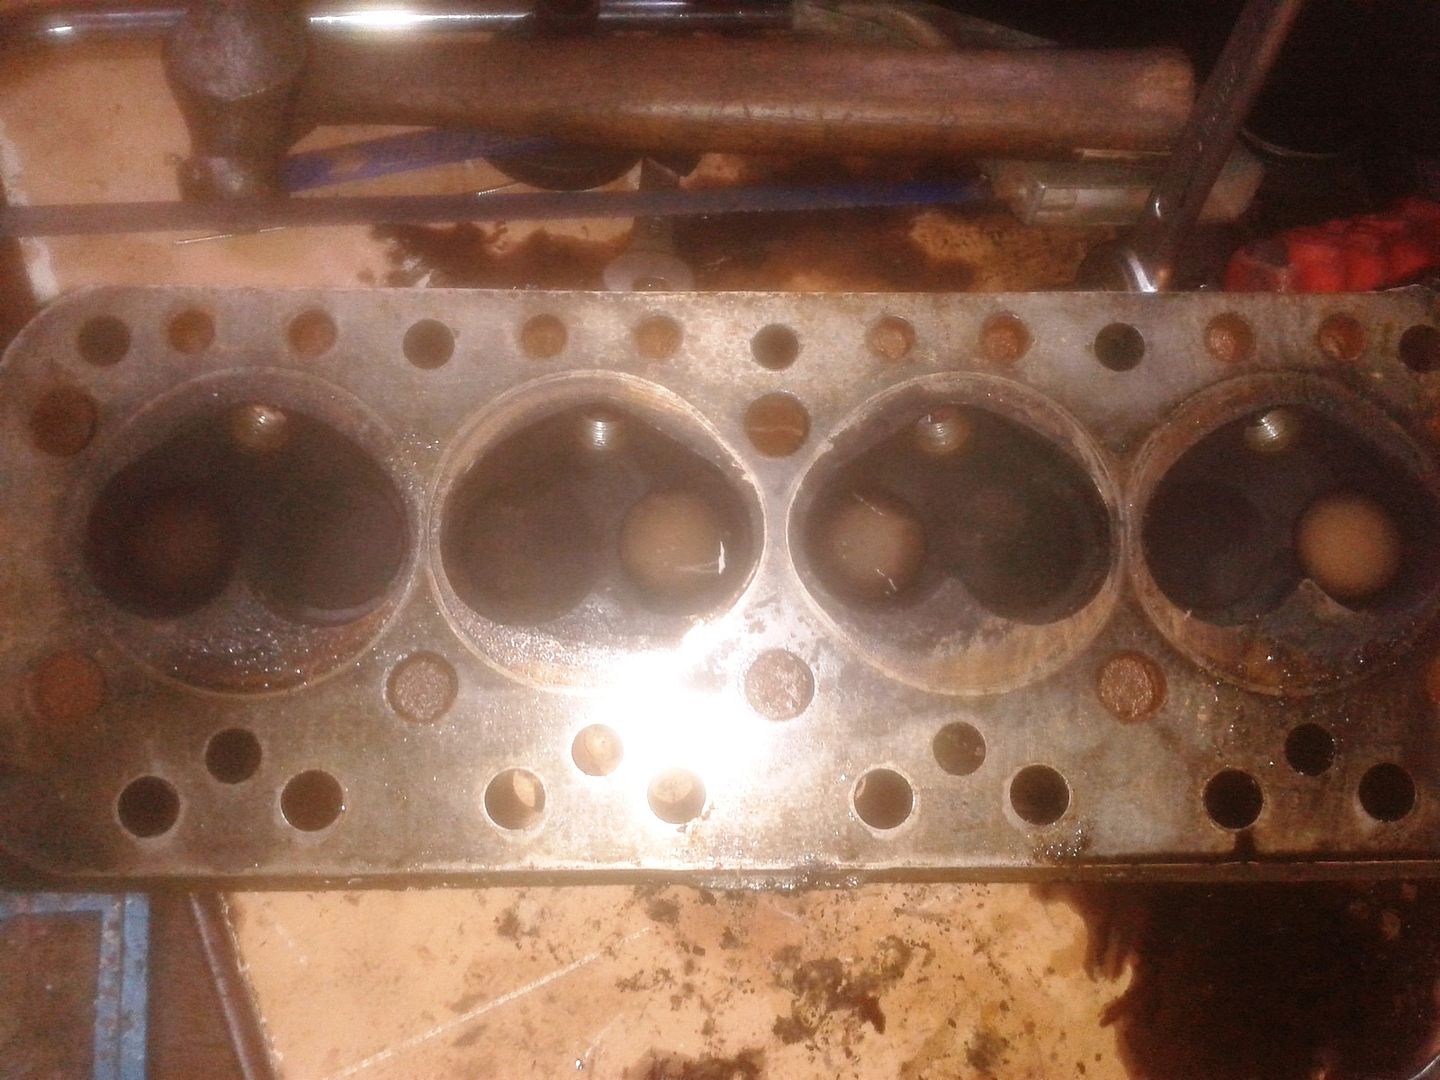
New head ready to fit
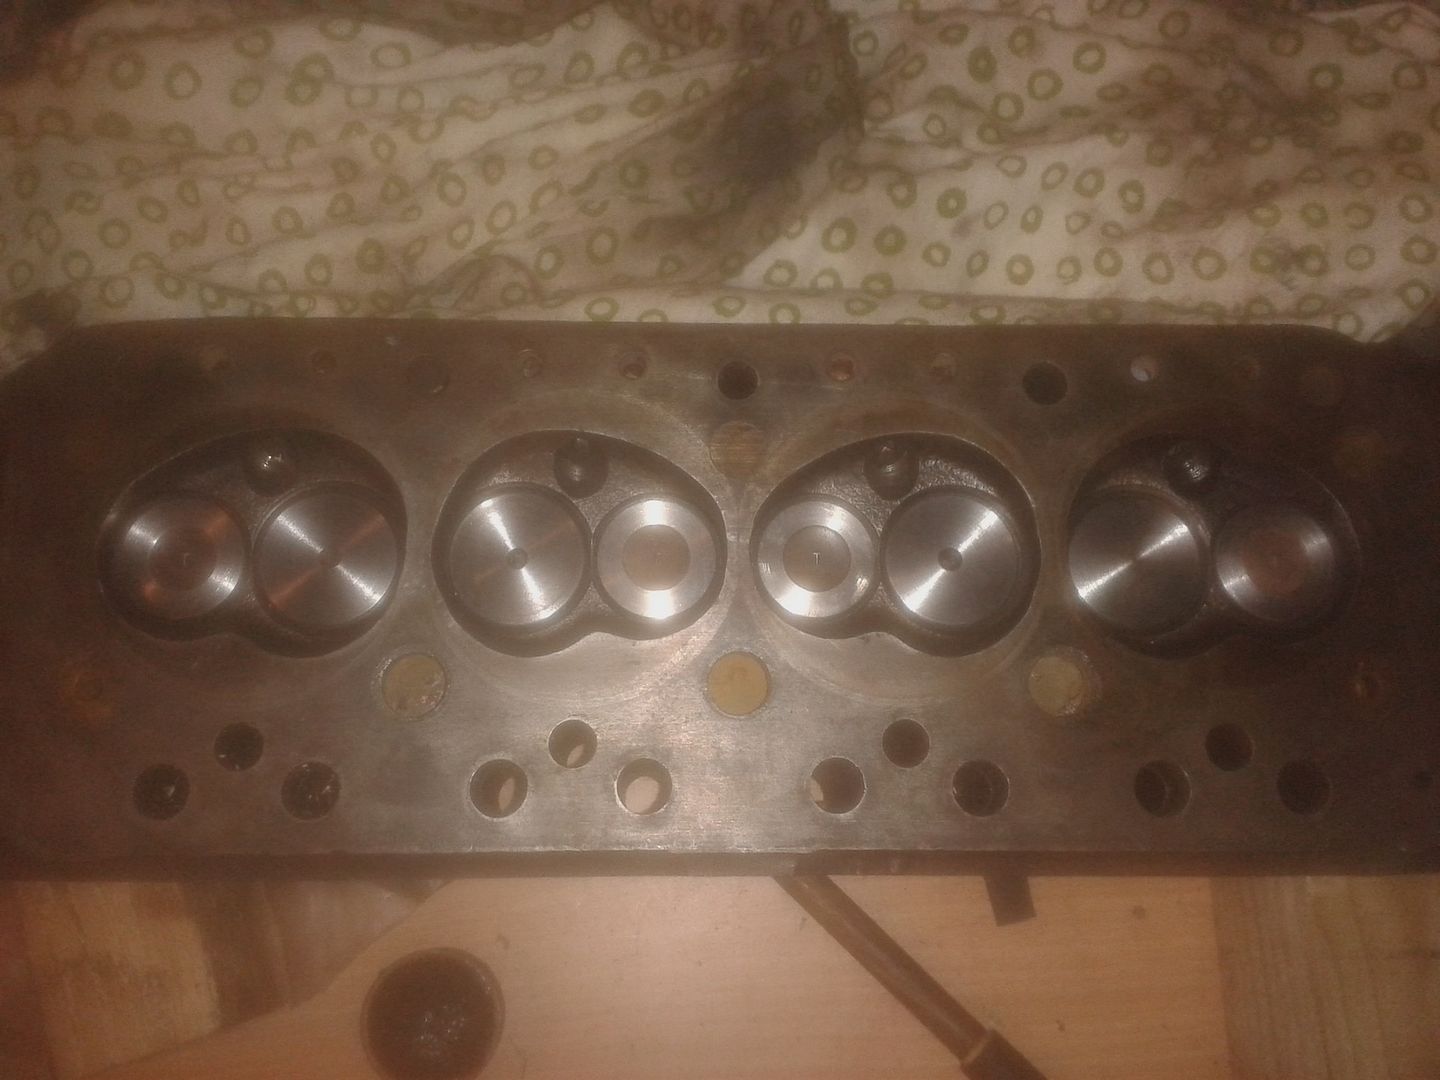
20150102_161120.jpg


Old head

20150123_120236.jpg


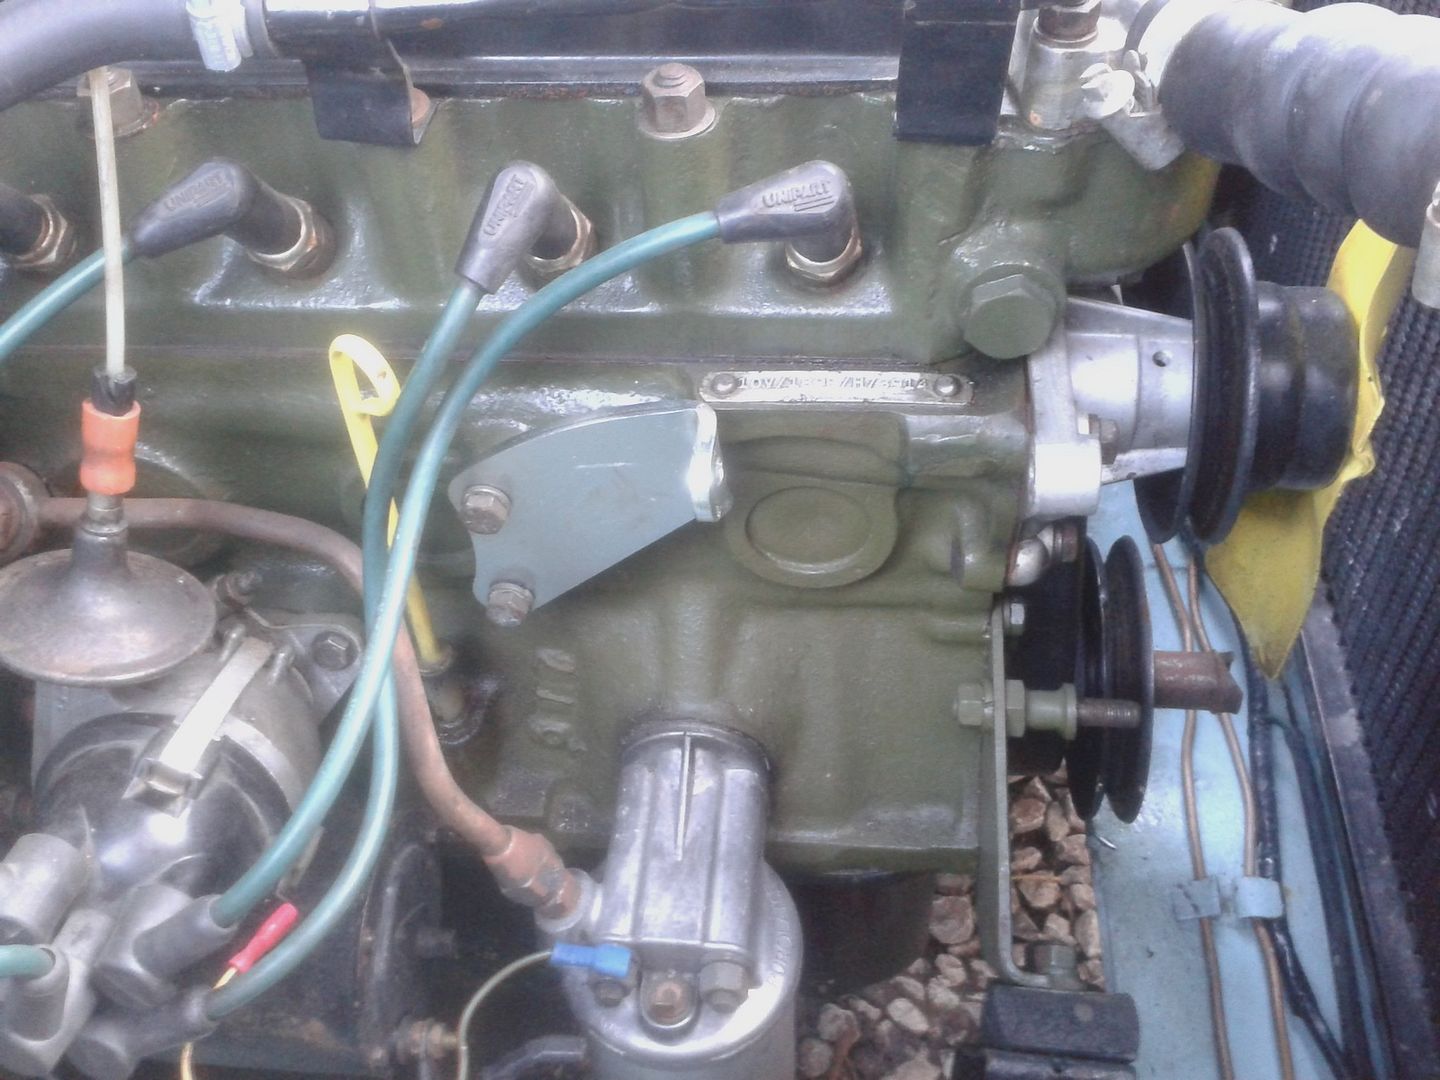
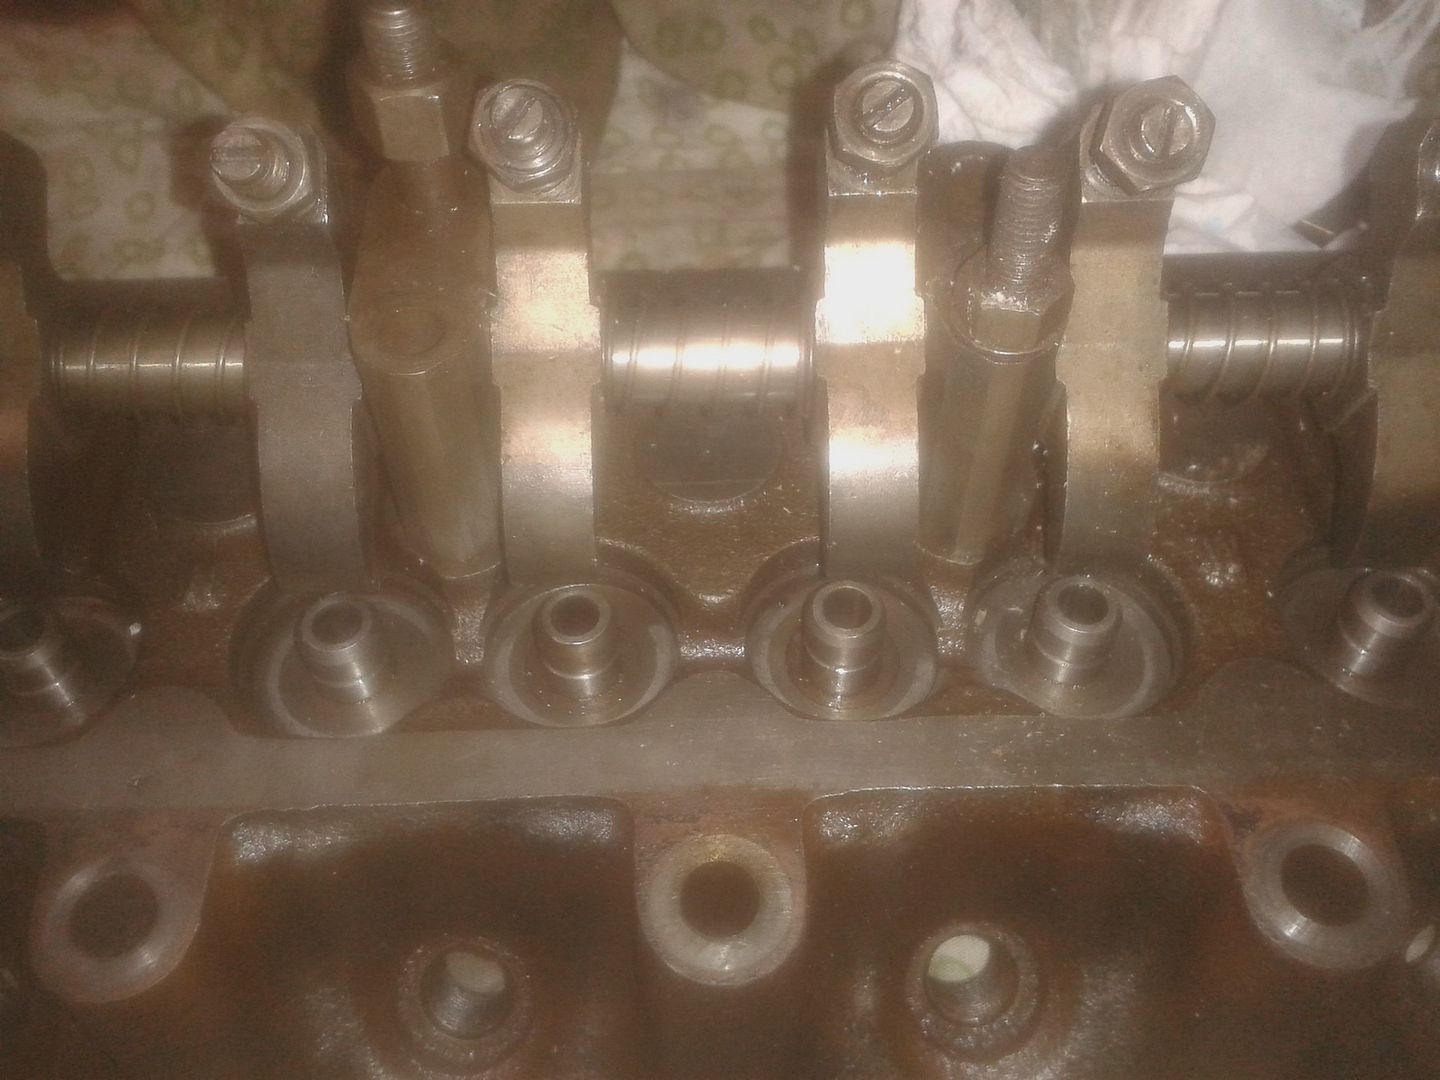
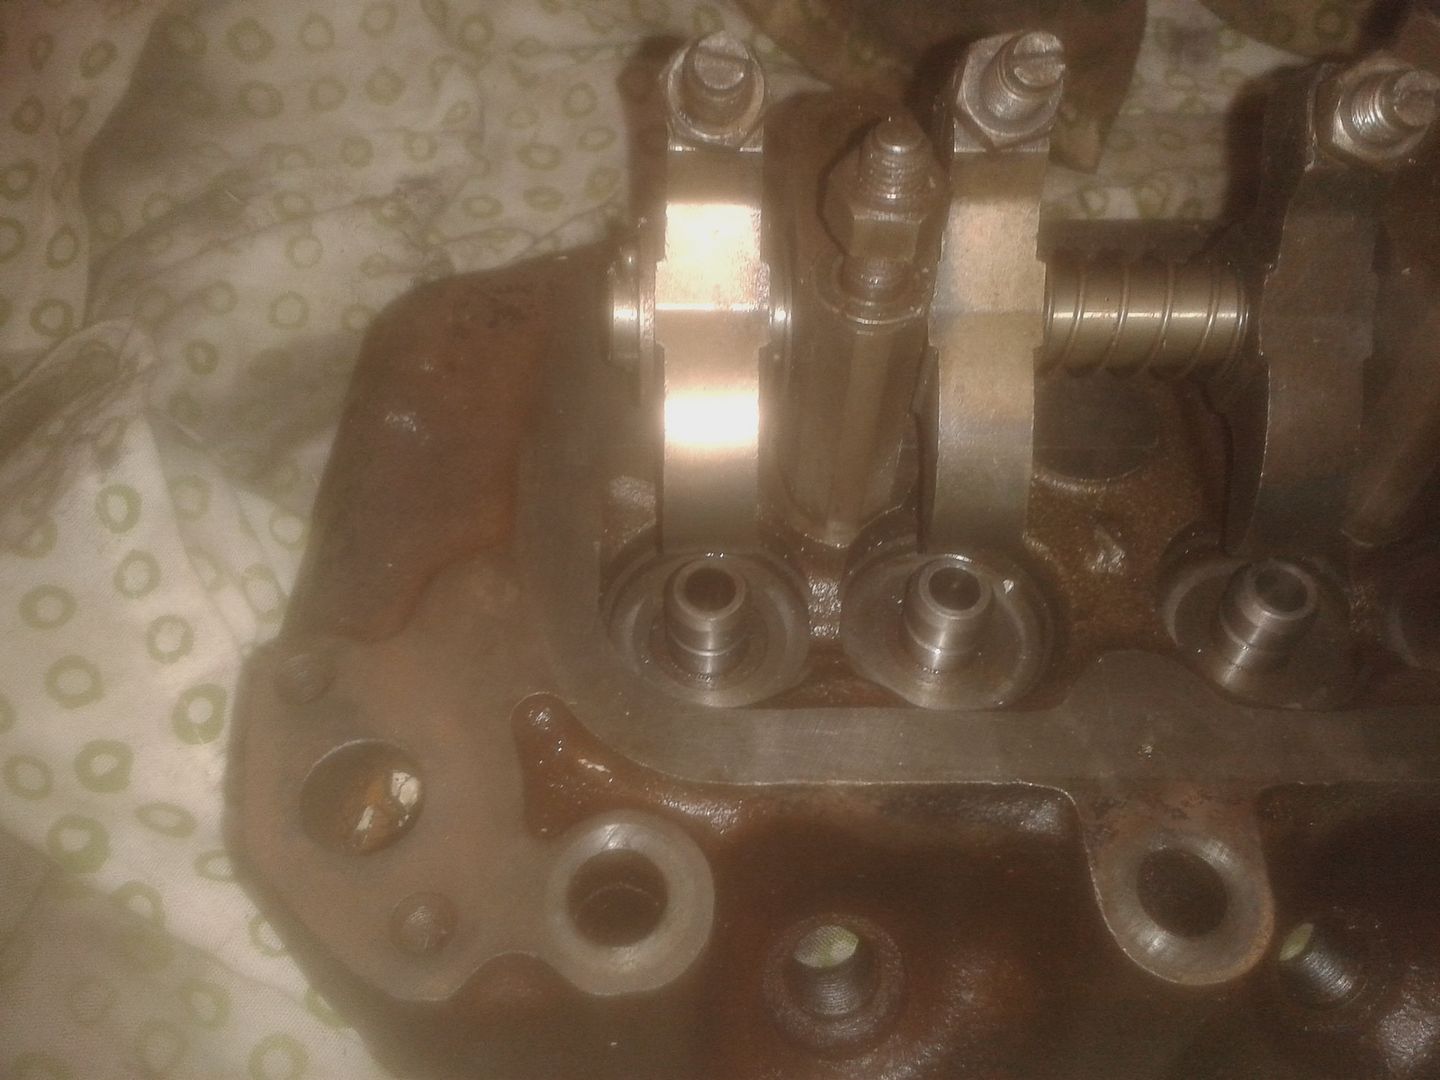
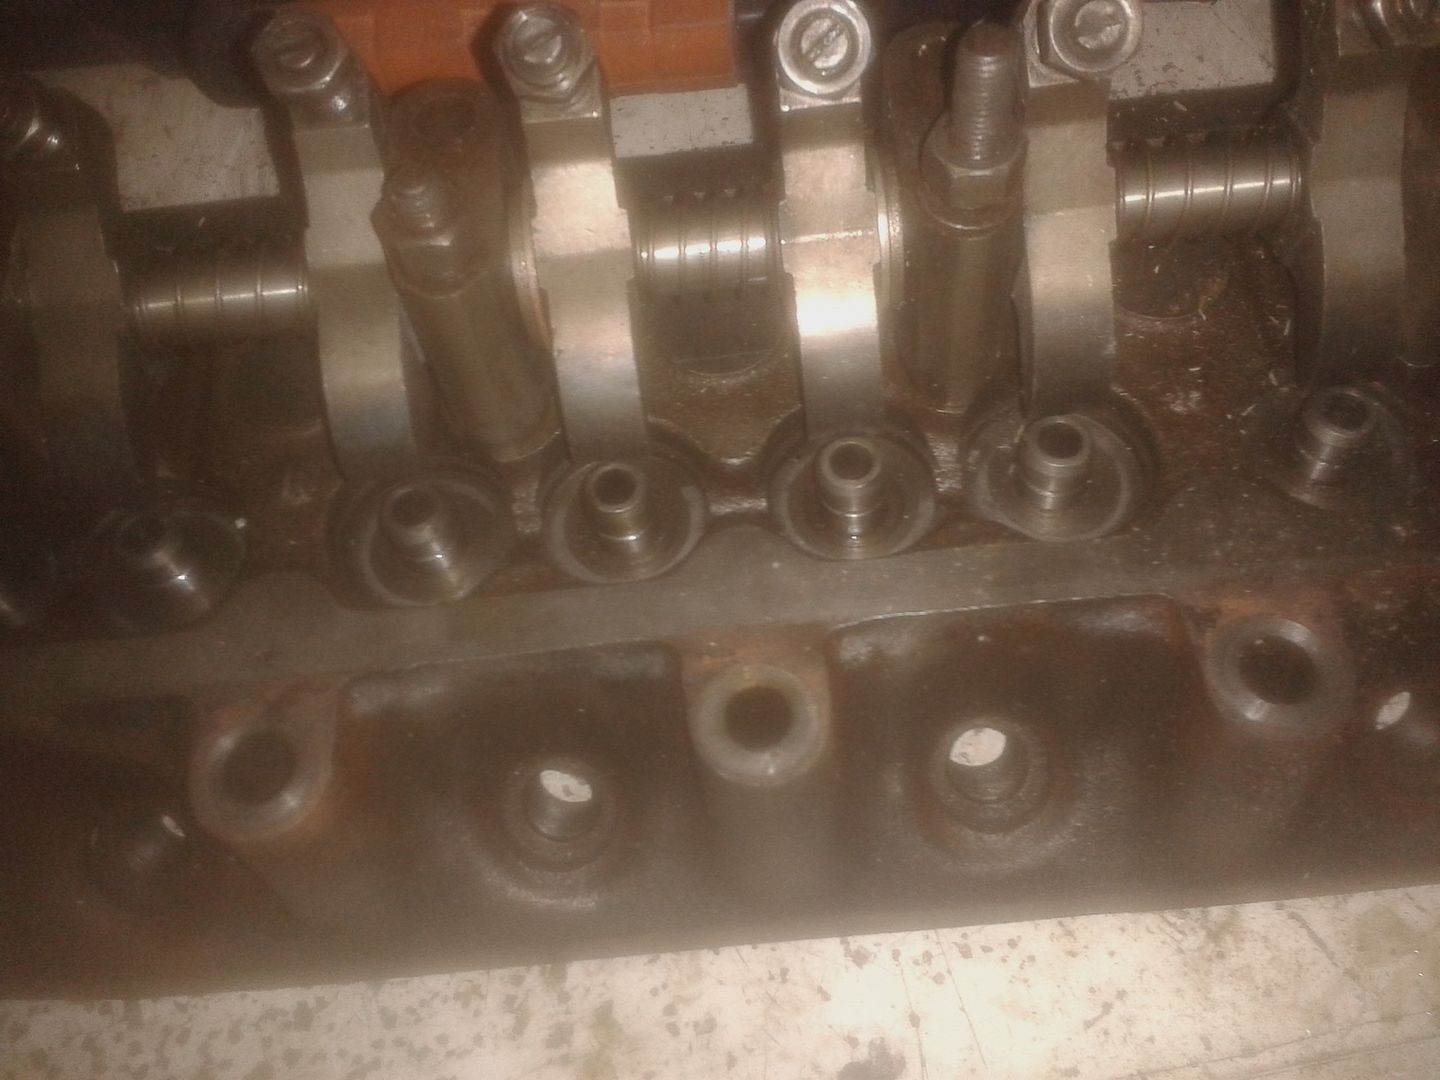
I had to use the 1098 rocker assembly but this needed attering to suit the 1275 valve spacing

You can see in this pic how the rockers don't line up with the valve stems

20150107_142440.jpg


Some rockers needed packing away from the support pillars with washers while others needed filing down to position them. The end ones just needed the tension springs fitting on the opposite side of the rocker.

20150107_142421.jpg


20150107_154115.jpg


20150107_154810.jpg


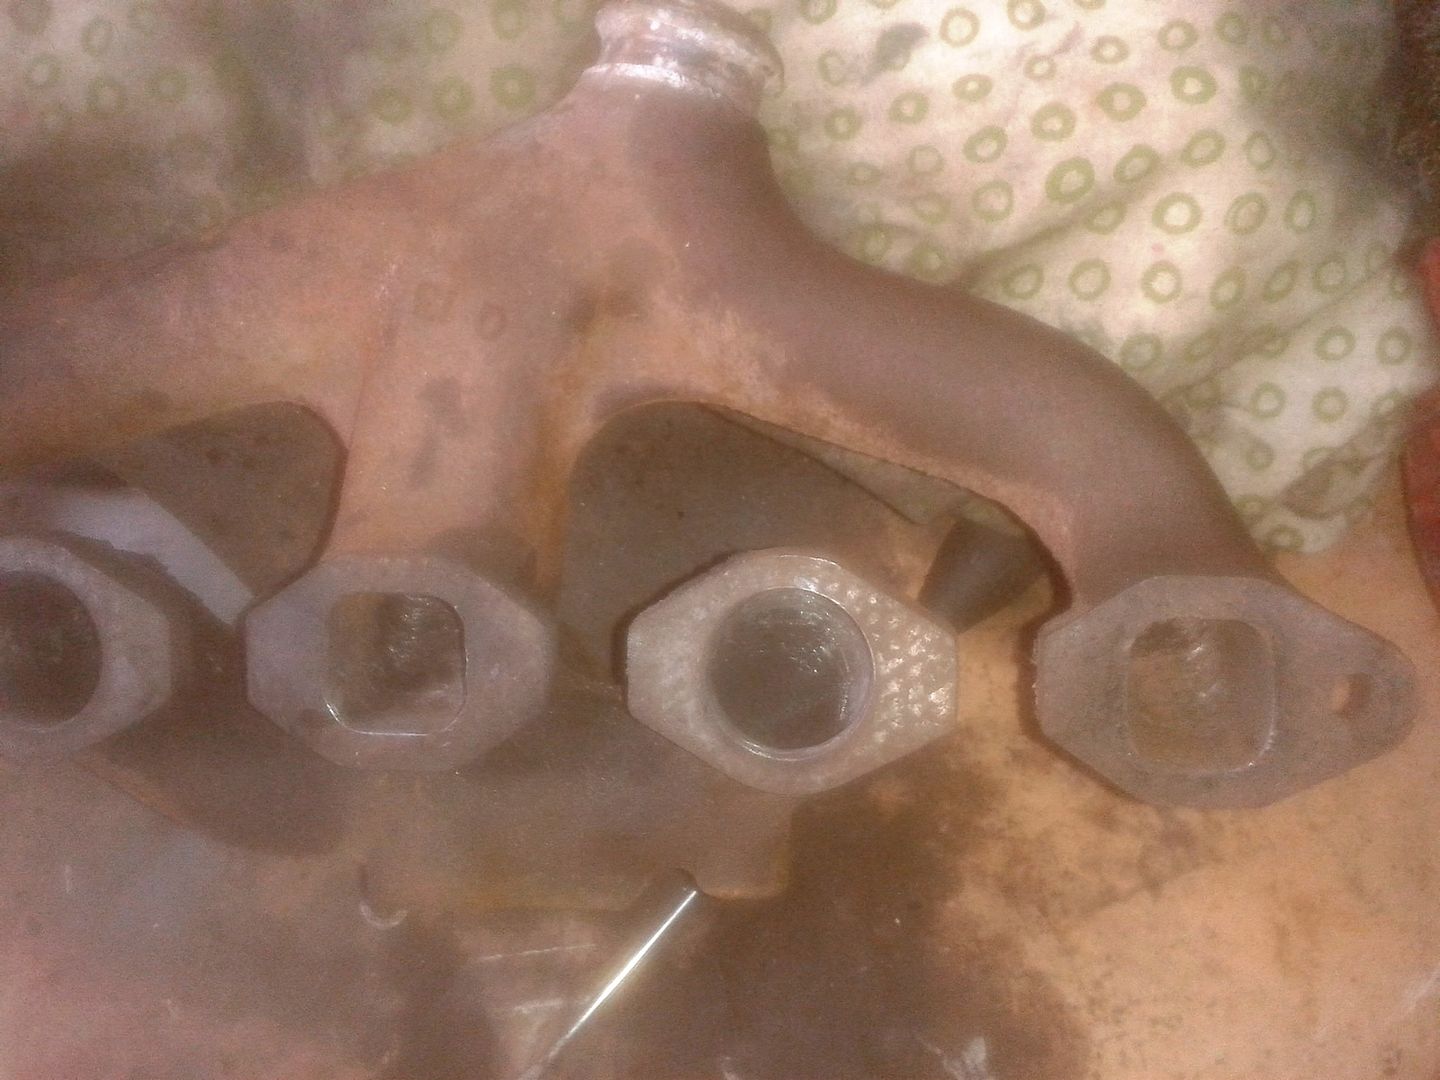
I opened up the exhaust manifold to match the ports on the head
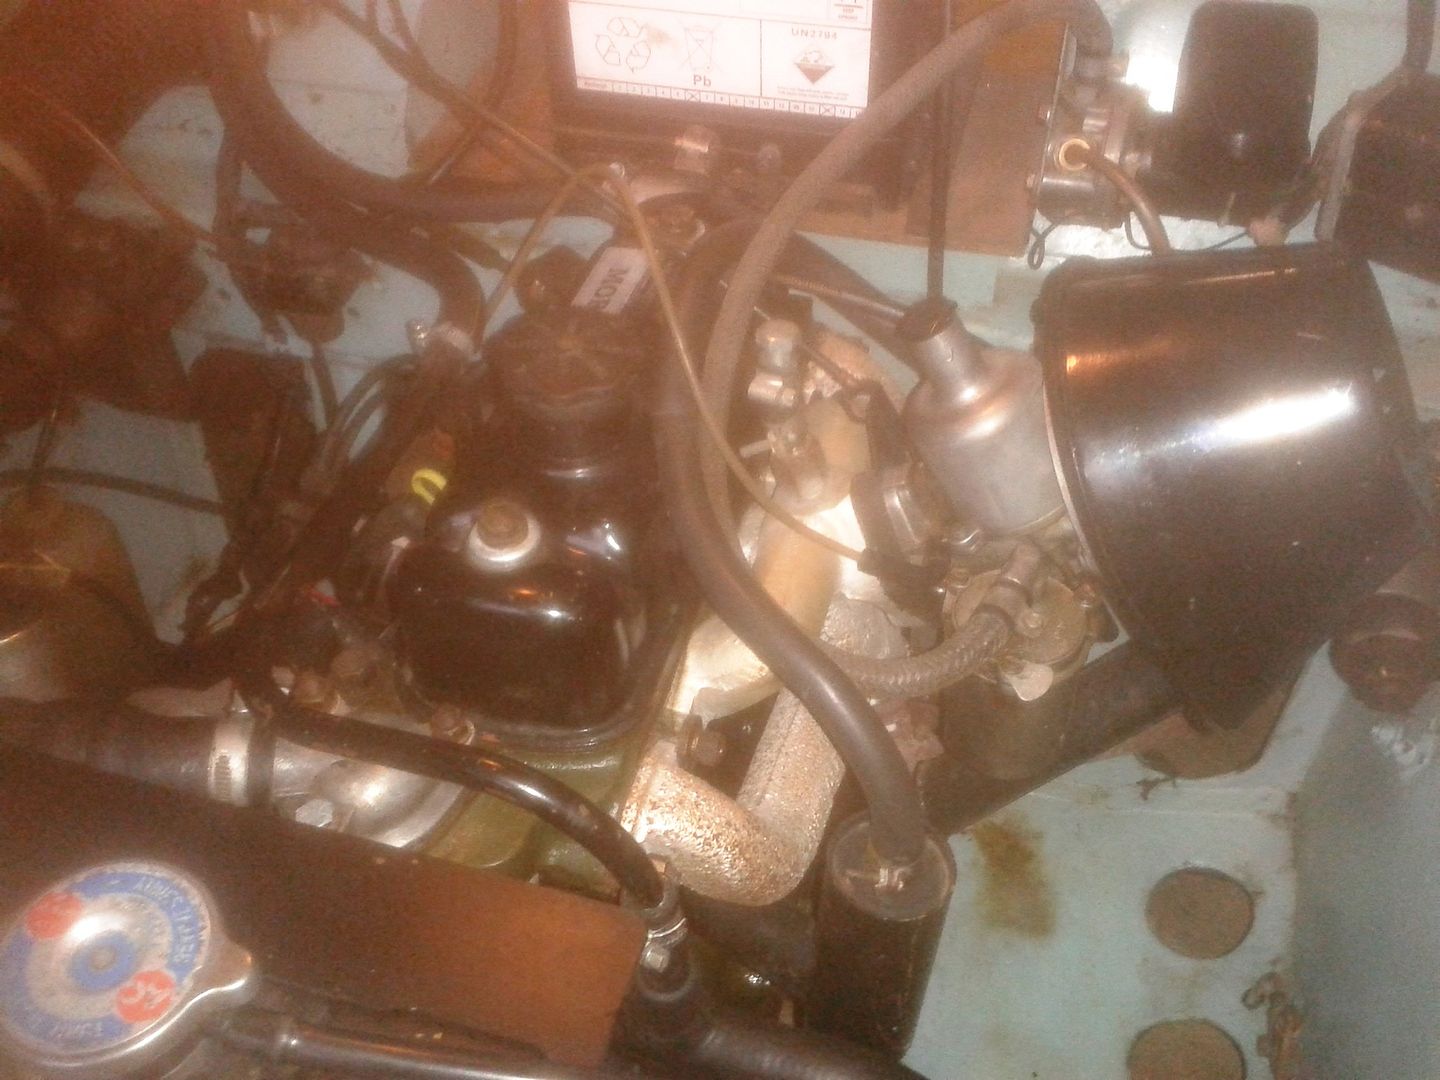
20150117_152234.jpg


As he was

20150121_120523-1.jpg


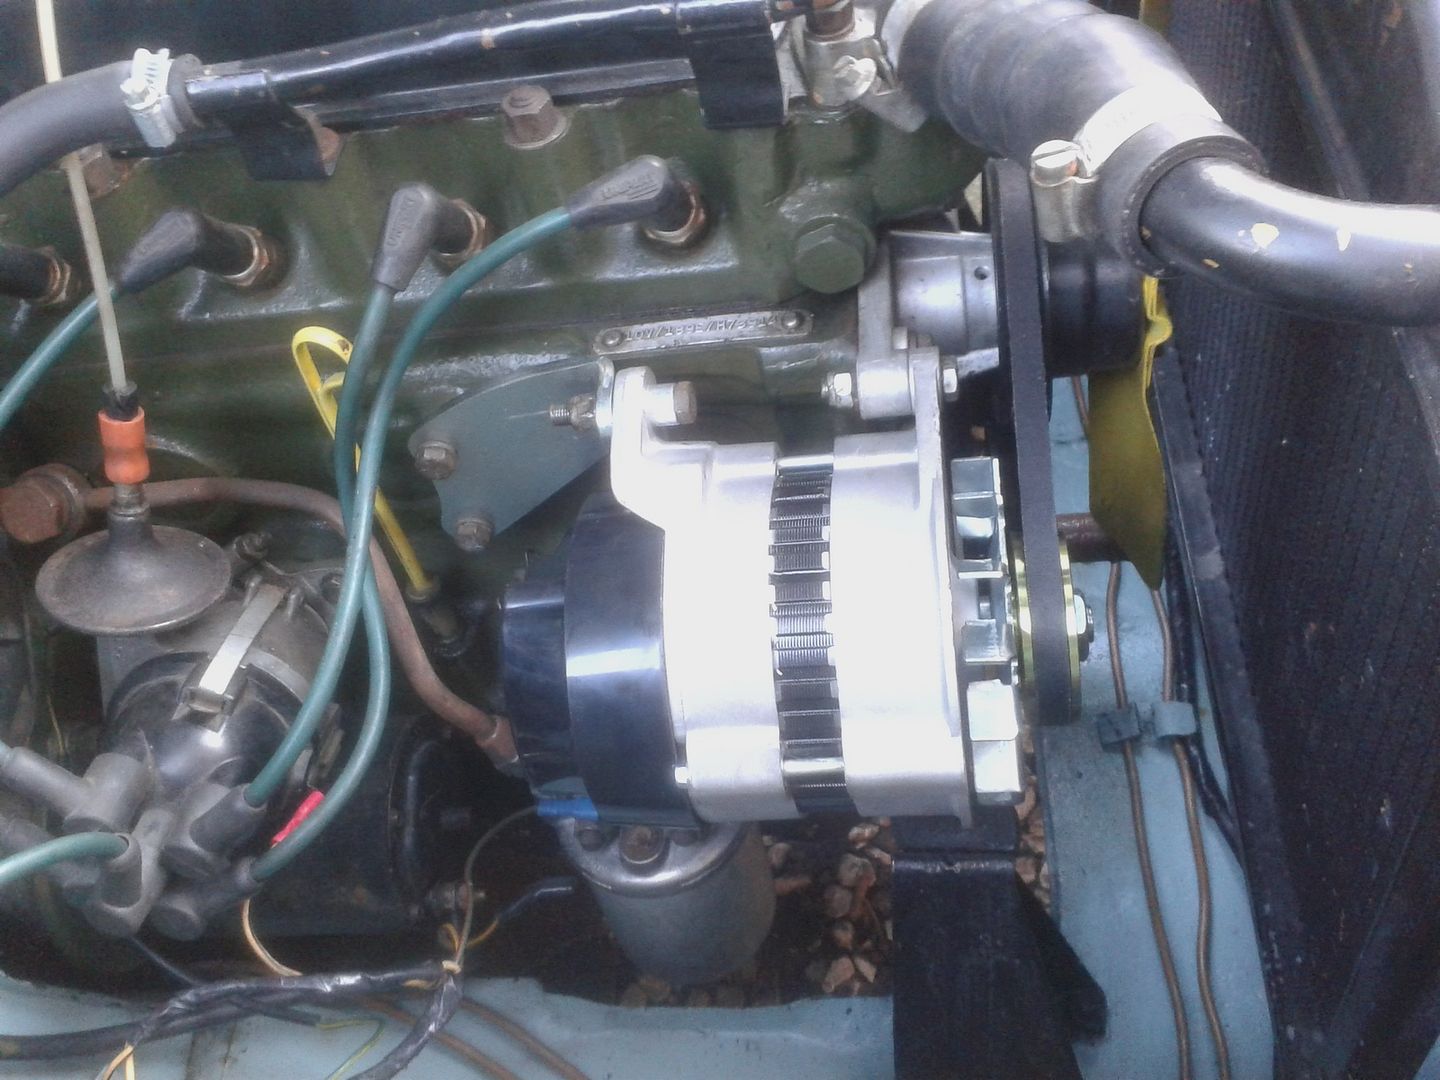
The new installation

20150122_170431-1.jpg


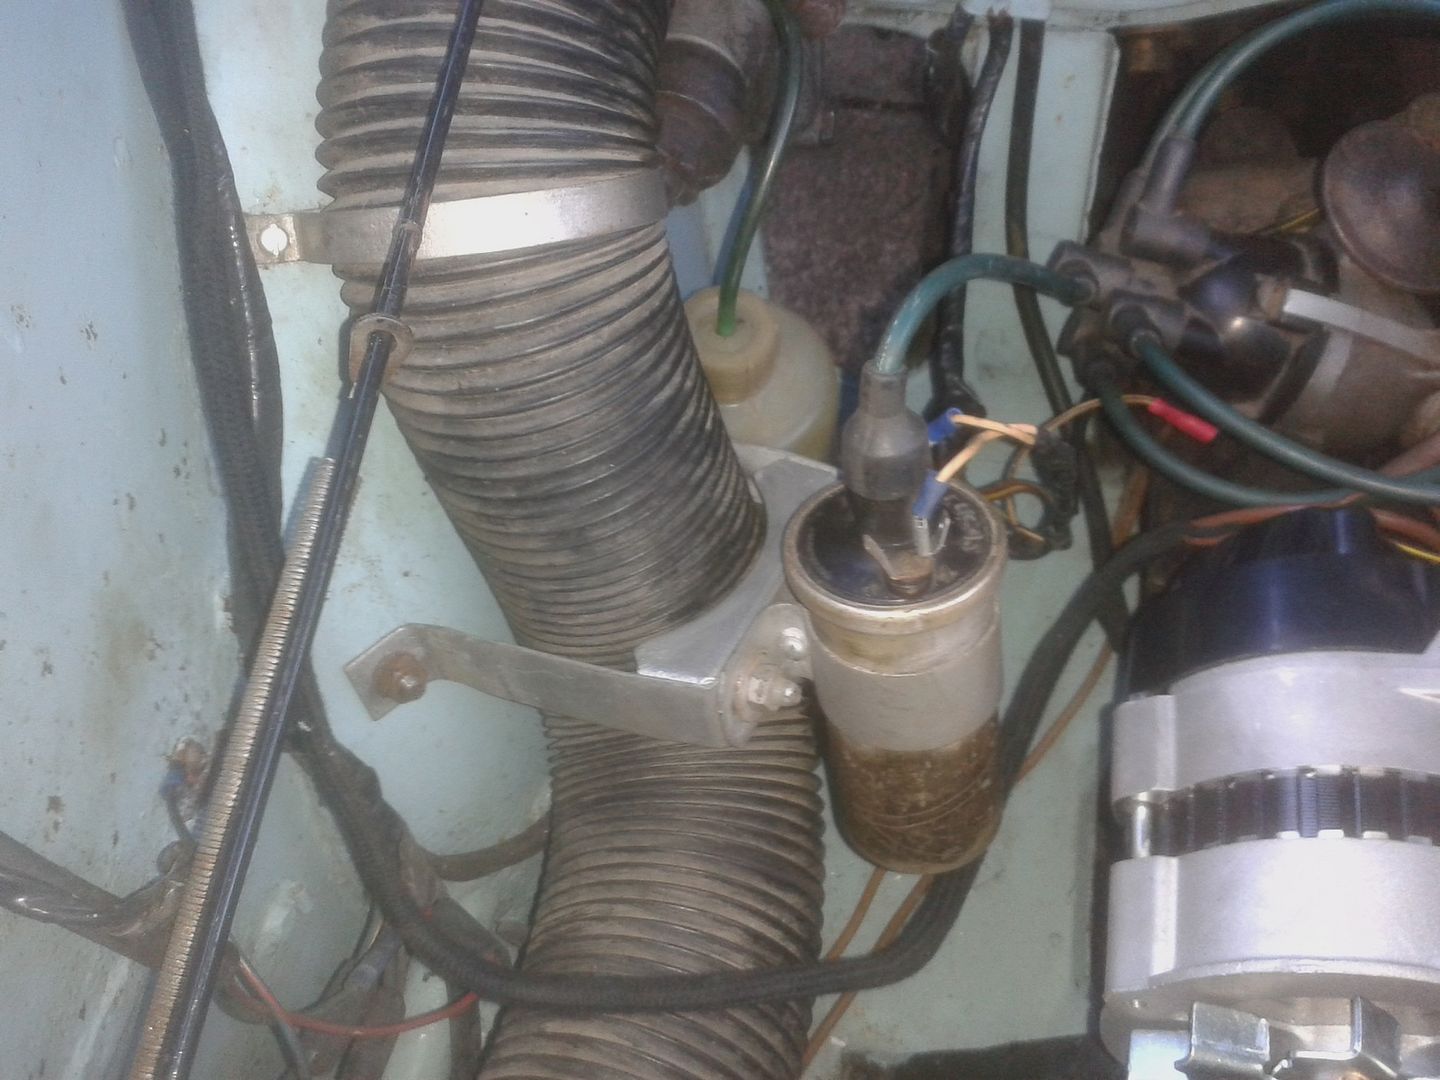
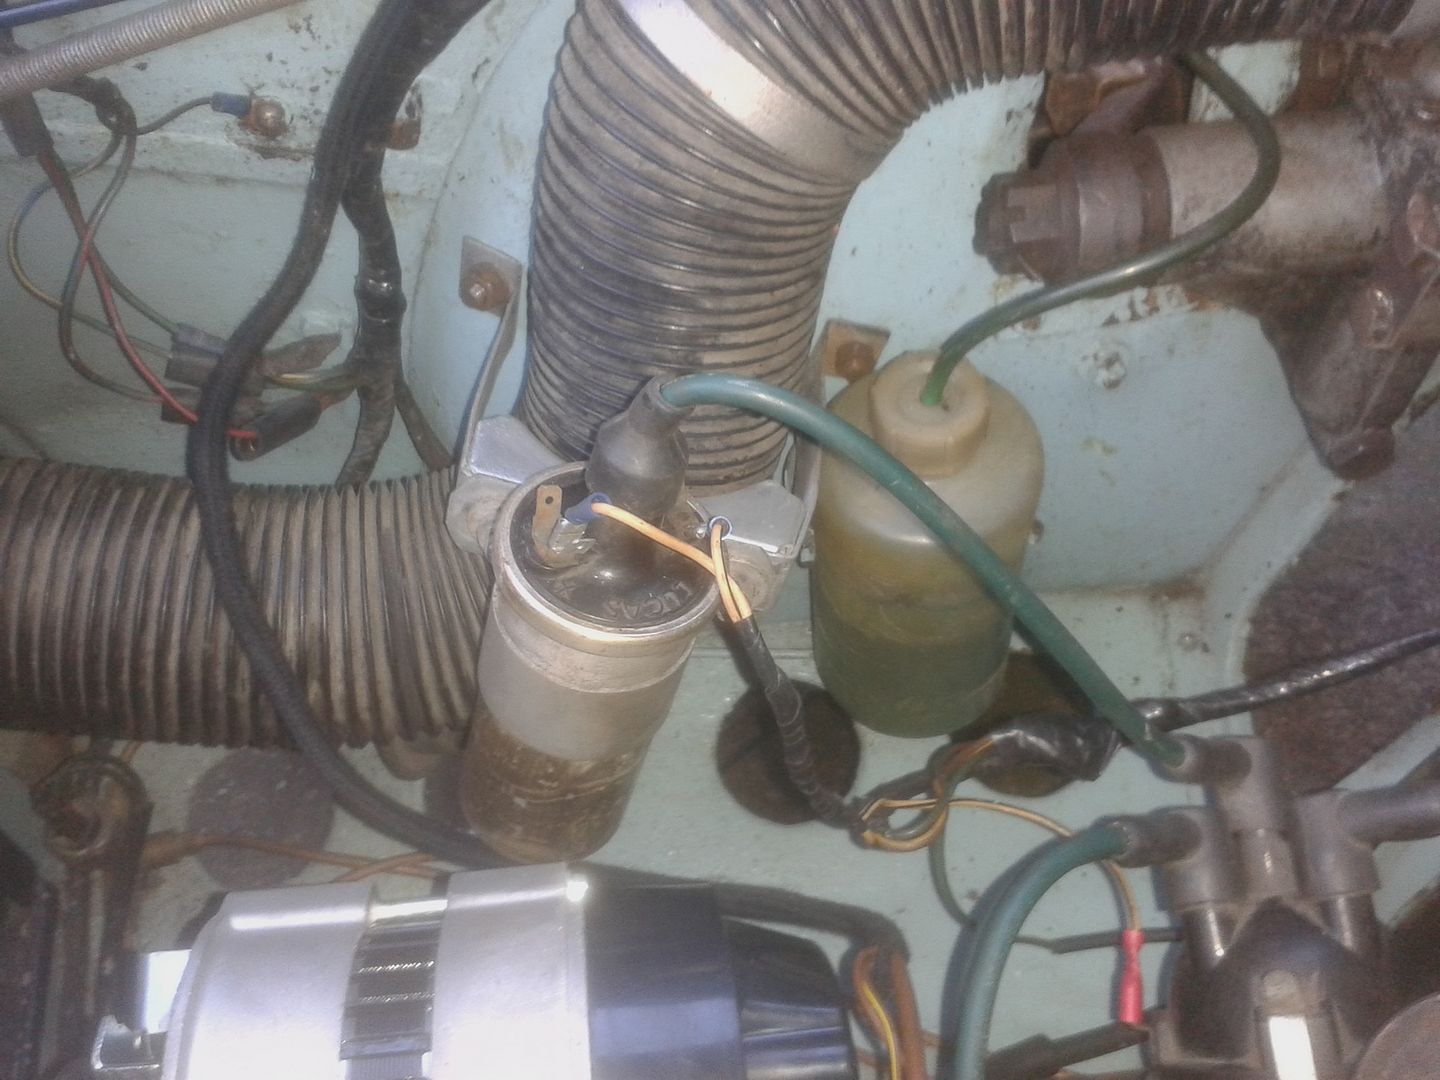
But then I decided it needed some bling[8D]

20150123_144539-1.jpg


And so after initial set up I took him for a blast up the road - a bit disappointing [V] But after a few tweaks on the mixture screw I got him running a lot better and much nippier - but I think I need an AAA needle as the one fitted seems a bit lean. The only problem is the noise from the K&N, for my daily driver it just doesn't seem appropriate so I think I'll try it with the original Mini filter (sorry again Tim) but it's got to be better than the tiny thing that was on there originally:)

41fa30c8-22ce-43e8-bd12-188475a80292.jpg
 
Well done Panky :) well at least the HS4 is a bit better than the H4. I doubt you want a AAA needle as that's extremely rich.
You may have lost some compression though, as the 940 head has bigger chambers.
And i hope you put a big radius on that valve margin.
You could stick a hose on the carb and put the K&N in front the rad.

4650583641_dba2503b41_o.jpg

"You,re only supposed to blow the bloody SLIDING doors off"
Founder of the 6 speed club
 
Didn't aim for a big radius but I think the chrome cover is worth at least 50bhp:)
Surprised at the combustion chambers as I was working to this

http://www.minimania.com/Cylinder_head_-_Identification_by_casting_number

And assumed the Minor 1098 had a larger nominal cc than the 1275 head:I

41fa30c8-22ce-43e8-bd12-188475a80292.jpg
 
Back
Top