Ha Ha, I know!!Glad to see it appear back on here.
For the record...... none of the dodgy floor repairs were mine")

You are using an out of date browser. It may not display this or other websites correctly.
You should upgrade or use an alternative browser.
You should upgrade or use an alternative browser.
1972 Commer PB - another Resto thread
- Thread starter LMR
- Start date

Saul
Active Member
When you have it white it is usually because it has either gone on too thick and needs time to dry or it hasn't dried yet.
When I used to use it in a workshop that had no heating I had a heat gun that I would speed up the drying with. It converts and turns black if you apply it gently. no need for a second coat if you cover the rust and area completely.
Just do the unpainted / metal and rust exposed areas.
I also used to give it a light sanding to remove the areas where the aquasteel had pooled too thick and then you can go straight over with a hi-build primer and keeping sanding back between coats.
I cant remember but I don't think Etch primer liked going over it too much so I only used etch on new clean steel.
I've had a bit of a break from the Commer, real life stuff getting in the way.
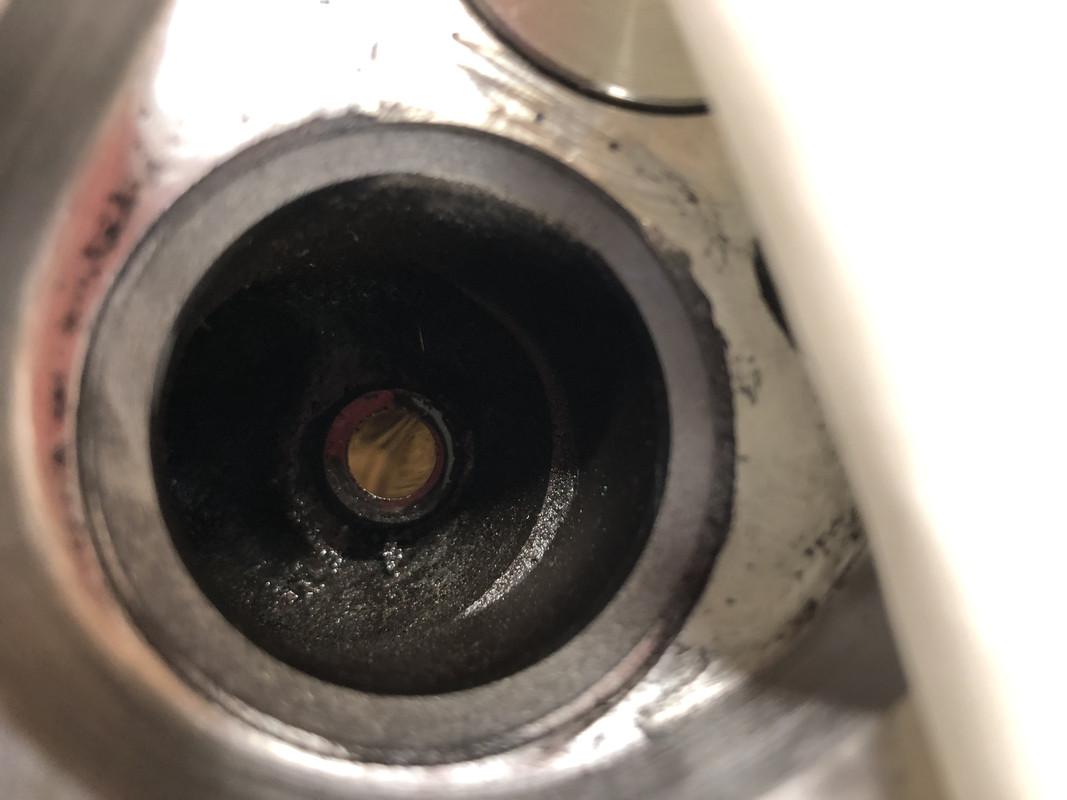
It's far too cold to be lying on the floor in my unit so I have instead been addressing the cylinder head. When I bought the van the cylinder head had been removed as there was some damage. I have had this cast iron welded by my local machine shop and remachined. I am busily working through and grinding the valves.

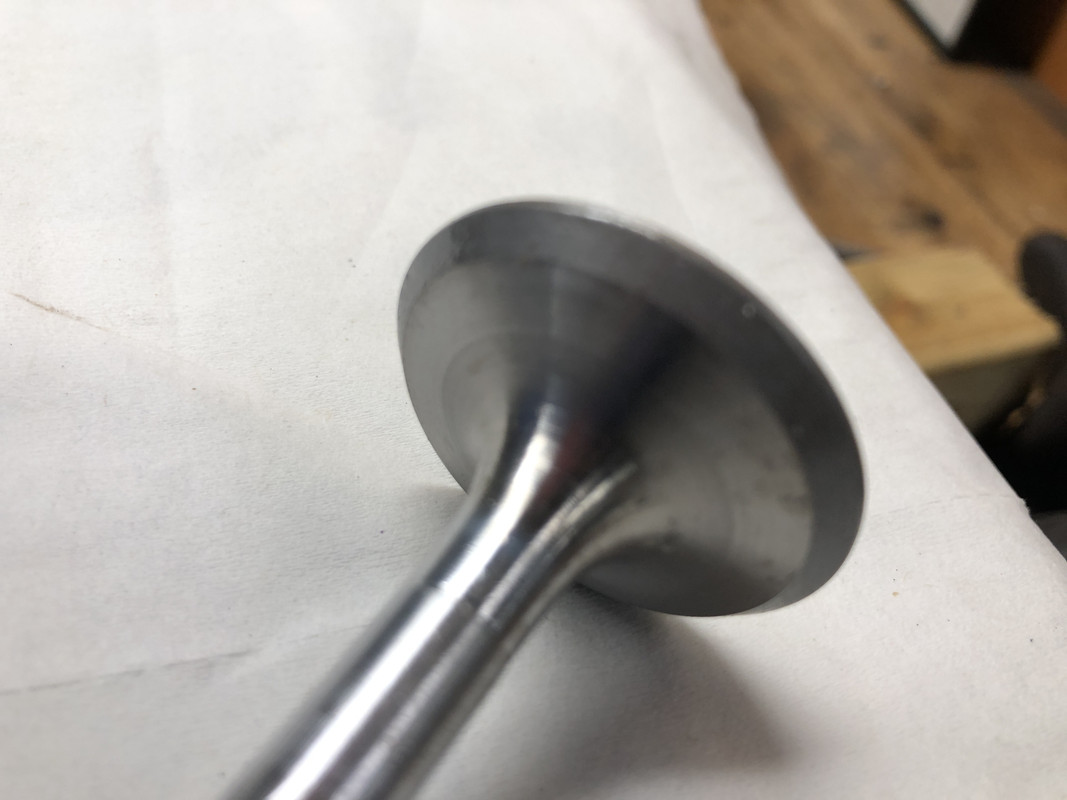
I have managed to buy some NOS valve springs. I will reassemble the head next weekend.
The water pump is still fitted. Do I need to remove this before I put the head back on?
It's far too cold to be lying on the floor in my unit so I have instead been addressing the cylinder head. When I bought the van the cylinder head had been removed as there was some damage. I have had this cast iron welded by my local machine shop and remachined. I am busily working through and grinding the valves.
I have managed to buy some NOS valve springs. I will reassemble the head next weekend.
The water pump is still fitted. Do I need to remove this before I put the head back on?
Ive the alloy head and you do on that one. Whilst the heads off have you thought about the Vizard porting and grinding? There’s a sticky thread on the forum. Meant to be good for 10-12% more power but takes a good few hours of work
Did your Vizard mod make a noticeable enough difference to be worthwhile Panky?
I felt it at first but you soon get used to it. A noticeable difference but not huge and only really comes into it's own if you boot it hard I think - but I did feel a bit more of a mid range urge too. So yes I think it's worth it and it's a nice exercise to do, I would recommend a skim afterwards to bring the CR back up a bit.
And wear a good mask, fine metal dust isn't good for the lungs - that's why David Vizard moved to a dry USA state as his damaged lungs could no longer take the British climate.
And wear a good mask, fine metal dust isn't good for the lungs - that's why David Vizard moved to a dry USA state as his damaged lungs could no longer take the British climate.
Good advice on the mask thanks, got a alloy spare head I’m going to practise on. The engine that’s in I need to do something as the compression is too high @190 and it can clatter a tiny bit at the wrong revs, wrong hill etc. Vizard will probably sort that out perfectly.
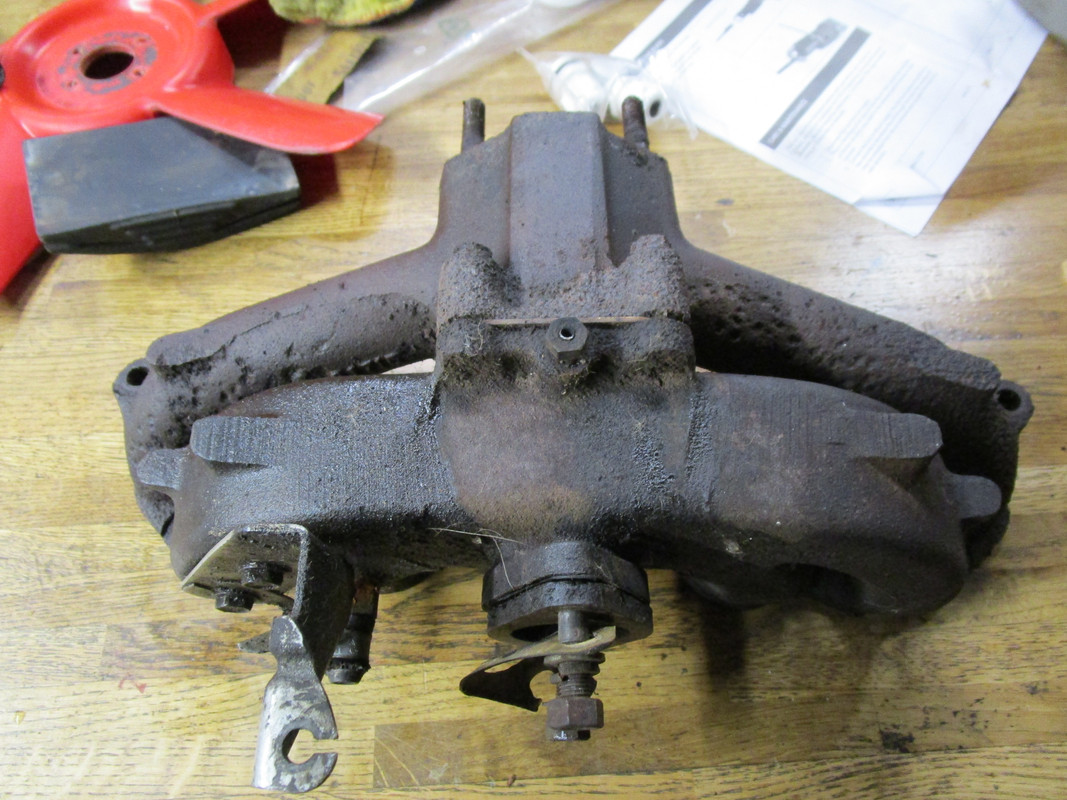
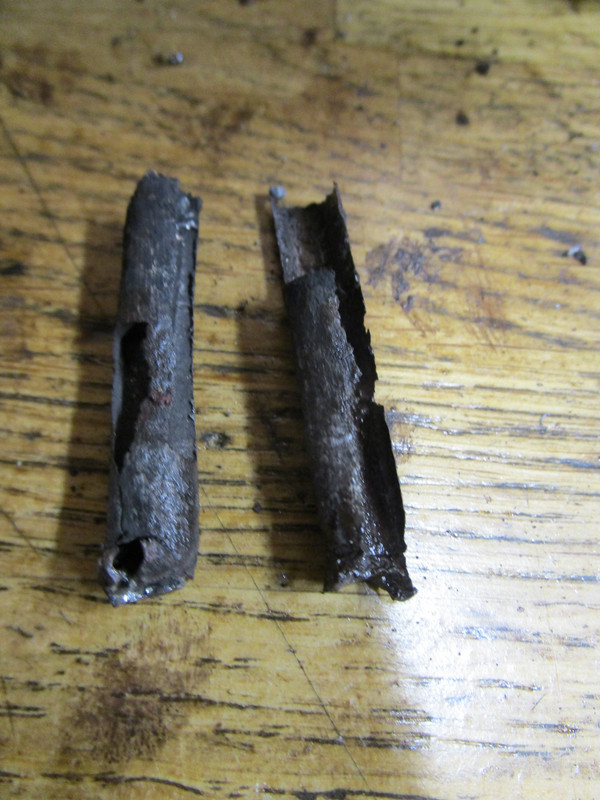
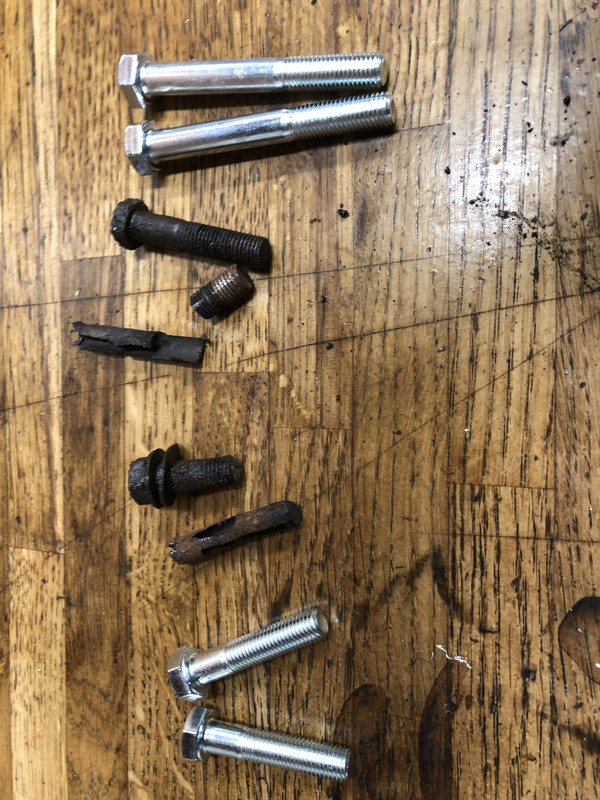
Its been a while since an update. Unfortunately, after a long illness, my Dad died. Arranging a funeral under covid restrictions was tricky, but all sorted now. I have been back working on the Commer for a couple of weekends now, but am faffing a little. I have an allergy to rusty nuts and bolts. I decided as the inlet / exhaust manifold was off I would replace the bolts. Blimey, what a mission! Not only were the bolt heads rusty, the shaft of the bolts had, as expected, rusted in their holes. One came out without much drama, the other three snapped and needed plenty of heat, drilling and hammering.
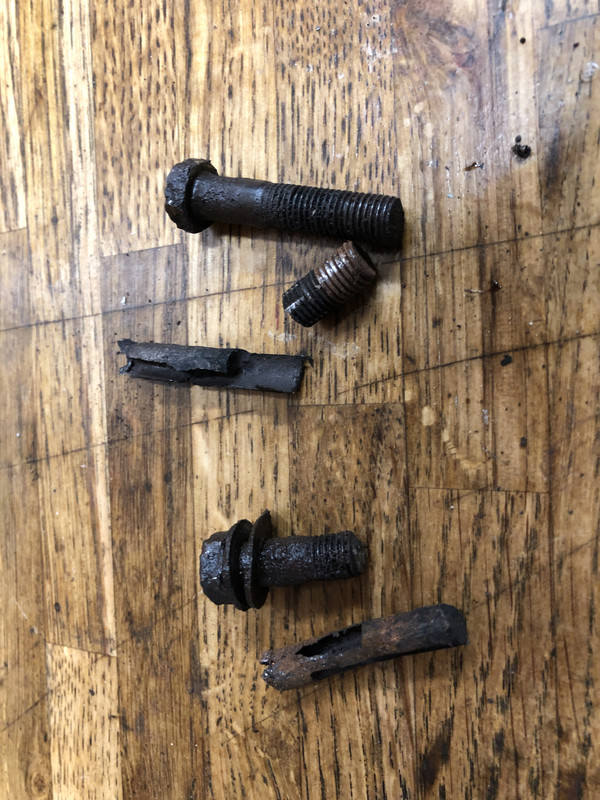
And replacement bolts sourced
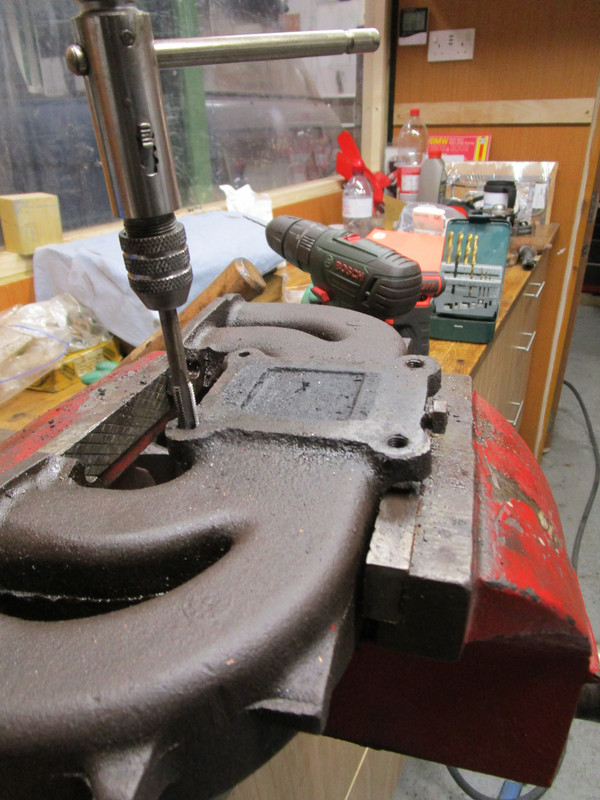
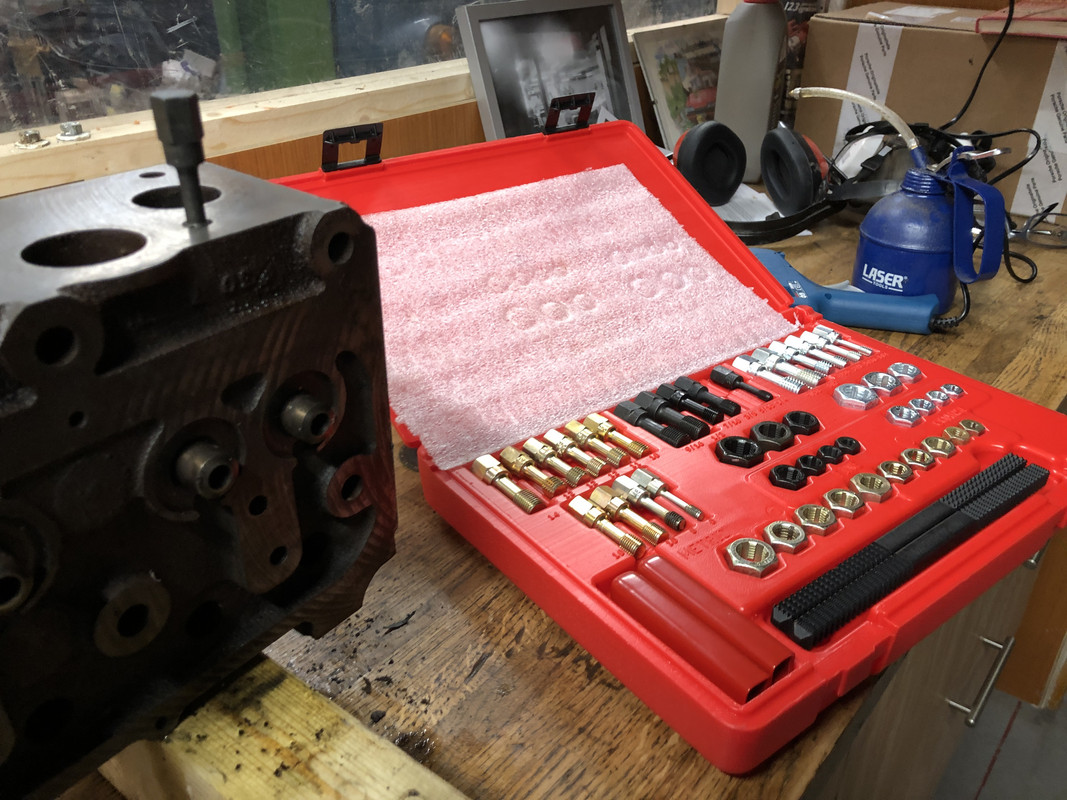
and cleaned up threads on manifold and head
I may get around to fitting the head over the easter weekend. Although I need to regrind the valves - I tested my valve seats by filling the combustion chamber with petrol - they haven't sealed
And replacement bolts sourced
and cleaned up threads on manifold and head
I may get around to fitting the head over the easter weekend. Although I need to regrind the valves - I tested my valve seats by filling the combustion chamber with petrol - they haven't sealed
S0updragon
Well-Known Member
Gutted. Sorry to hear. Ahh the never ending joy of Commer maintenance. My garage had all that joy when I upgraded to Su carb. I don’t have the tools or skill to deal with manifold bolts. Glad I didn’t attempt it as mine did exactly what yours did. Well done sorting it out.
My condolenses to you for your loss, very sad times.
But good to hear you're back on the van, great therapy. My advice is to use plenty of copper grease on the bolts and studs when you put it all back together, makes it so much easier the next time it needs to come off.
But good to hear you're back on the van, great therapy. My advice is to use plenty of copper grease on the bolts and studs when you put it all back together, makes it so much easier the next time it needs to come off.
Sorry for your loss my friend. Well done on the studs...
Thank you for all the kind wishes
So, with a bank holiday weekend, I decided to make some progress. My workshop was a mess, and the back of the Commer had become a dumping ground. I managed to remove 5 bags of rubbish from the workshop and finishing rewiring my workshop (did I really start that exercise a year ago??)
Having done restorations before, I have realised that refurbishing parts before I put them away makes reassembly a smoother exercise. On Friday I had a new toy arrive, an ultrasonic cleaner. Up until now I have had reasonable success cleaning parts in petrol or white spirit, but I have been reading about ultrasonic cleaners so I have bought one.
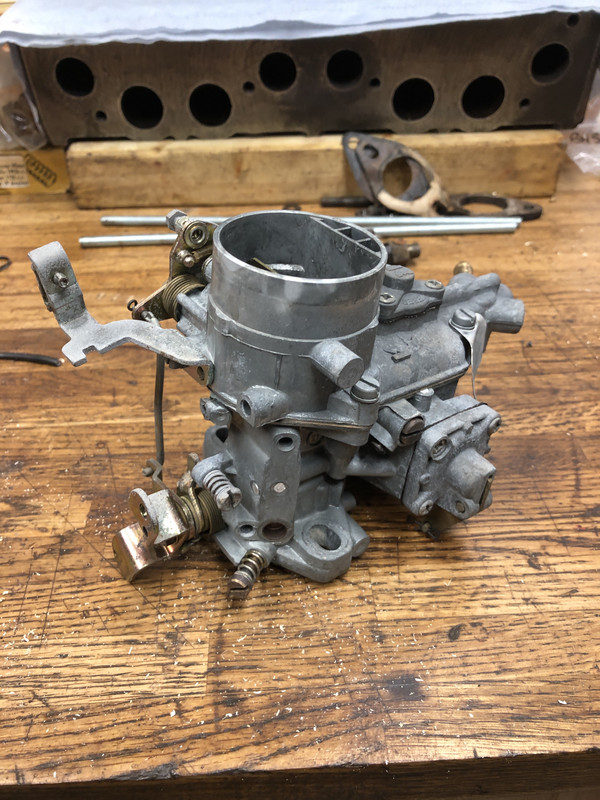
I started with the carb, which came out rather well
I then tried the cleaner to see if it removed rust. The part on the left was given a clean using my usual techniques. The one on the right had been through the same process, but then ultrasonically cleaned. There is quite a difference.
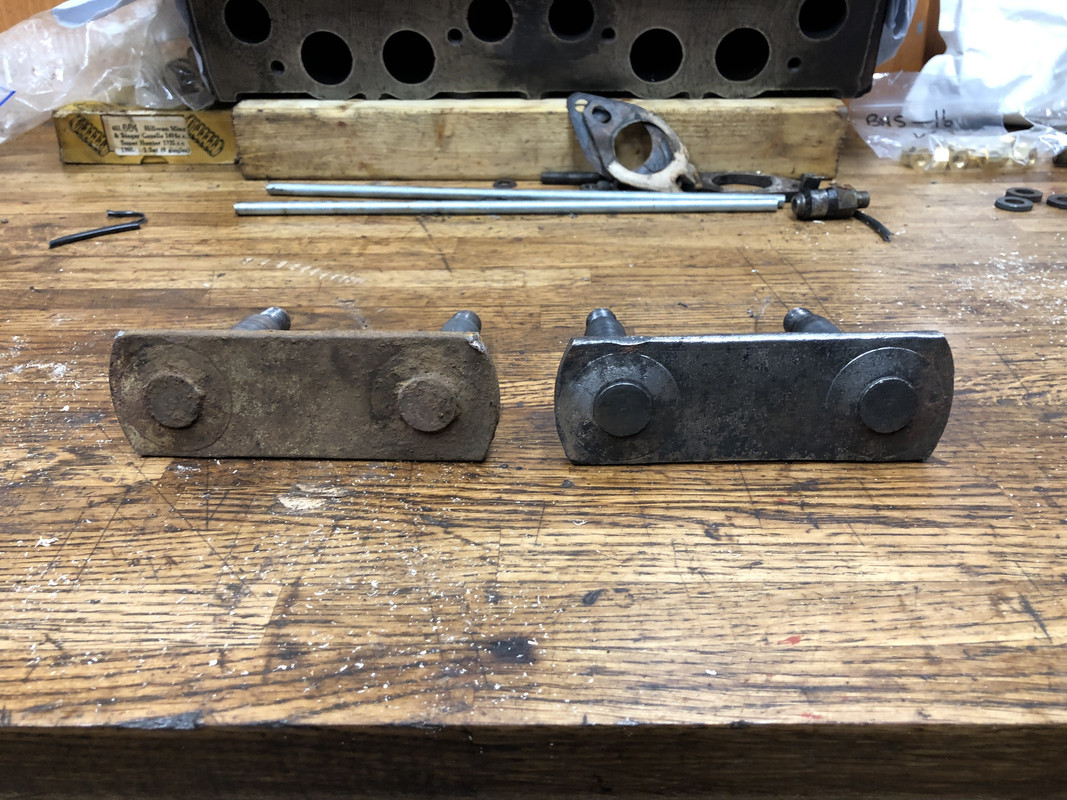
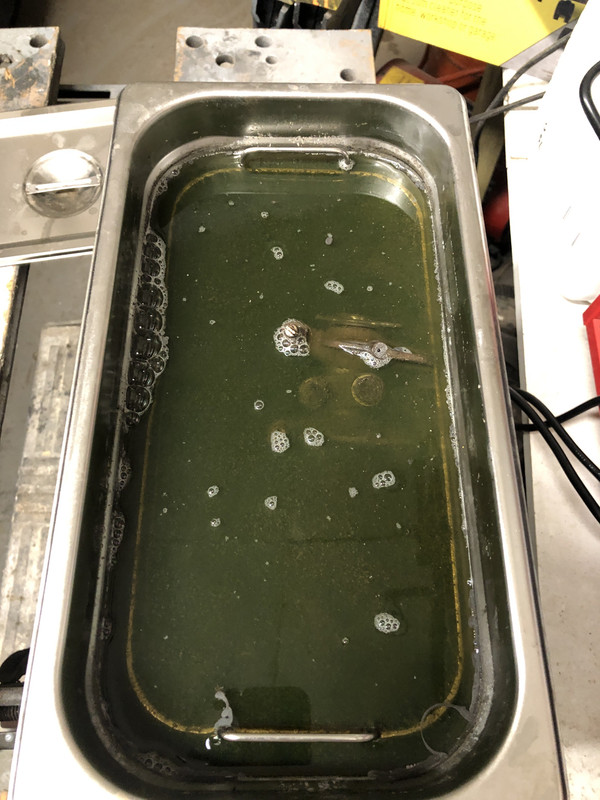
And the fluid certainly looks used afterwards
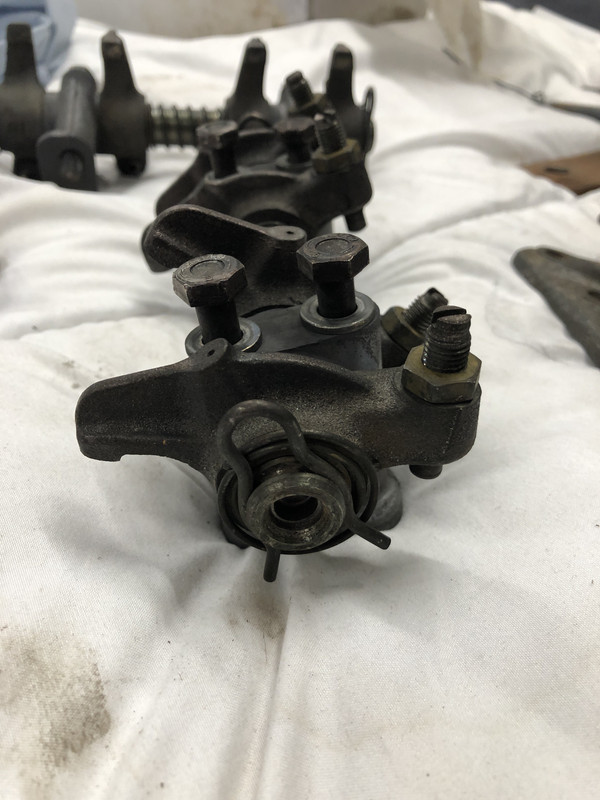
I did the suspension parts as an experiment. These will actually get zinc plated.
I have been doing some of the engine components
before
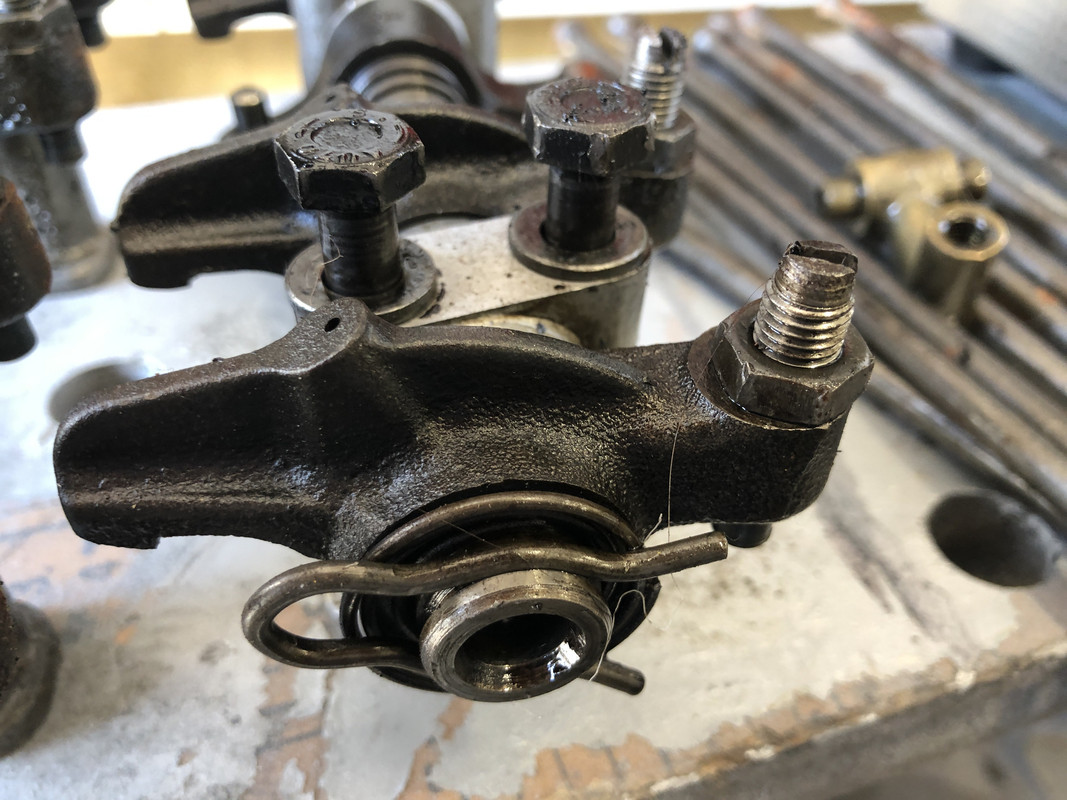
After
This kit is really effective. For an individual like we who is intrinsically lazy, having a machine that saves hours of scrubbing is a good outcome.
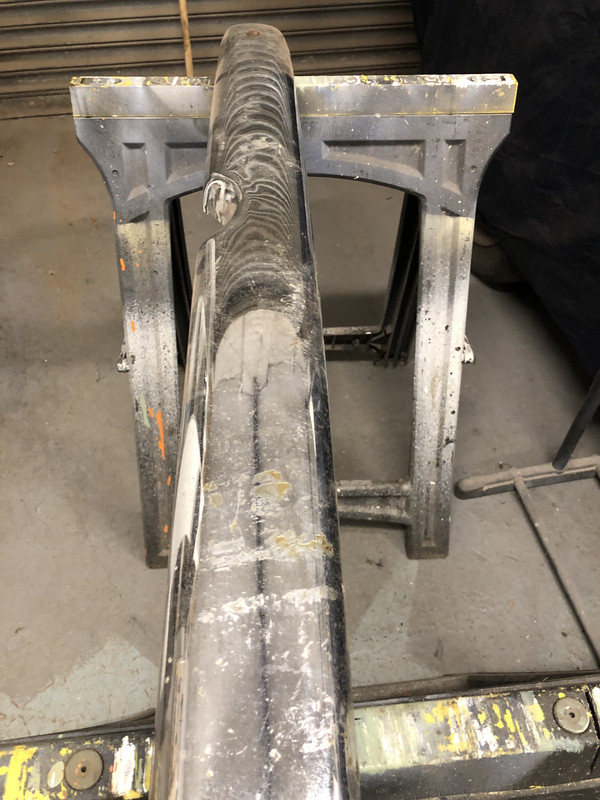
Whilst the machine was buzzing away, I decided to clean so other parts before storage. The front bumper is in great shape, but had some strange gloop on the outside, and some surface corrosion on the inside faces.
 panty and stocking wallpaper
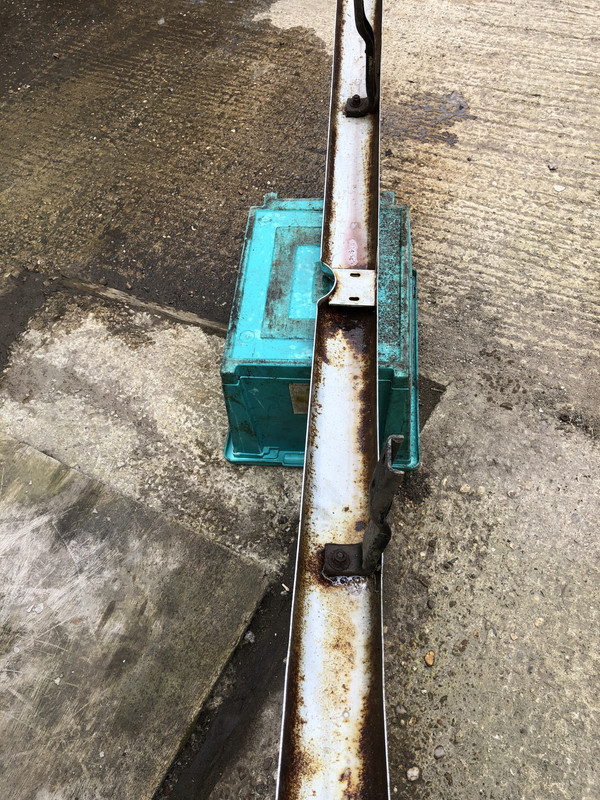
A tickle with a couple of wire brushes on my angle grinder, some rust converter, zinc primer, base coat and lacquer had the inside faces tidied up.
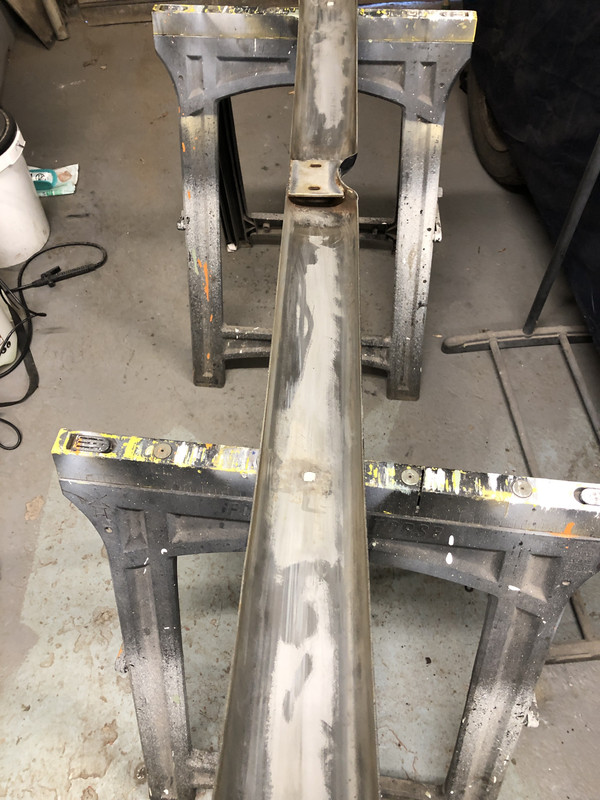
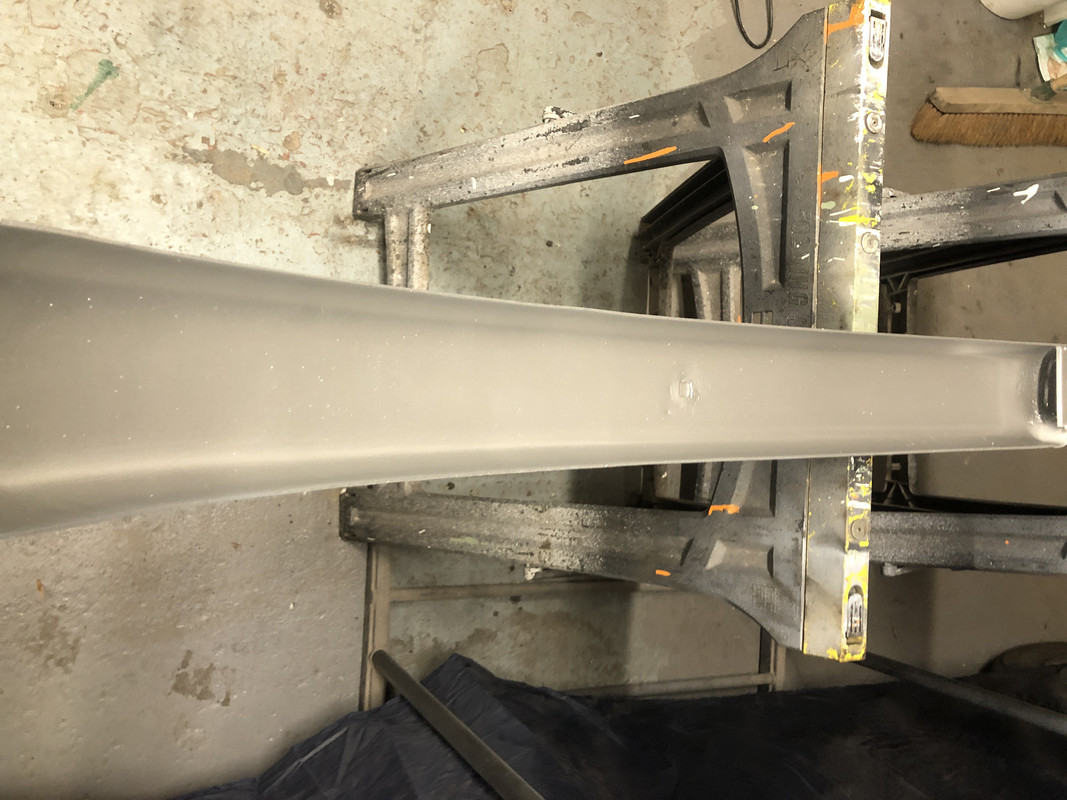
And I cleaned up the outside too

I will polish this up when I remember the "safe place" I have left my autoglym....... The I will get it bubble wrapped and stored out of the way.
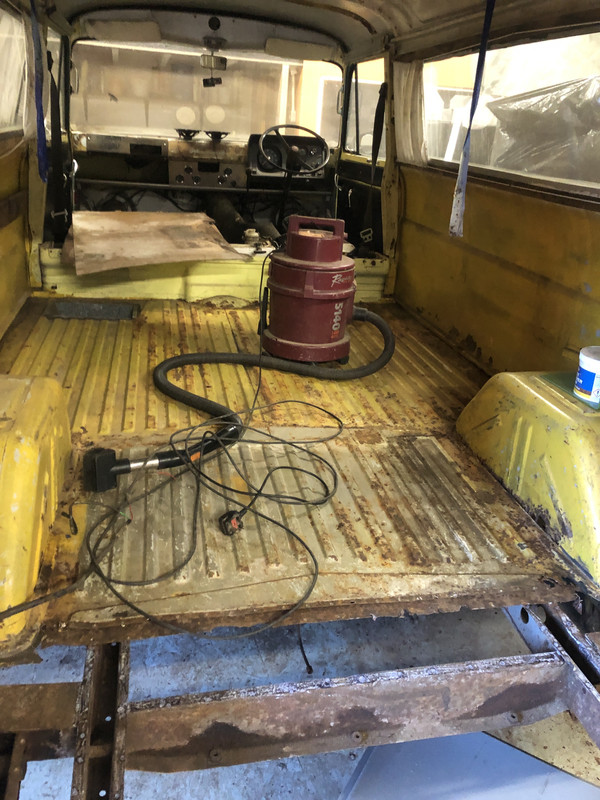
Finally, just to prove I have actually cleaned out the back of the van
So, with a bank holiday weekend, I decided to make some progress. My workshop was a mess, and the back of the Commer had become a dumping ground. I managed to remove 5 bags of rubbish from the workshop and finishing rewiring my workshop (did I really start that exercise a year ago??)
Having done restorations before, I have realised that refurbishing parts before I put them away makes reassembly a smoother exercise. On Friday I had a new toy arrive, an ultrasonic cleaner. Up until now I have had reasonable success cleaning parts in petrol or white spirit, but I have been reading about ultrasonic cleaners so I have bought one.
I started with the carb, which came out rather well
I then tried the cleaner to see if it removed rust. The part on the left was given a clean using my usual techniques. The one on the right had been through the same process, but then ultrasonically cleaned. There is quite a difference.
And the fluid certainly looks used afterwards
I did the suspension parts as an experiment. These will actually get zinc plated.
I have been doing some of the engine components
before
After
This kit is really effective. For an individual like we who is intrinsically lazy, having a machine that saves hours of scrubbing is a good outcome.
Whilst the machine was buzzing away, I decided to clean so other parts before storage. The front bumper is in great shape, but had some strange gloop on the outside, and some surface corrosion on the inside faces.
panty and stocking wallpaperA tickle with a couple of wire brushes on my angle grinder, some rust converter, zinc primer, base coat and lacquer had the inside faces tidied up.
And I cleaned up the outside too
I will polish this up when I remember the "safe place" I have left my autoglym....... The I will get it bubble wrapped and stored out of the way.
Finally, just to prove I have actually cleaned out the back of the van
Be very careful as the gaskets aren't usually symmetrical, there is a port towards the back of the engine that isn't reflected at the front.
You can see it here

This is a copper gasket but should be the same for the one you have. They are usually marked 'TOP', if it is definitely symmetrical and un-marked 'TOP' then I'd put composite side down.
You can see it here
This is a copper gasket but should be the same for the one you have. They are usually marked 'TOP', if it is definitely symmetrical and un-marked 'TOP' then I'd put composite side down.