1972 Commer PB - another Resto thread

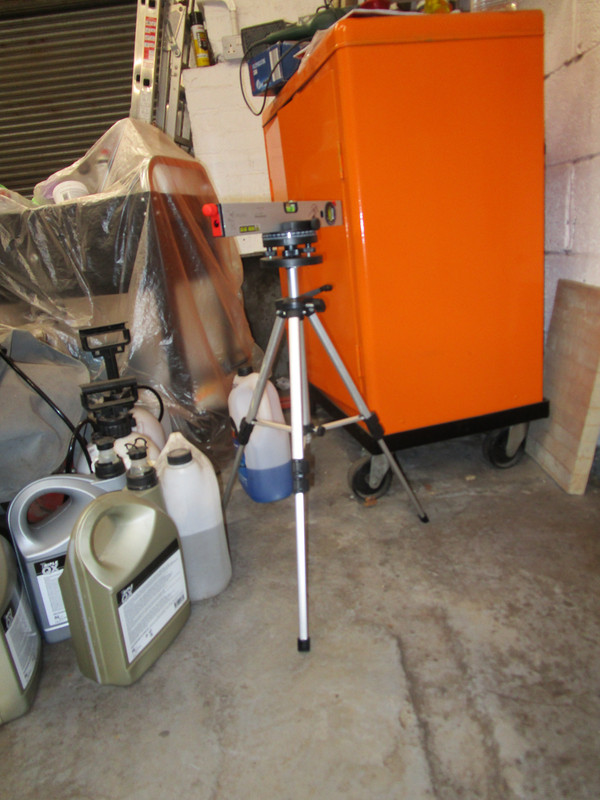
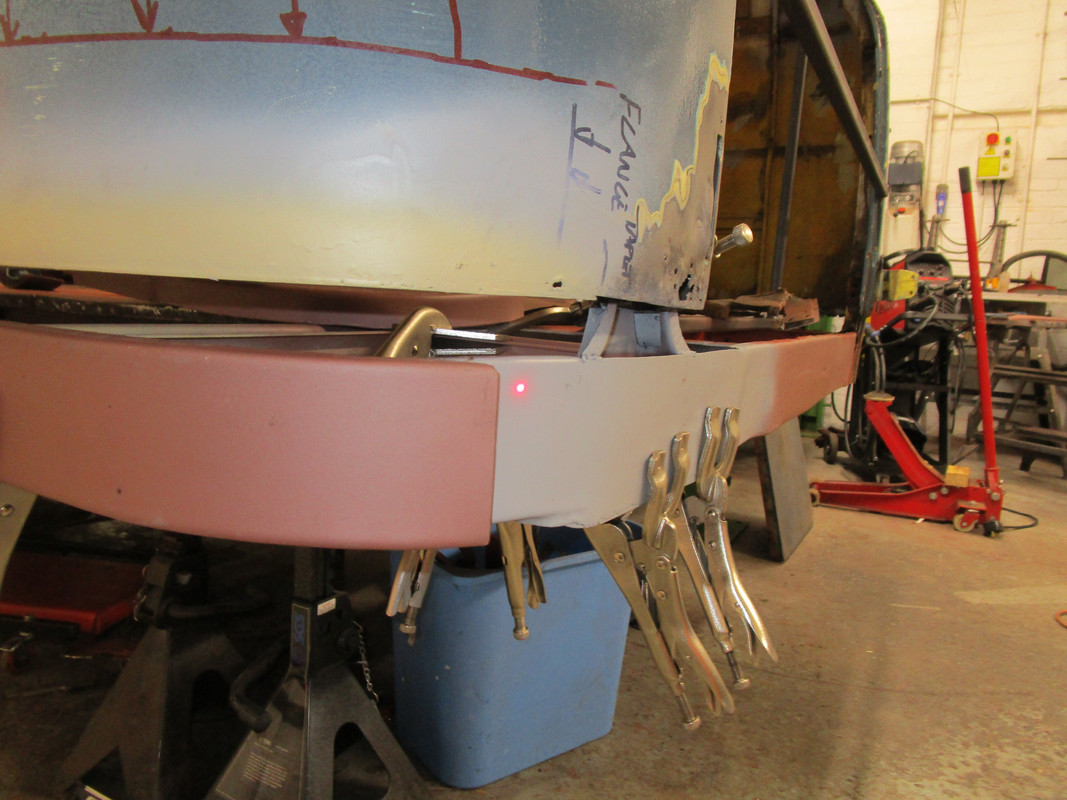
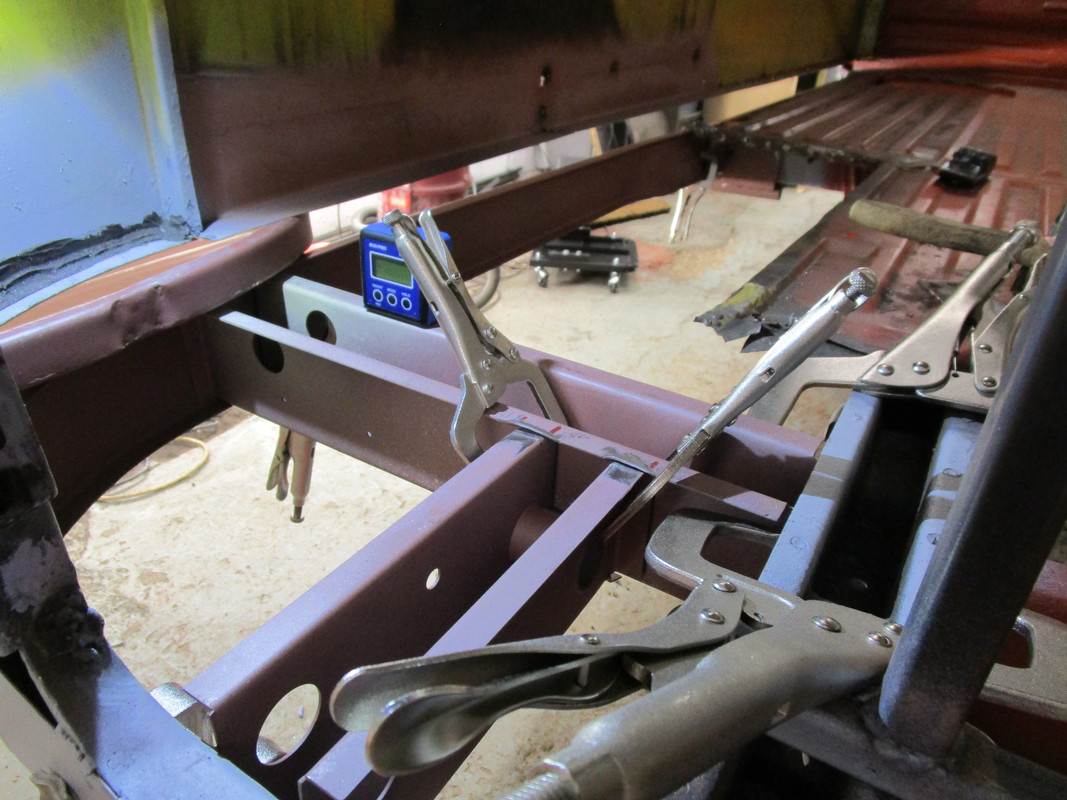
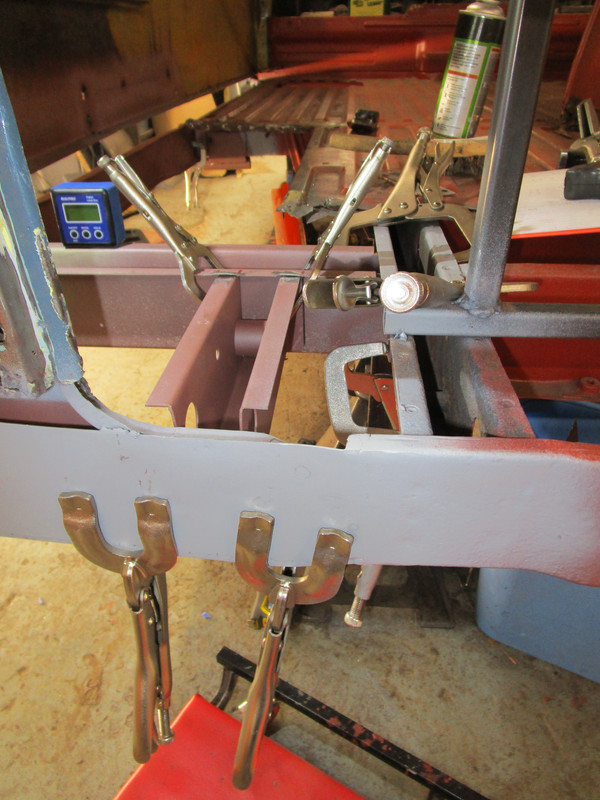
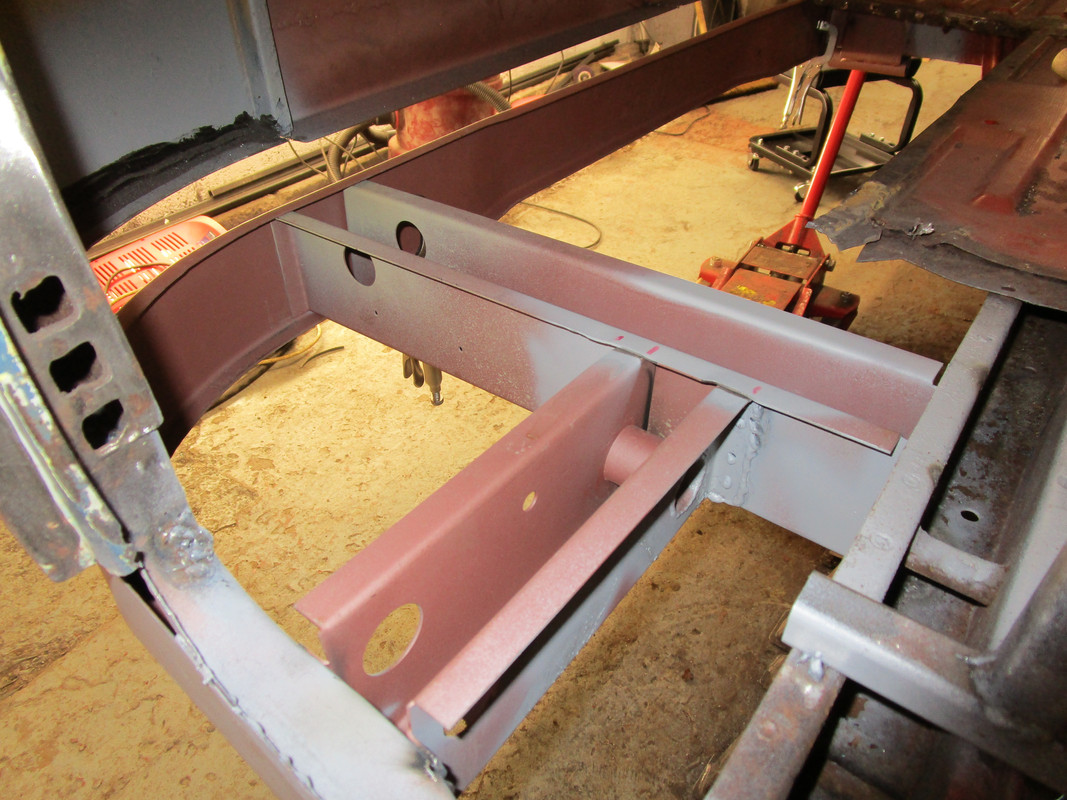
Some more progress today, this time putting some chassis rails in. I had clamped these in a few weeks ago, but had held off welding them in until I has happy with the positioning. I have taken plenty of measurements before cutting the old rails out, and spend plenty of time adjusting them. As well as a tape measure, I have employed a spirit level, digital level and a laser level. I guess this might be overkill, but when I first clamped the rails in place, the floor didn't fit.


Everything clamped in place.


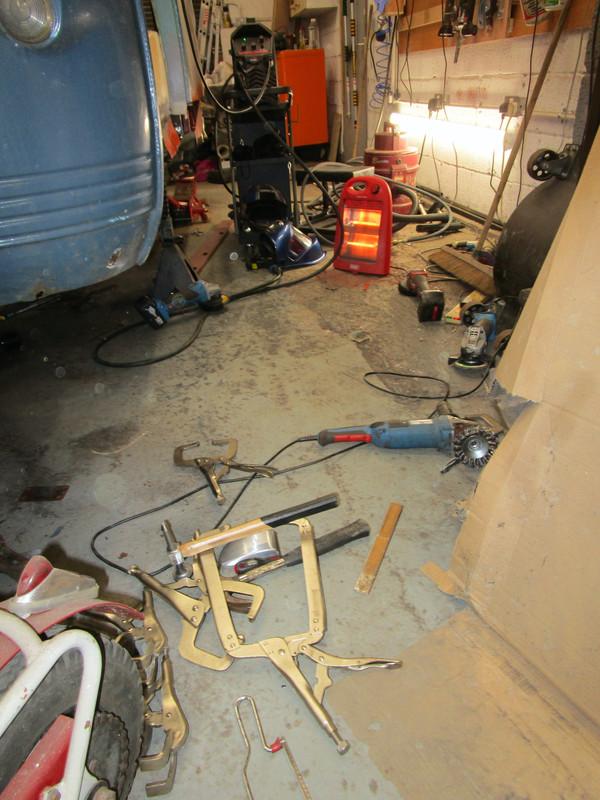
Then lots of rolling around on the floor welding later


The outer sill is only clamped in place for now, will weld that another day
 
This is turning into a lesson in how to do it good and proper:cool:
Digital AND laser levels - just how they did it at the factory;)
Make the noise :)(If you don't know Project Binky that will be lost on you)
 
Panky

I am such a fan of project Binky! Unfortunately my budget does not stretch to having a spirit level that "makes the noise", I just have to provide my own beeps. I also provide my own beeps when things go wrong!
 
A bit more progress.

Before welding in the middle and rear inner sill, I knew the front inner sill needed replacing. So time to remove the outer bodywork.
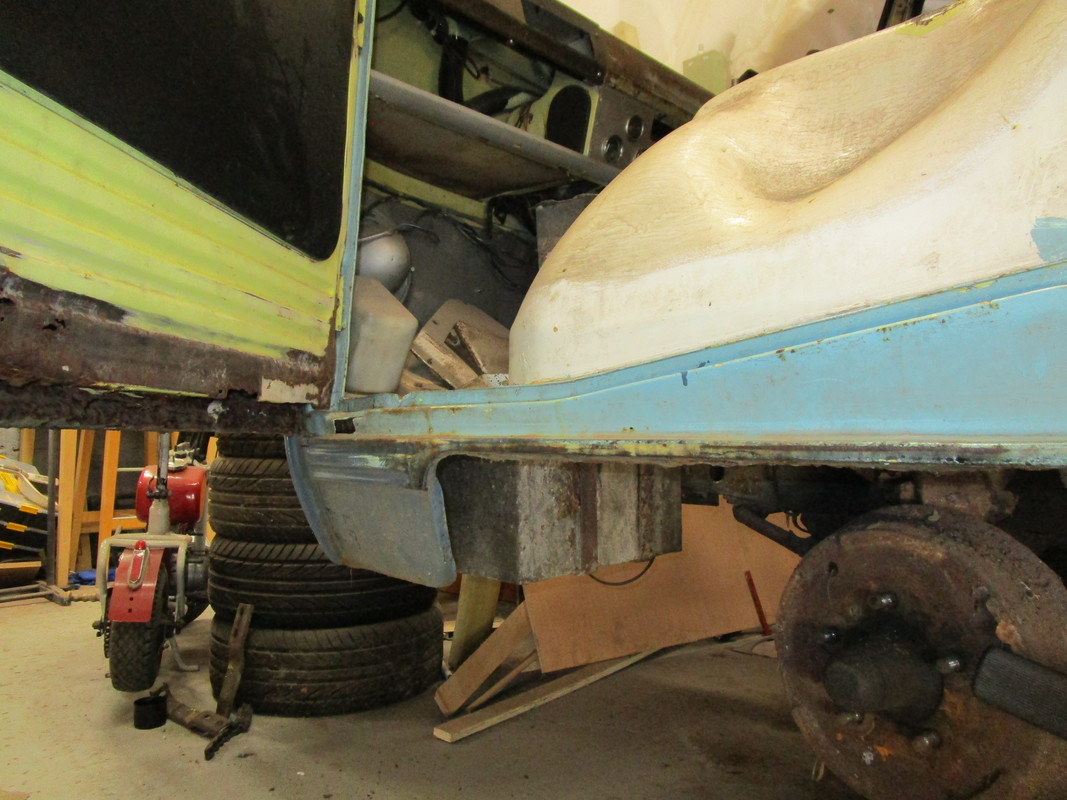
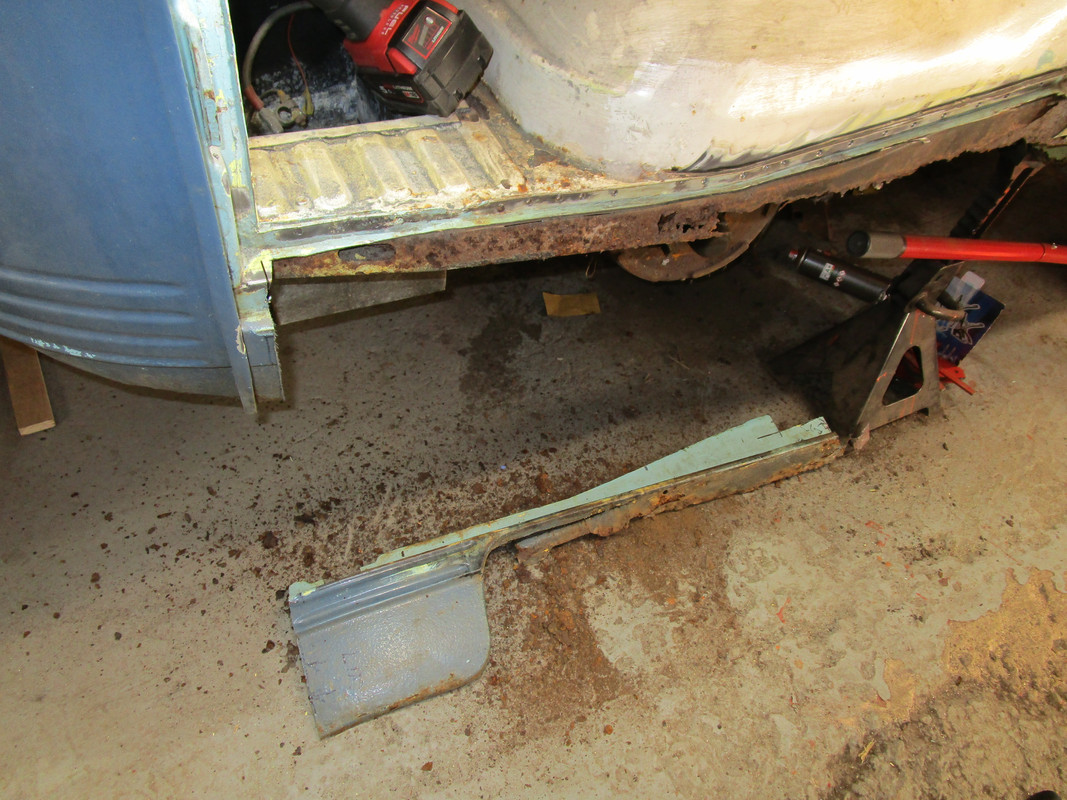


Plenty of evidence of tin worm
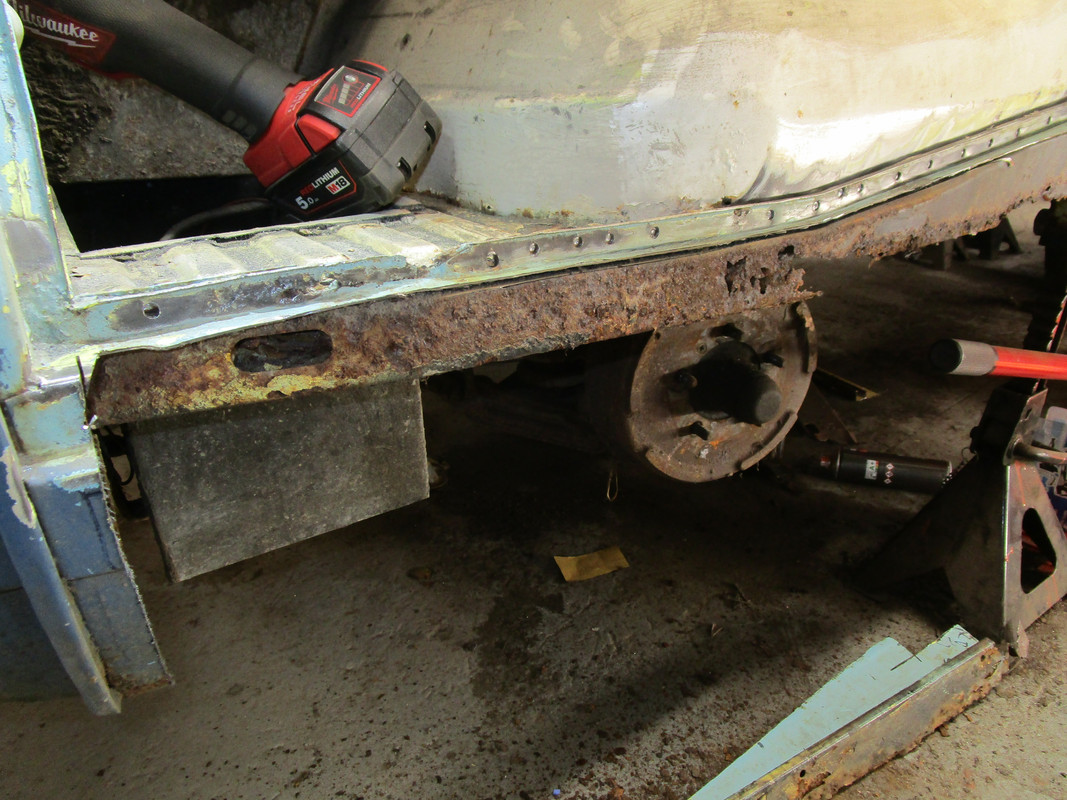


Removing the inner sill showed that other parts of the body needed work. First I sorted the bottom of the pillar
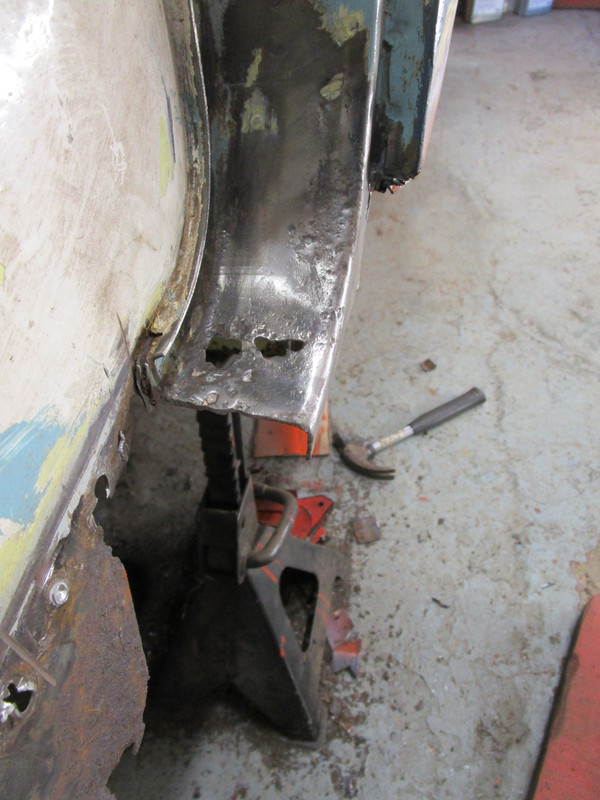


Rather than just try and sort the holes, I replaced a decent strip of metal. First I cleaned it up and cut to width
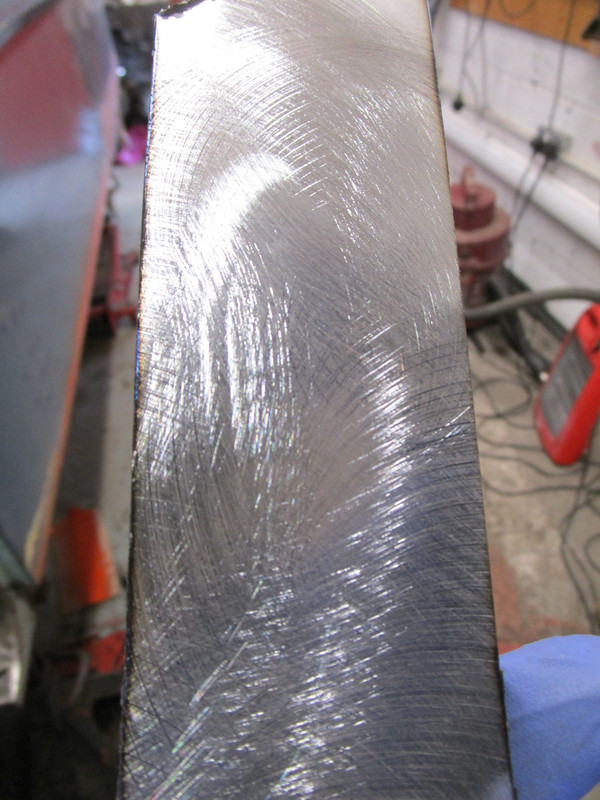


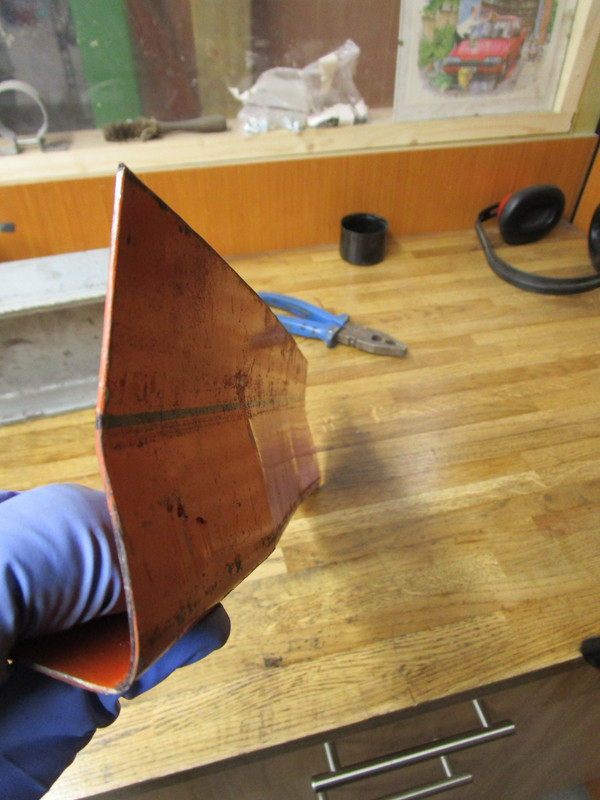
Shaped it. What you can see here was done in a vice and has as many edges as a 50p piece. I smoothed it around a piece of pipe
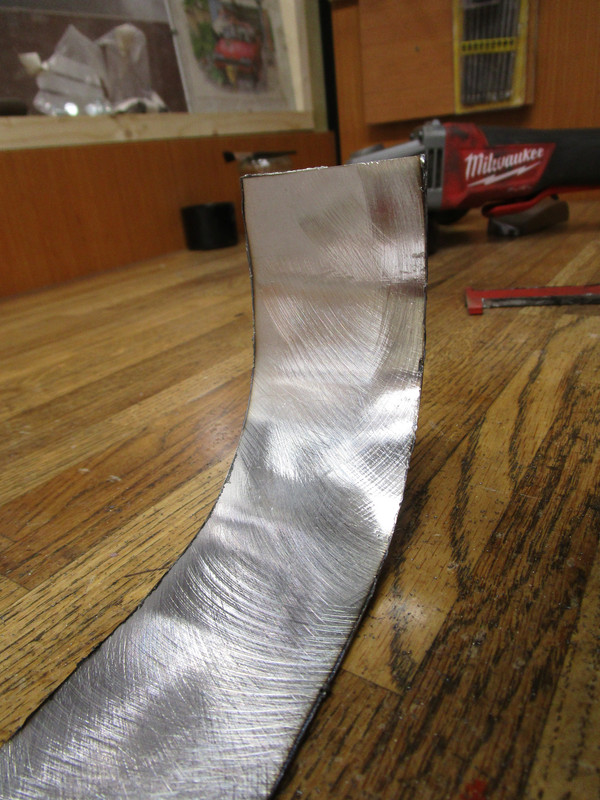


Welded and ground
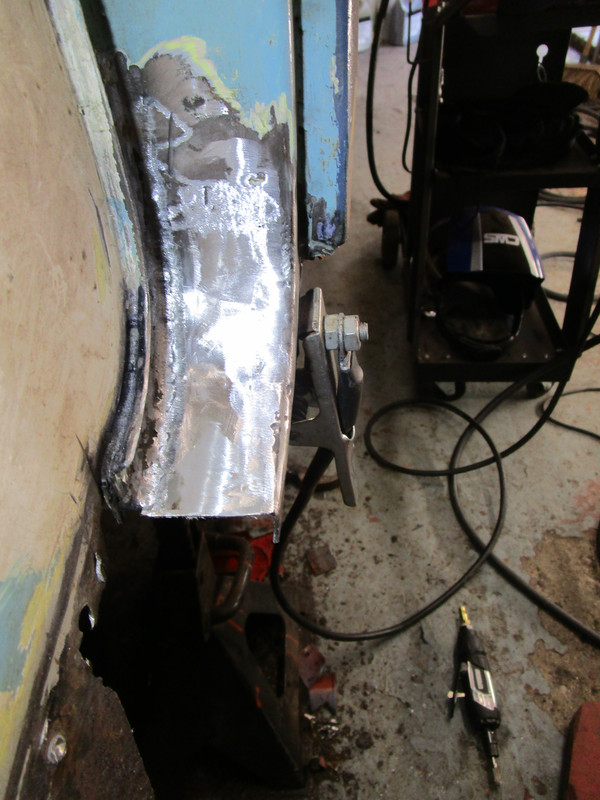


and protected with primer. I will add some seam sealer to the inner radius.
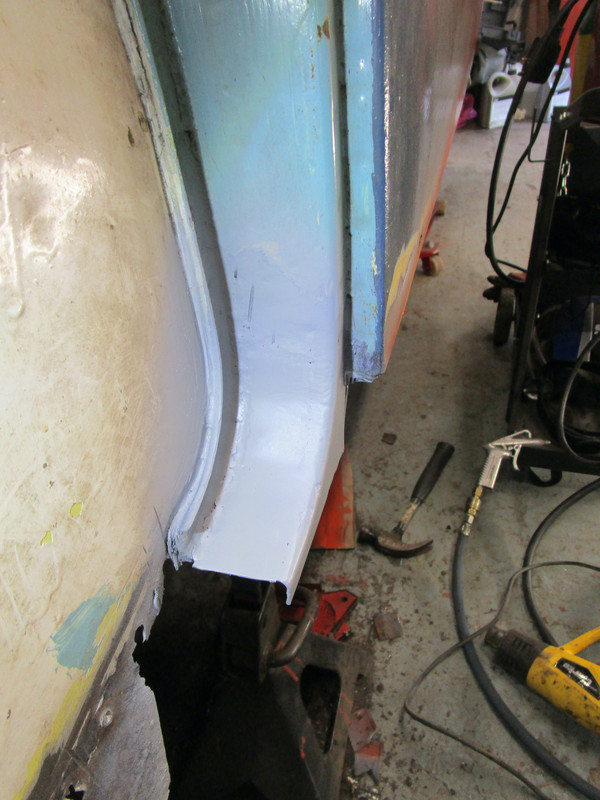


At the front, there were similar issues
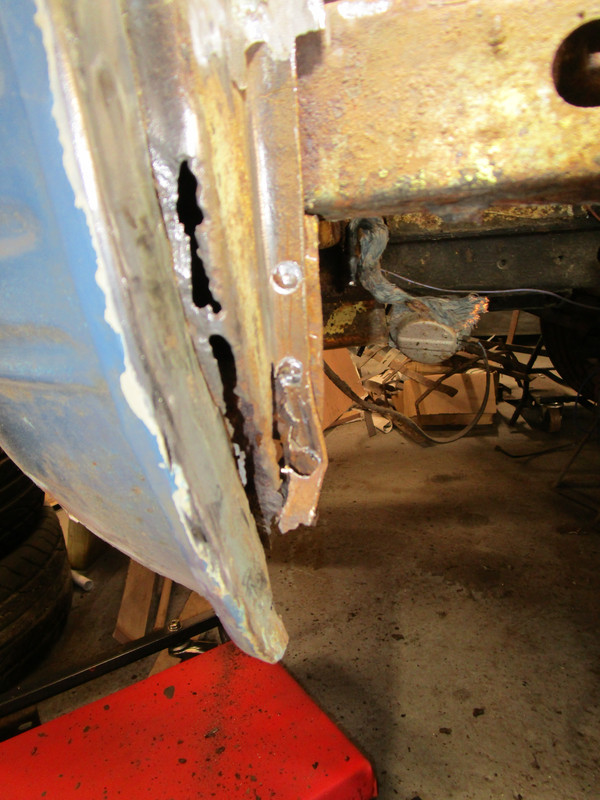


After some thinking, fabrication, welding and grinding
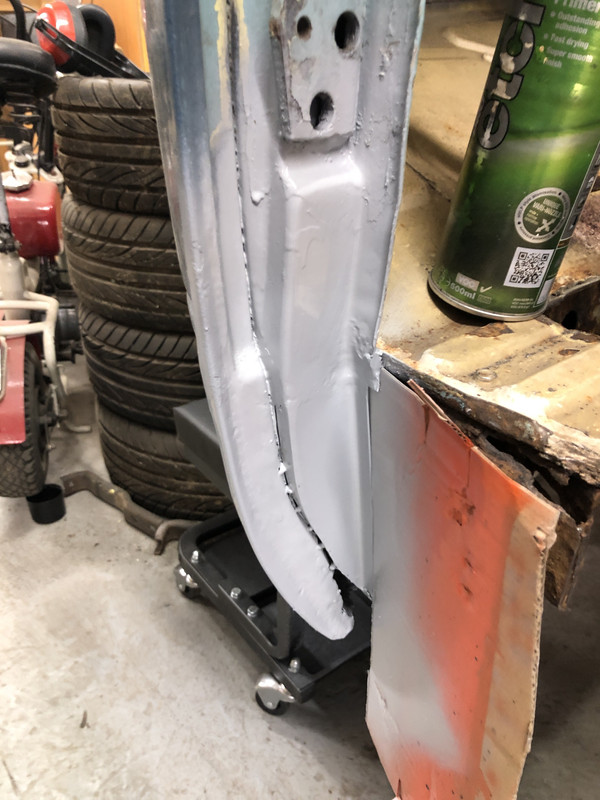


Next step is to work out how to repair the metal on the wheel arch tub so that the inner sill can be fitted. There is plenty of rust there.
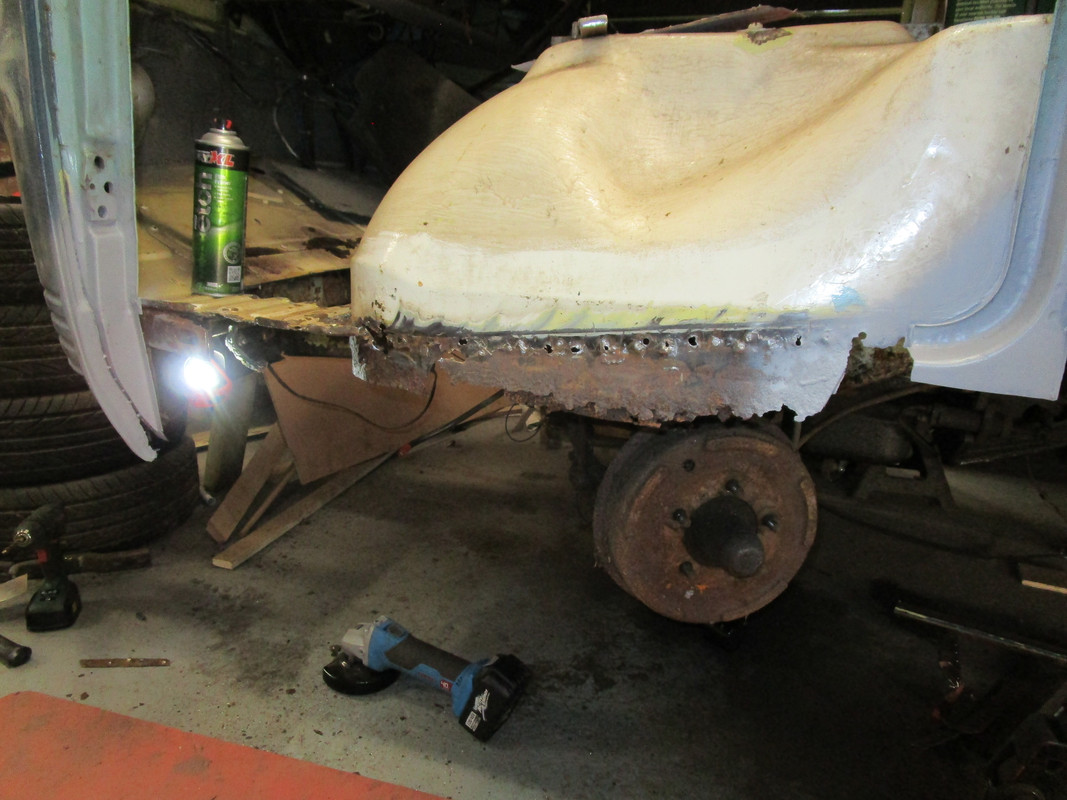
 
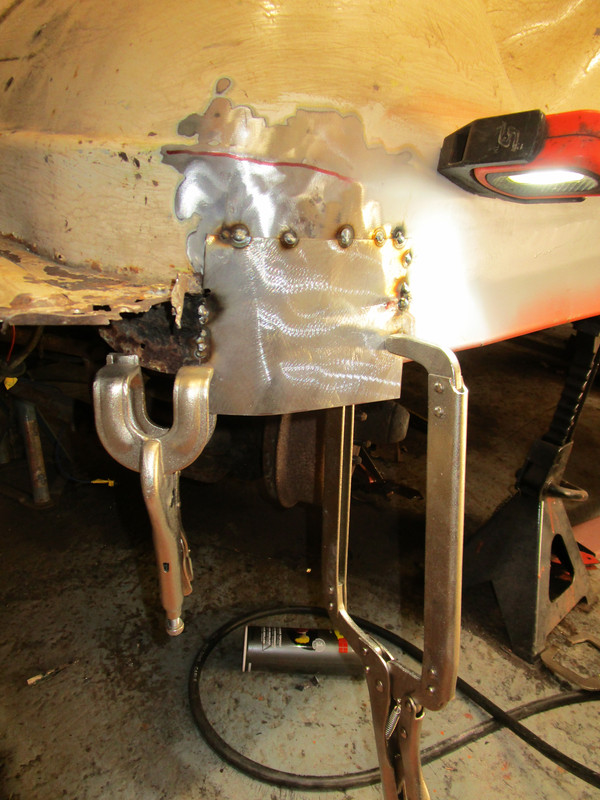
This is how I did it although the return on the end of the repair panel should turn the other way, pointing inwards

2012-11-27 14.24.28.jpg2012-11-27 14.25.17.jpg


Self tappers to hold it in place while welding. The return at the bottom meets with the corresponding one on the on the bottom of the inner and outer steps to form a sandwich.

Half way through

DCP_0471.JPG
 
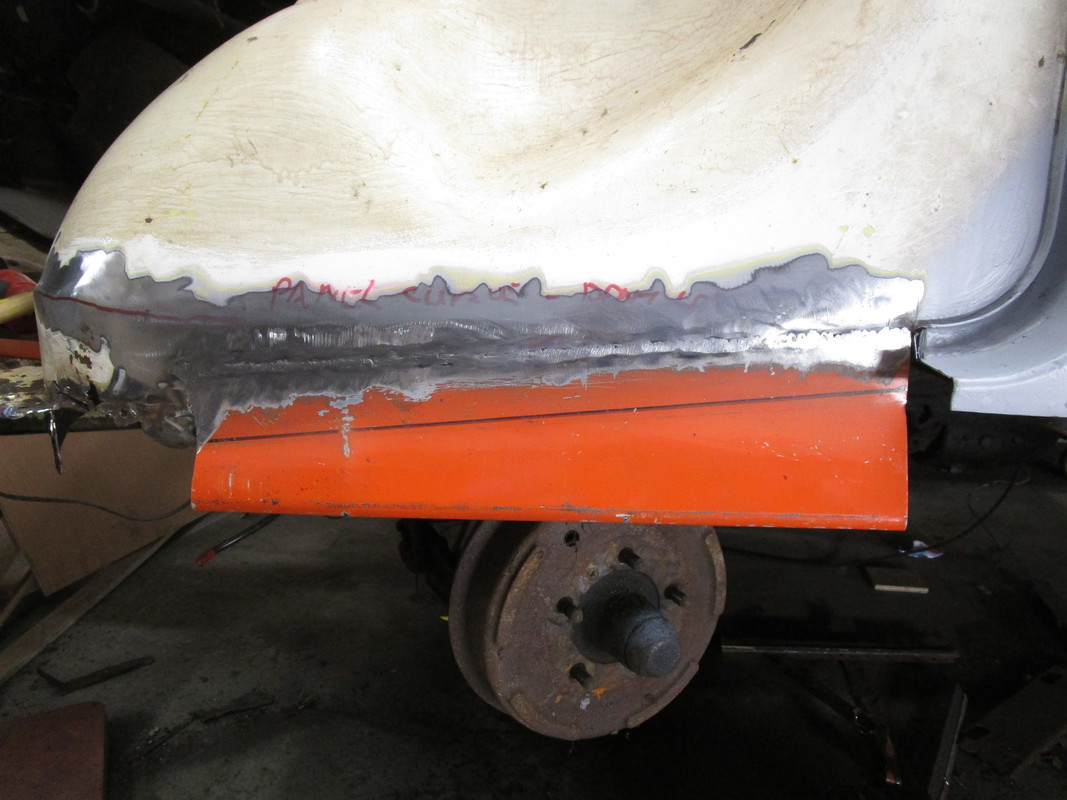
So, rather than do the sensible thing and copy Panky's advice, I tried my hand at shaping something close to the original wheel tub


Which fitted quite well


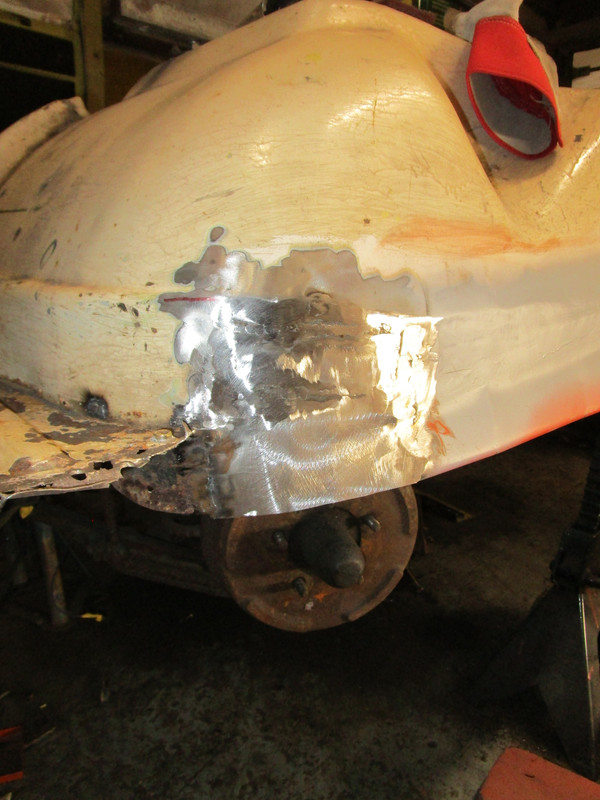
Then I worked on the curved part. This is work in progress


And welded and ground


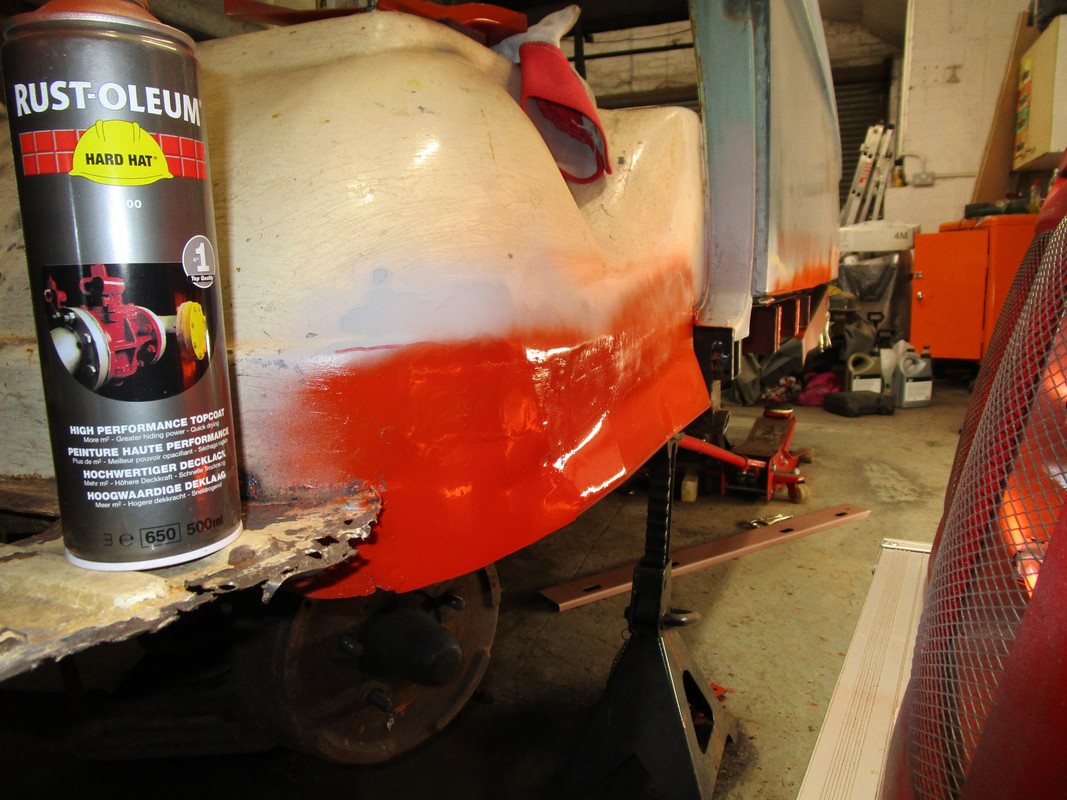
Some rust oleum paint to protect the metal


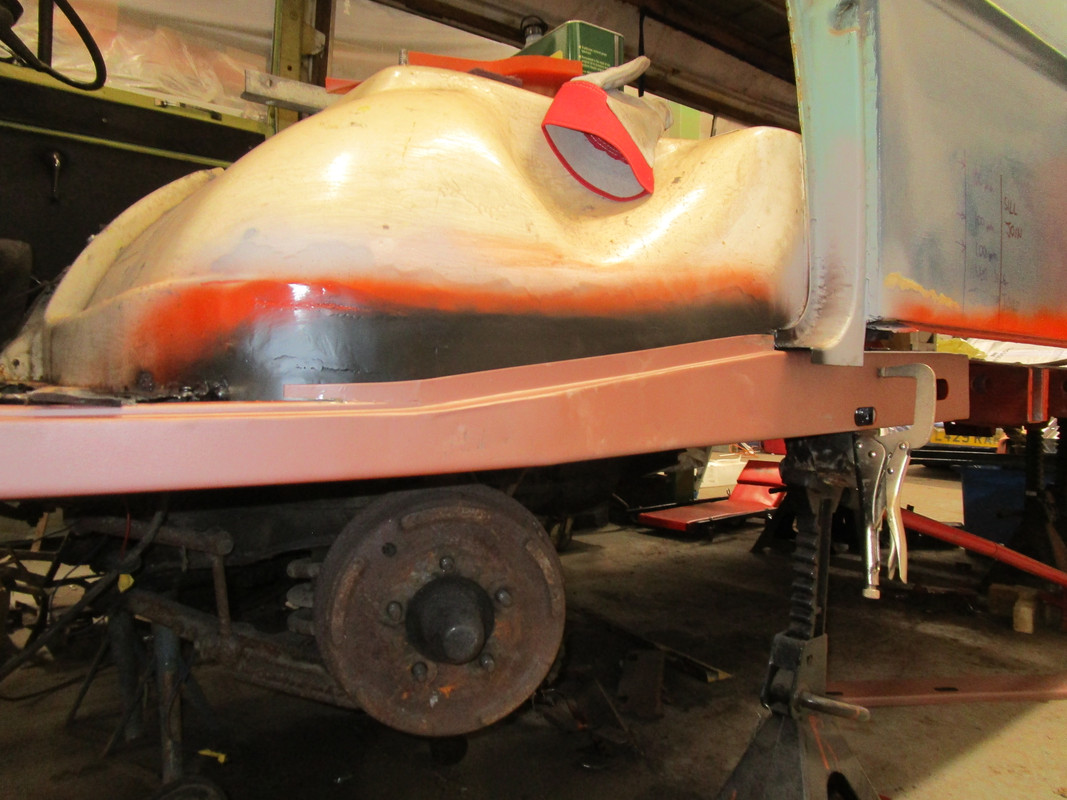
And some more paint, and the inner sill trial fitted

 
That's pretty much what i did on the other side once I'd realised my mistake with the return lip, only I bent it to shape once the repair panel was on. No finesse me;)
 
Back
Top