
You are using an out of date browser. It may not display this or other websites correctly.
You should upgrade or use an alternative browser.
You should upgrade or use an alternative browser.
The New adventures of Smurf !
- Thread starter youngcamper
- Start date
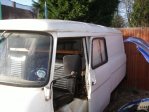
I have had to take the front wheels off to get enough space to work, when I put the surround for the new top in I will be stuck as I wont be able to jack it up enough to get the wheels on again........even with the tyres flat! Thinking of getting some old rims to drive it out of the shed on or making up some dolly device. Or jacking up the shed roof......
The old top came of quite easily once I gave up attempting to unscrew the self tappers holding it on. I had to chop throuugh them with a cold chisle from above. In some places there was just crunbling rust behind the high top, I was suprised how much water was leaking in through the gutters in some places and glad I am doing this now as it could have quickly got much worse. The under fore peak is a mess and an awkward one to make. I think I will have to lash out on a repair panel. looks like Martin M is the place to get one, although Woofies one with the gutter included would make life easier. Doea anyone know if he still makes them?
The old top came of quite easily once I gave up attempting to unscrew the self tappers holding it on. I had to chop throuugh them with a cold chisle from above. In some places there was just crunbling rust behind the high top, I was suprised how much water was leaking in through the gutters in some places and glad I am doing this now as it could have quickly got much worse. The under fore peak is a mess and an awkward one to make. I think I will have to lash out on a repair panel. looks like Martin M is the place to get one, although Woofies one with the gutter included would make life easier. Doea anyone know if he still makes them?
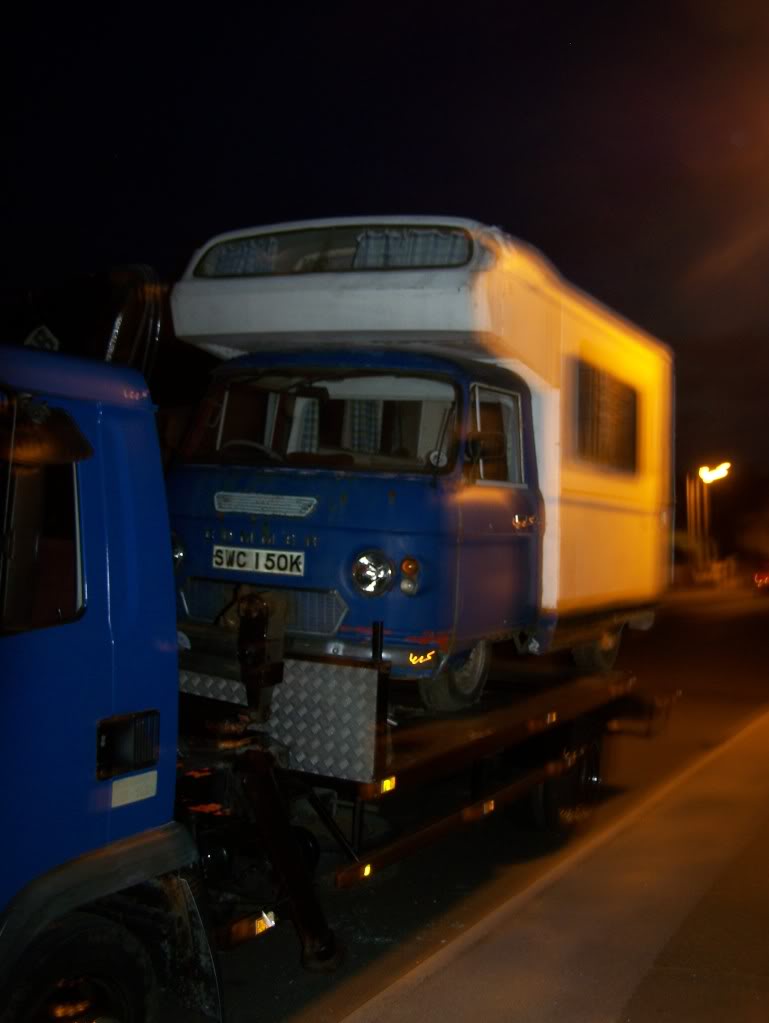


Will
6 months 'til I can drive Smurf!
The next step is to paint it, then sort out the gutter and weld the outer bit back on. Then I will fill inside with Waxoyl or similar.
Matin Malthouse's inner peak panel was very useful and arrived very quickly but I trimmed and only used half of it. Seemed no point in making the job any bigger!
Matin Malthouse's inner peak panel was very useful and arrived very quickly but I trimmed and only used half of it. Seemed no point in making the job any bigger!

Looking good 

Wow you have inspired me to get on with mine again Iv got to get my head round the crapy wiring
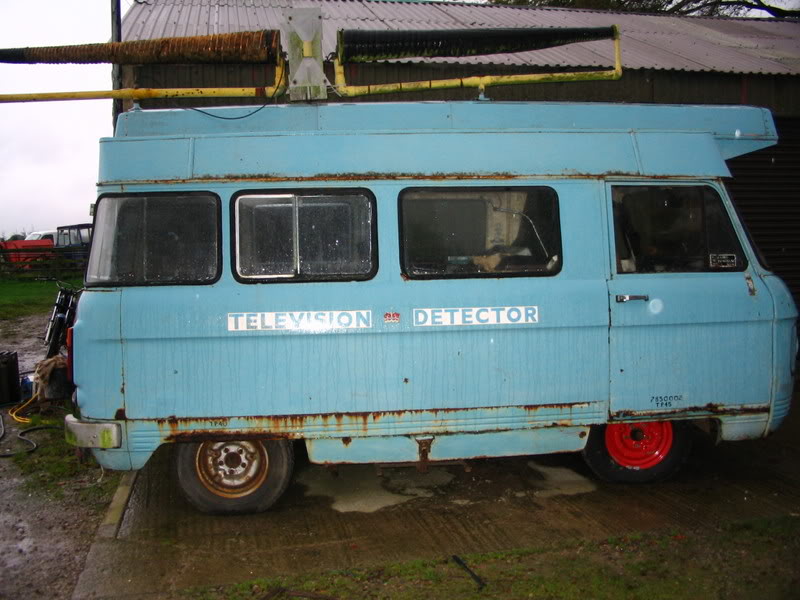
Andy, I've come across a file full of stuff for your van
www.commervanspares.co.uk
https://www.facebook.com/commervanspares
www.commervanspares.co.uk
https://www.facebook.com/commervanspares
Smurf is back passed MOT on Friday brake imbalance again but the road test was OK. It has a new look with a Trailblazer roof. Endless hours of work welding crusty gutters in a too low shed. But now he can live in the dry over the winter. All took much much longer than I ever expected!
Am going to try to post a picture but the instructions dont match what i see on Photobucket so may need some advice.
Here goes..
http://s46.photobucket.com/user/martinsheret/media/P1000118_zpsd60fea25.jpg.html?sort=3&o=0

Am going to try to post a picture but the instructions dont match what i see on Photobucket so may need some advice.
Here goes..
http://s46.photobucket.com/user/martinsheret/media/P1000118_zpsd60fea25.jpg.html?sort=3&o=0
Wow it worked! Smurf looks better in the picture than in real life! Which is why buying a car on ebay without looking is so risky!
Now you tell me!
A few minutes later.........It doesn't like my file name size or format or something!
http://s46.photobucket.com/user/martinsheret/media/P1000119_zpse5f85fb8.jpg.html?sort=3&o=0

A few minutes later.........It doesn't like my file name size or format or something!
http://s46.photobucket.com/user/martinsheret/media/P1000119_zpse5f85fb8.jpg.html?sort=3&o=0

Don't copy the address from the top of the Photobucket page but where it says 'Links To Share This Photo' on the right hand side of the page click on the IMG code and it will automatically copy it, then paste it into your reply. There's a load of extra code copied over and causes the picture to be off centre once it's posted so this needs to be deleted - I'd try copying from your PC:I

Looking good, well done [8D]
"You,re only supposed to blow the bloody SLIDING doors off"
Founder of the 6 speed club
"You,re only supposed to blow the bloody SLIDING doors off"
Founder of the 6 speed club

