
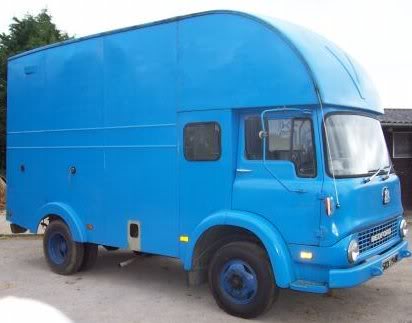
Progress

Managed to get a few piccies of the engine compartment today, below are both sides prior to dealing with the rust, and applying a zinc based primer which should help keep her on the road for a while longer!..:D

Picture103.jpg


N/S showing the air filter housing mounting bracket still attached.

Picture104.jpg


O/S, both sides had a fair amount of surface rust present, nothing to lose sleep over though.

Both sides shown below after applying the zinc primer.
Yes i know, i can be a bit messy with a paintbrush!..:I
Picture109.jpg


Picture110.jpg


With the first coat laid, it looks a lot better already, ill add another coat tommorow, now we have more daylight its great!!:D

I fitted the brand new brake master cylinder today, it went on easier than the old one came off!!..slowly but surely shes coming together!!..:)
And i have spent ages trying to work out how the screen washers work!, by accident i pumped in the window wiper switch today and hey presto!, there you go,ive gotta pump the switch!..:D
As you can see below, the cab floor isnt so bad, again some surface rust, but its not so deep..underneath is solid.Ill strip the paint off the floor soon and treat the rust and paint it up.
Going to have to tackle that leaky front panel before though!

Picture113.jpg


Picture111.jpg


Well i was bidding on those nice looking wheel trims on Ebay, but i let them go to the other bidder, i was prepared to make them mine.Another time eh!!..anybody got 2 spare i can buy?,shiny or not...

I had a bit of a van tidy out today, its amazing how much S**t builds up!!!..

Oh well , look forward to sunday!, all day to spend on her!!...
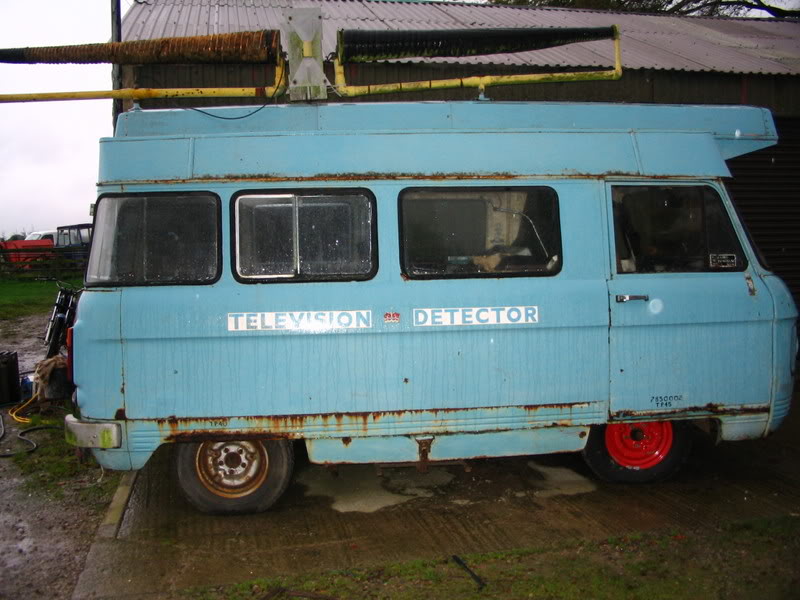
:D
 
The rest of the van to be honest is the same if not better, theres a little work to be done on the rear corners as expected, only where some framework passes through the corner panel.Inner and outer sills are great condition, rear floor is clean as well.Inner front panel is clean as well, i think it is because it has been waxoyled a lot previously.
like ive said before the front panel lets her down, mainly where the two panels meet,then down the sides there are some holes, and then the bottom of the heater mounting panel is corroded slightly which lets water into the cab.But ill take care of that the correct way.

:D:D
 
A few photos of the finished engine compartment..

Picture121.jpg


Picture120.jpg


Picture119.jpg


Picture122.jpg


I think the Olive green colour works well with the other colours, i got the paint at a bargain price so i thought why not.Ive worked my ass off on her today, and i will again tommorow.All i need to do now is fit and plumb the radiator up, refit that ugly gearbox oil cooler and fire her up.
Its gonna be a shame to have to cover the engine up, but its nice to know it looks better than it did a few months back.
Fitted some new HT leads as well today, treated her to a new earth lead as well, thats meant to be for a Land Rover, but looks the part.
Yes theres a few runs in the paint, im not aiming for a show vehicle though, just to look good and be reliable!..

That air filter housing looks mean dont it having that 'double barrel' intake!![}:)][}:)], lol!, defintely this is the Xr2 of commers!..haha!..
Yes theres loads over 'overspray' on the wheel arches where the seats sit, but as im taking all the paint off back to bare metal it isnt a worry!.Got myself a nice blue colour for the cab floors and arches!.

Again the back of the commer is a mess...:I


let you know when i get her running nicely!...;):D
 
Brilliant job, absolutely fantastic. PLEASE keep up the enthusiasm for the rest of the project and you will have a van to be proud of :D:D:D
Was that the original air filter [?] looks like it came off a Lancaster bomber ;)
 
The air filter housing was on it when i got the van so i assume its the original, however when i helped Martin Maltas with the red minibus, that was of the same year if i recall, yet the air filter housing only had one intake..

[?]
 
You never know you may be the owner of a Commer GT, just listen to that induction roar ;):D[8D]
 
Yes that alternator bracket fitted nicely Martin!!!:D
I guess i do have a little more time to work on the van than most people, i have no kids or wife to suggest i do otherwise..


[}:)]
 
Well she's running again!, had to junk the carb i got in place of the original though, so much for good ideas eh!!..worth a try though eh!..[V]

Picture123.jpg


Thanks MArtin for that info!!:D:D, and sorry for confusing you by saying it was the control box i was asking about!!,next time ill make a note of which wires go where!!:I. Problem solved!!.:D:D, i owe you a favour!.

Still need to fine tune the timing, and i need to paint a few more bits and bobs such as the tinware that connects the carb to the air hosing..

Seems the recon head i got of Ebay for a fiver was a good un'...she dont smoke at all, she did before quite badly![^]..

ill shut up now [}:)]
 
Well i originally changed the carb cos the spring on the choke flap broke so i saw a carb on Ebay off a landrover,got it cheap enough, same model but slightly bigger, 36IV compared to a 34IV..
Fired the engine up today, it ran, but petrol seemed to be leaking out at the base of the carb where it sits on the manifold, it could of been a prob with sticky floats i guess..
Ill have to investigate further, but for now the old carbs on, but the choke mechanism aint working correctly, i have to hold the flap shut manually or hold the palm of my hand over the carb..
 
Shame cos it seemed to clean up really well. Can you cannibalise it and fit the choke spring to you original carb [?]
 
wow i am really suffering from a case envy that looks brilliant not a drop of oil or grunge in site, need to get mine of the road and get thing tidied....:D some time in the next decade..
 
Back
Top