
You are using an out of date browser. It may not display this or other websites correctly.
You should upgrade or use an alternative browser.
You should upgrade or use an alternative browser.
Towing wirng diagram?
- Thread starter Enigma
- Start date


I wired up the trailer wiring on Jessica a little while ago - easy peasy. I just soldered bullet connectors on to the wires for the socket and got some double bullet joiner bits and added the trailer lighting wires as required. (if that makes sense!)
the only slightly tricky bit was getting the right hand indicator feed over to the left hand side (where I did all the connections), behind the rear corner cupboard.
Rupert
www.littleyellowcar.co.uk
the only slightly tricky bit was getting the right hand indicator feed over to the left hand side (where I did all the connections), behind the rear corner cupboard.
Rupert
www.littleyellowcar.co.uk
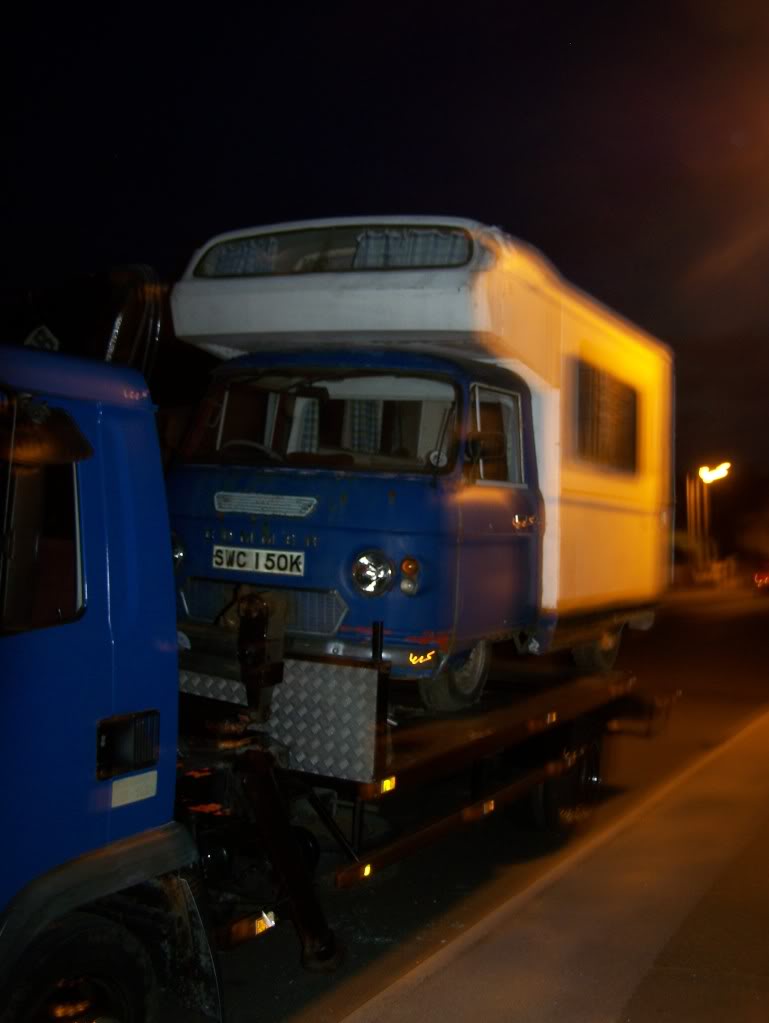
Enigma
0
Rupert, having completed the challenge, I fully comprehend lol
Smurfs wardrobe nearly got ripped out a couple of times as it is so close to offside rear lights and my chubby lil fingers just would not fit in there lol.....I have noted that in most commers, they have the rear door cupboards fitted, ours has not on drivers side as the wardrobe is right up to the back doors
Smurfs wardrobe nearly got ripped out a couple of times as it is so close to offside rear lights and my chubby lil fingers just would not fit in there lol.....I have noted that in most commers, they have the rear door cupboards fitted, ours has not on drivers side as the wardrobe is right up to the back doors
Hi Razor
yeah its pretty straight forward (Was for me anyway!). I got a prewired socket from the bay (like this http://cgi.ebay.co.uk/Trailer-Towbar-Prewired-Socket-7-Pin-Kit-tow-towing_W0QQitemZ150355307837QQcmdZViewItemQQptZUK_CarsParts_Vehicles_CarParts_SM?hash=item2301dfed3d&_trksid=p3286.c0.m14&_trkparms=65%3A12|66%3A2|39%3A1|72%3A1689|293%3A1|294%3A50) saves lots half the wiring.
Drill a hole in the floor behind the nearside rear cupboard and feed the pigtail through (probably best to put a grommet on there too), then solder on the bullet connectors (2x indicators, brakes, lights and earth were all I used). Do the fiddly bit behind the cupboards and add the extra wire from the right hand side over to the left (I found it was easier to go over rather than under)
I found it was a pain trying to work out which wire was which, so check your wiring diagram. Also (top tip I found this week) you can check the lights and indicators by yourself, but the brakes need a helper - unless you have your handy Commer van feature - the brake lights coming on when the hand brake is on - job done!
cheers
Rupert
"With great cars comes great responsibility"
www.littleyellowcar.co.uk
yeah its pretty straight forward (Was for me anyway!). I got a prewired socket from the bay (like this http://cgi.ebay.co.uk/Trailer-Towbar-Prewired-Socket-7-Pin-Kit-tow-towing_W0QQitemZ150355307837QQcmdZViewItemQQptZUK_CarsParts_Vehicles_CarParts_SM?hash=item2301dfed3d&_trksid=p3286.c0.m14&_trkparms=65%3A12|66%3A2|39%3A1|72%3A1689|293%3A1|294%3A50) saves lots half the wiring.
Drill a hole in the floor behind the nearside rear cupboard and feed the pigtail through (probably best to put a grommet on there too), then solder on the bullet connectors (2x indicators, brakes, lights and earth were all I used). Do the fiddly bit behind the cupboards and add the extra wire from the right hand side over to the left (I found it was easier to go over rather than under)
I found it was a pain trying to work out which wire was which, so check your wiring diagram. Also (top tip I found this week) you can check the lights and indicators by yourself, but the brakes need a helper - unless you have your handy Commer van feature - the brake lights coming on when the hand brake is on - job done!
cheers
Rupert
"With great cars comes great responsibility"
www.littleyellowcar.co.uk
good stuff - piccies please!
Rupert
"With great cars comes great responsibility"
www.littleyellowcar.co.uk
Rupert
"With great cars comes great responsibility"
www.littleyellowcar.co.uk