
You are using an out of date browser. It may not display this or other websites correctly.
You should upgrade or use an alternative browser.
You should upgrade or use an alternative browser.
Thowman's PB
- Thread starter thowman
- Start date
Photos to follow, but with Baz's help (after I had helped him by rescuing Peggy) serviced the engine, adjusted tappets, and put the whole cab back together and then just went for my first drive on the open road. Have to say it runs a bit on the warm side, with the temp needle just in the red. Hmmmmmmmmm
Cheers Baz
A
Cheers Baz
A

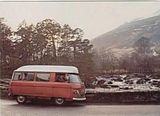

A bit on the warm side.....

I think the radiator is going to get a recore. I think a lot of radweld has been used in the past - and when I refilled the engine and started her up after repairing the water leak, when the thermostat opened, I had a lot of water being ejected from the open radiator filler (no cap on). Me thinks that the flow might not be enough? Opinions?
I think the radiator is going to get a recore. I think a lot of radweld has been used in the past - and when I refilled the engine and started her up after repairing the water leak, when the thermostat opened, I had a lot of water being ejected from the open radiator filler (no cap on). Me thinks that the flow might not be enough? Opinions?
Well, for those who might be interested, while we had Babs up on the ramp, I took a few photos of her undergarments:


As can be seen, the main areas that need dealing with are the front sills under the doors - which are a little on the crusty side. However, apart from that it seems to be reasonably solid underneath.
As can be seen, the main areas that need dealing with are the front sills under the doors - which are a little on the crusty side. However, apart from that it seems to be reasonably solid underneath.


I don't recall using any spacers when fitting Hunny's recored rad a couple of years ago.
But there again I didn't realise the front of the engine cover detached either - removing this would have resulted in a much quicker job and less swearing too :I
I notice your 'Stockton' engine has a Solex twin choke carb and manifold - do you know yet whether this fits OK in the Commer bay ? I'm intending to use a similar manifold but fitting a new Weber 32/36 twin choke instead.

'Hunny' our Commer Hi-Tor by TorCars
But there again I didn't realise the front of the engine cover detached either - removing this would have resulted in a much quicker job and less swearing too :I
I notice your 'Stockton' engine has a Solex twin choke carb and manifold - do you know yet whether this fits OK in the Commer bay ? I'm intending to use a similar manifold but fitting a new Weber 32/36 twin choke instead.
'Hunny' our Commer Hi-Tor by TorCars
quote:
Originally posted by Paul Goldsmith
I notice your 'Stockton' engine has a Solex twin choke carb and manifold - do you know yet whether this fits OK in the Commer bay ? I'm intending to use a similar manifold but fitting a new Weber 32/36 twin choke instead.
I was showing baz this very manifold this afternoon. Like you, my intention is to fit the weber. I am sure it fits fine in the engine bay, as it has more or less the same footprint as the standard manifold, however I will be fitting it to an alloy head engine.
Cheers
Andy
Originally posted by Paul Goldsmith
I notice your 'Stockton' engine has a Solex twin choke carb and manifold - do you know yet whether this fits OK in the Commer bay ? I'm intending to use a similar manifold but fitting a new Weber 32/36 twin choke instead.
I was showing baz this very manifold this afternoon. Like you, my intention is to fit the weber. I am sure it fits fine in the engine bay, as it has more or less the same footprint as the standard manifold, however I will be fitting it to an alloy head engine.
Cheers
Andy
Well, today I refitted the rad, and fired up the engine - and the temp was still exactly the same - rats!!!! However, I'd have replaced the rad anyway at some point - and the old one was very manky. Phoned baz, and he came over with his temp pointy thingy - and as far as we can make out the temp guage is not reading properly. The temp of the in pipe to rad was around 68, and the out pipe to the engine was about 46 - so the cooling is working fine. Phew.
While having a look at the wiring - it has to be said that it is a bit of a disaster. There are the remants of the old charging system - and lots of scotchlock connectors. Also, if I disconect the alternator, there is no feed to the ignition system - so the whole thing is going to get a rewire shortly when I get my next batch of wire for the imp looms I make.
I have been looking at the wiring diagram, and apart from the complex arrangement for the pre regulator alternators - it looks very straight-forward - but I think I will bring it up to date with a proper fuse box and relays for lights etc - oh and plan ahead for the overdrive conversion (once I locate the overdrive in the black hole that is my workshop). Also will need to incorporate a charging system for the leisure battery - got some research to do for that bit.
Also plan to get a new temp guage and matched sender - and an oil pressure guage to go where the ammeter is.
At least the cooling is resolved.
While having a look at the wiring - it has to be said that it is a bit of a disaster. There are the remants of the old charging system - and lots of scotchlock connectors. Also, if I disconect the alternator, there is no feed to the ignition system - so the whole thing is going to get a rewire shortly when I get my next batch of wire for the imp looms I make.
I have been looking at the wiring diagram, and apart from the complex arrangement for the pre regulator alternators - it looks very straight-forward - but I think I will bring it up to date with a proper fuse box and relays for lights etc - oh and plan ahead for the overdrive conversion (once I locate the overdrive in the black hole that is my workshop). Also will need to incorporate a charging system for the leisure battery - got some research to do for that bit.
Also plan to get a new temp guage and matched sender - and an oil pressure guage to go where the ammeter is.
At least the cooling is resolved.

A quick update. Following the engine sounding like a diesel, and the investigation revealling that the valves were snapping shut, I have now replaced this head with a 1500 head donated by my engine builder. I have spent the last three days going over the engine, and have also changed the woodruff keys in crank and cam (both worn) and the pulleys on both item, also worn and the crankshaft pulley was loose. Anyway, to cut a long story short - had the engine running this afternoon and it sounds sweet. So looks like Babs will be going to the ball after all (commerfest).
Here's a piccy of the rebuilt engine.

Time to buy some new tyres, I think.
A
Here's a piccy of the rebuilt engine.
Time to buy some new tyres, I think.
A


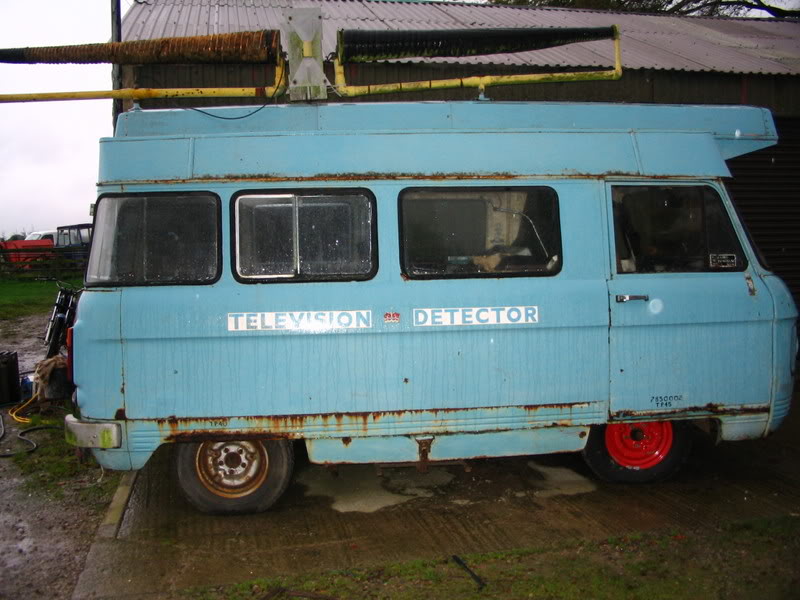
Might help if you had some seats :I
http://www.commervanspares.co.uk/
http://www.yorkshireclassiccampers.co.uk/
http://www.commervanspares.co.uk/
http://www.yorkshireclassiccampers.co.uk/

Glad to hear its all sorted [8D]
"You,re only supposed to blow the bloody SLIDING doors off"
"You,re only supposed to blow the bloody SLIDING doors off"
Now the engine has been running fine, I have removed the front wiring loom and am in the process of making a replacement. The main reason for this is due to the dodgy wiring that has been evolved over the years. Babs was originally fitted with an alternator with remote control box, and since this has been replaced, there is a lot of DIY wiring around it. Also, the indicators didn't work properly, the temp gauge reads too hot and I have a pathological aversion to scotchlocks - of which there are many. The other thing is that if I unplug the alternator - I have no electrics - which means it's not correctly wired into the system.
On the plus side, the loom is very simple - and I have added a 8 fuse fuse box, a couple of relays for the headlights, a solid state voltage stabiliser, a replacement temp gauge, a volt meter in place of ammeter and an electronic flasher unit. I have also fitted a multiplug connector in the loom by the dash, so in future I can remove the dash by just taking out the bolts and unplugging the connector - no need to rewire every time.
Hopefully the last bits will turn up on Wed, and the wiring will be complete thursday - ready for a shakedown run this weekend to make sure everything is tickety-boo for the trip up to Commerland the following week.
On the plus side, the loom is very simple - and I have added a 8 fuse fuse box, a couple of relays for the headlights, a solid state voltage stabiliser, a replacement temp gauge, a volt meter in place of ammeter and an electronic flasher unit. I have also fitted a multiplug connector in the loom by the dash, so in future I can remove the dash by just taking out the bolts and unplugging the connector - no need to rewire every time.
Hopefully the last bits will turn up on Wed, and the wiring will be complete thursday - ready for a shakedown run this weekend to make sure everything is tickety-boo for the trip up to Commerland the following week.