
You are using an out of date browser. It may not display this or other websites correctly.
You should upgrade or use an alternative browser.
You should upgrade or use an alternative browser.
Summer will soon be here!
- Thread starter Triumph Dan
- Start date
yeah it needs a few less, I have to put in a nice thick wire for the heater plug, also need the right ignition barrel to power that. I have run wires in for the overdrive and also a clock up buy the window wiper motor. I'm also fitting a relay bored mainly for the overdrive but I will also wire the headlights into it.
powered by rust and brimstone !
powered by rust and brimstone !
As fare as I know it's the standerd Commer bell housing. Mine is a Perkins 4 108 and has a overdrive. As fare as I can tell the van came out the factory with both. I say this because the overdrive switch is in exactly the right place and is wired in properly along with the overdrive.
powered by rust and brimstone !
powered by rust and brimstone !
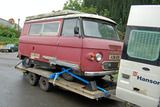
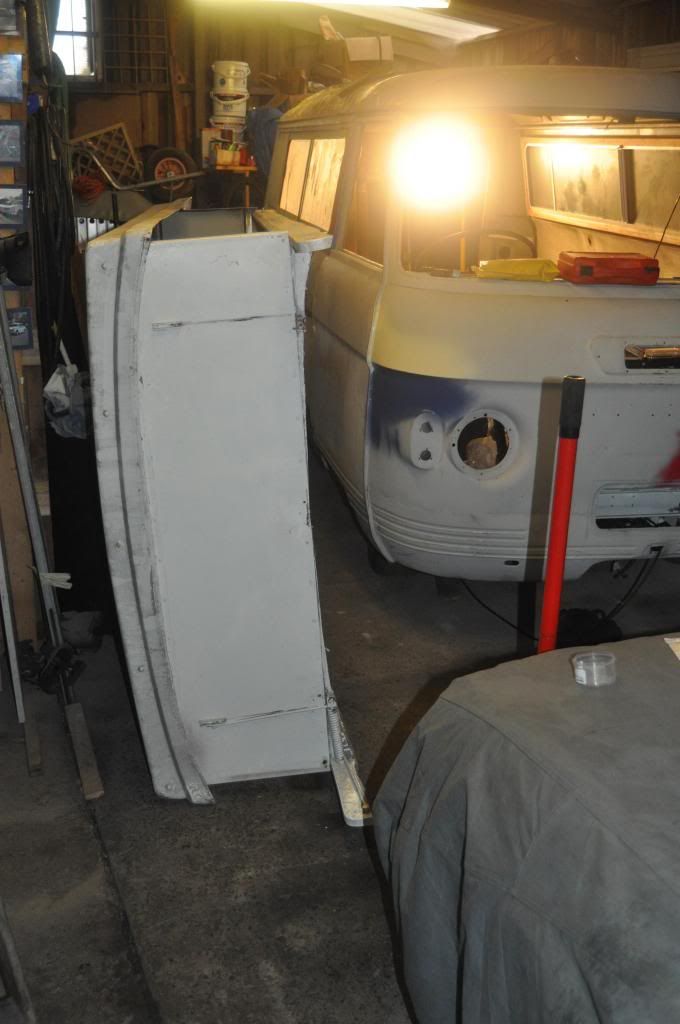
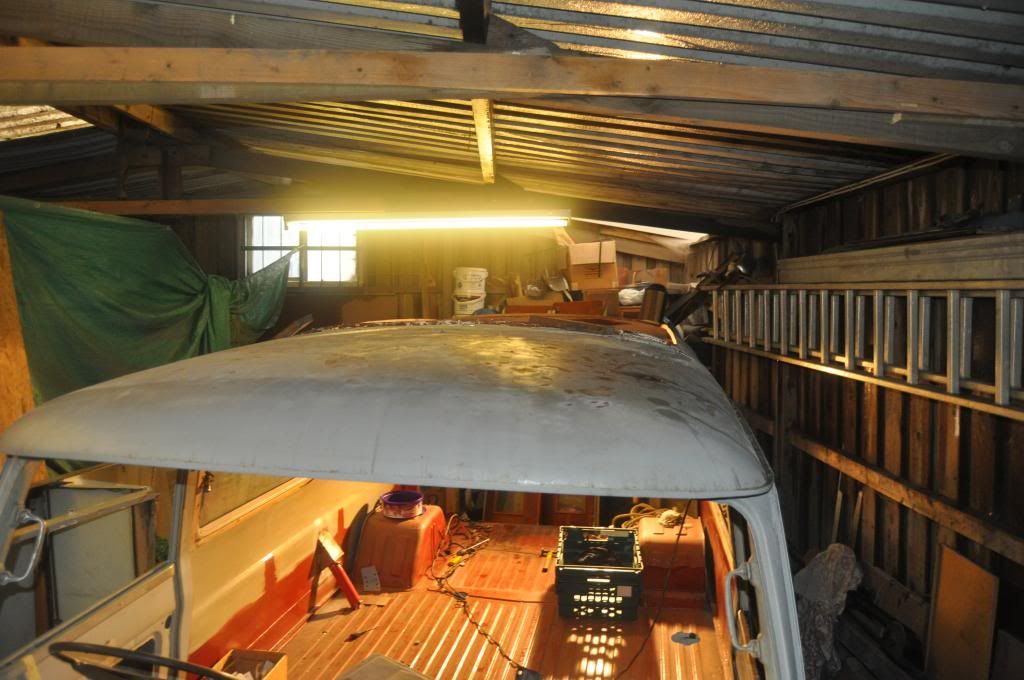
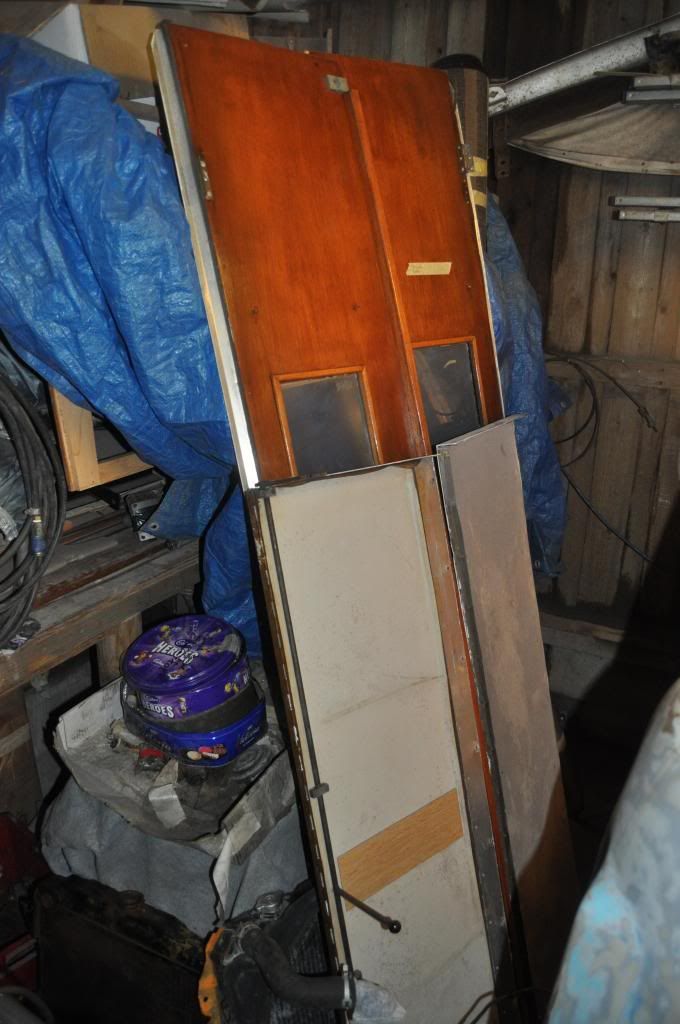
Today the roof came off the van.
I'm not all that happy with the way it fits and the fiberglass has had a knock or two in its past.
I thought the best thing to do is take it all down off the van to fix and then re sit.

powered by rust and brimstone !
I'm not all that happy with the way it fits and the fiberglass has had a knock or two in its past.
I thought the best thing to do is take it all down off the van to fix and then re sit.
powered by rust and brimstone !
Anyone have any tips or advice on what to do with it all? any good ideas would be nicely received.
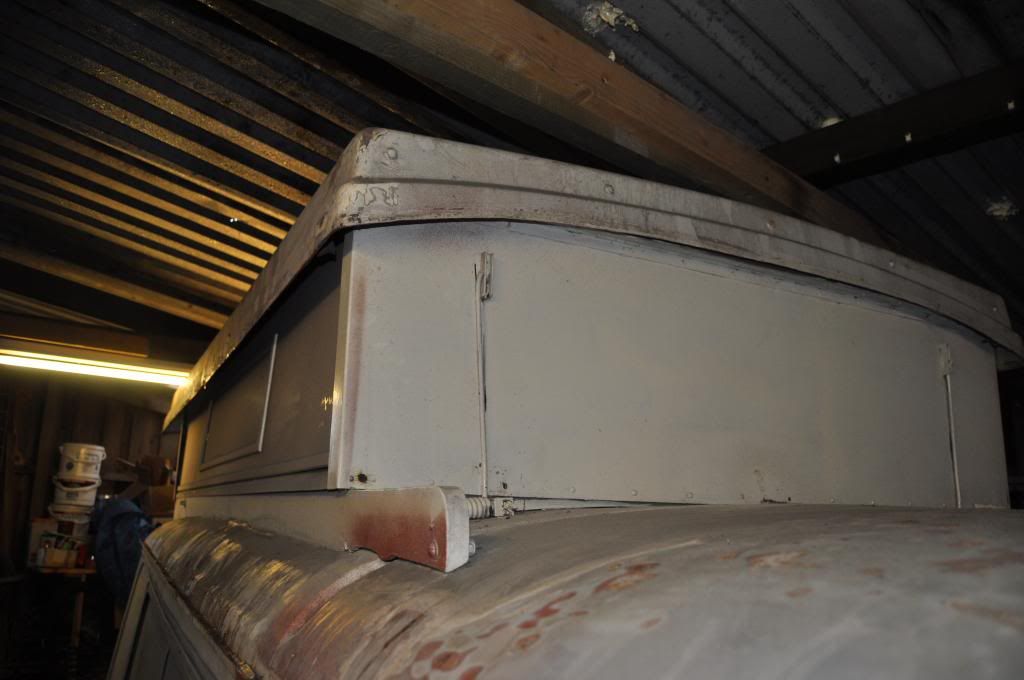
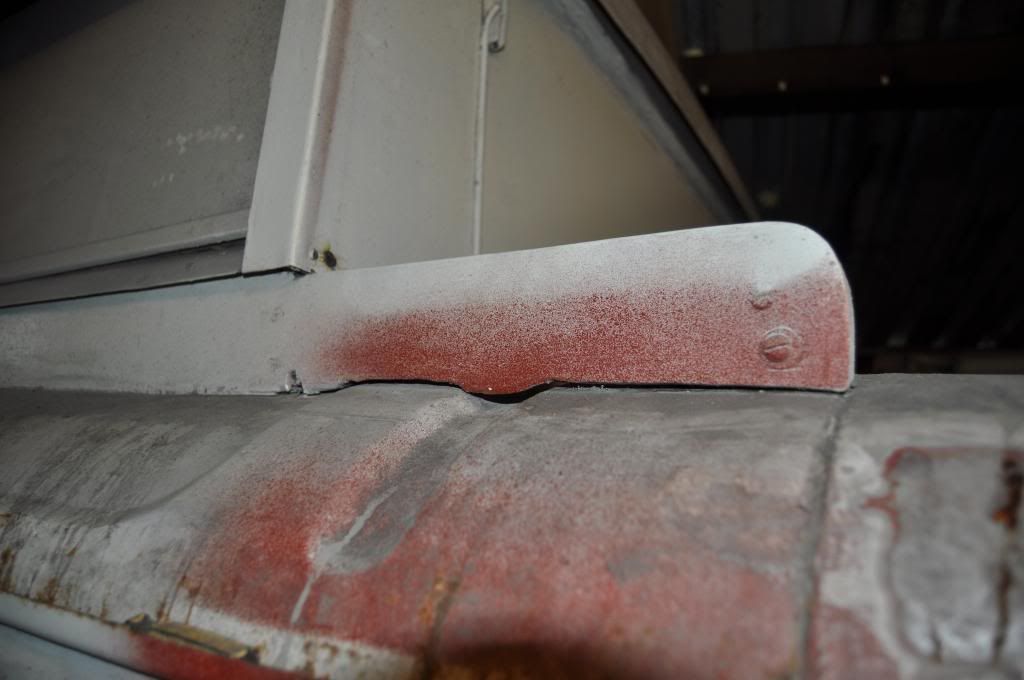
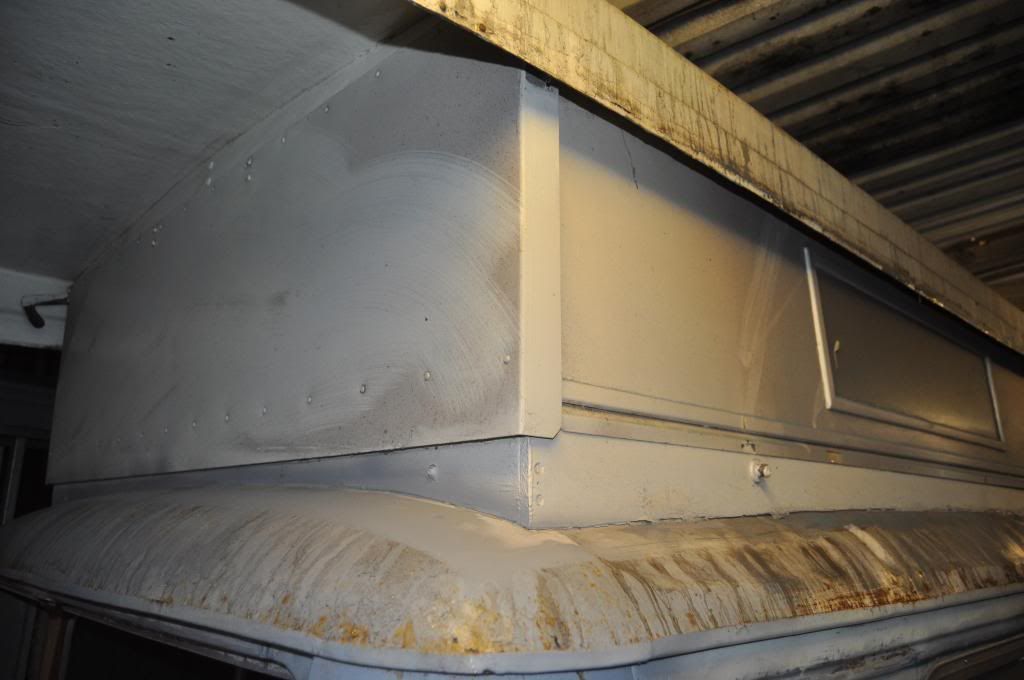
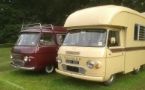
Between the 2 vans, the 71 registered van has double the amount of rivets in the end panels top and bottom hinges. the 73 registered van with less rivets seems much more flimsy when you put it up and down.
So I think my first job will be to put loads more rivets down it.
not sure what I'm going to do with the head headlining, looks a little tricky to remake :-/
powered by rust and brimstone !
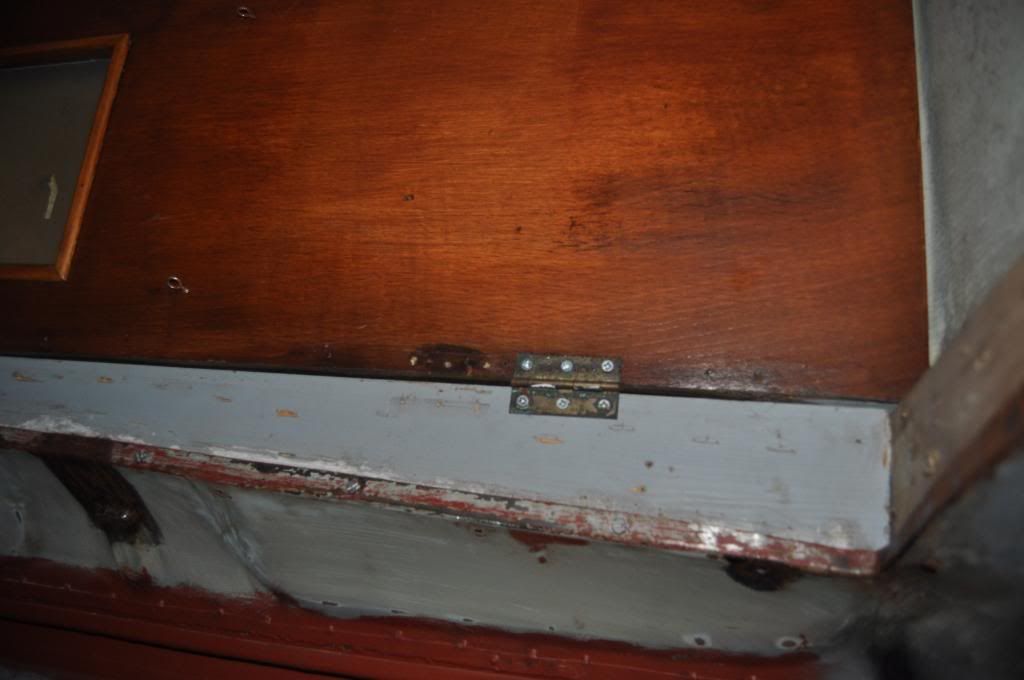
I guess the good news is that you have a full set of parts to make patterns from if there is any rotten wood - although I don't think Autosleepers suffer particularly in that area")
Now the roof is completely stripped it shouldn't be too bad doing the lining, just lay it out and hold it in place with the roof timbers when they go back on
Now the roof is completely stripped it shouldn't be too bad doing the lining, just lay it out and hold it in place with the roof timbers when they go back on
Headlining isn't too bad of a job, Karen and I did Clarabel's. We just copied all the old bits and sewed it back together and as Panky says, the wood trims hold all the edges together.
www.commervanspares.co.uk
https://www.facebook.com/commervanspares
www.commervanspares.co.uk
https://www.facebook.com/commervanspares
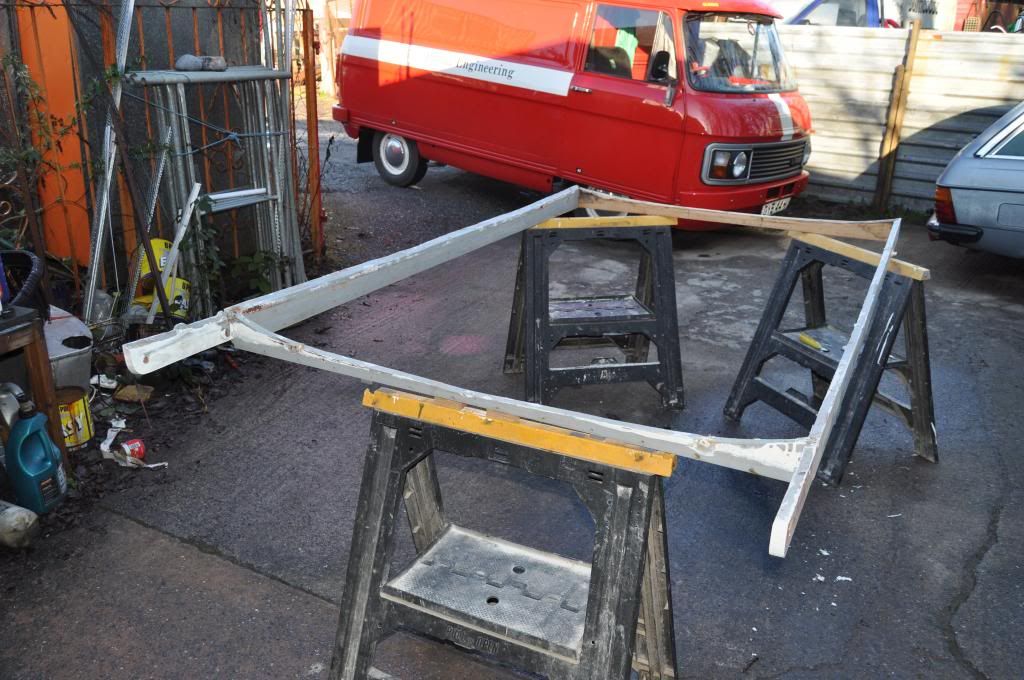
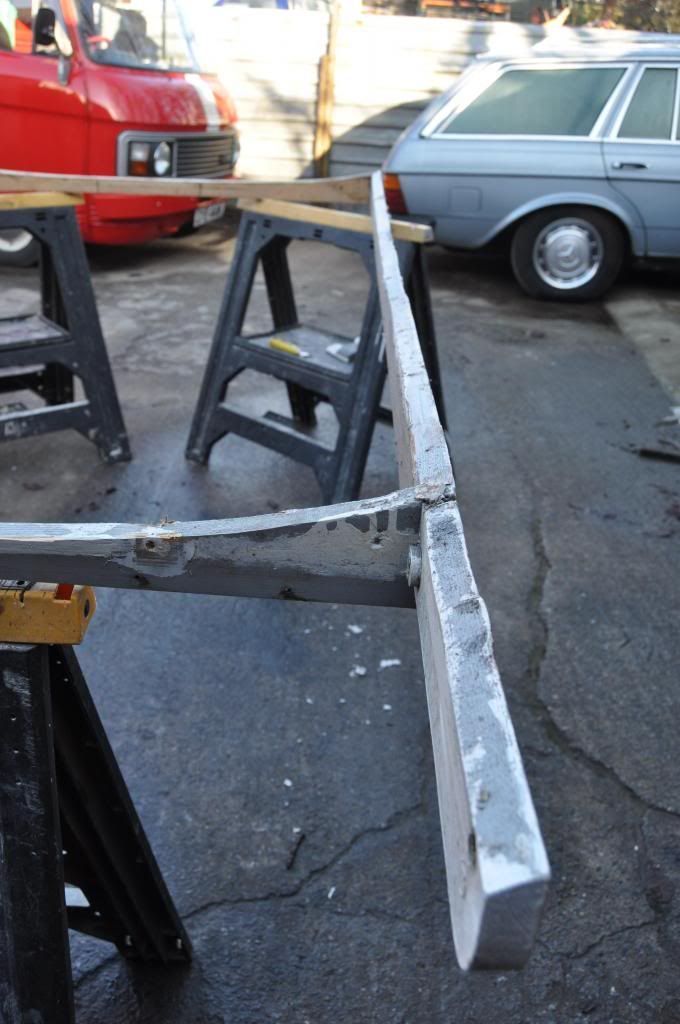
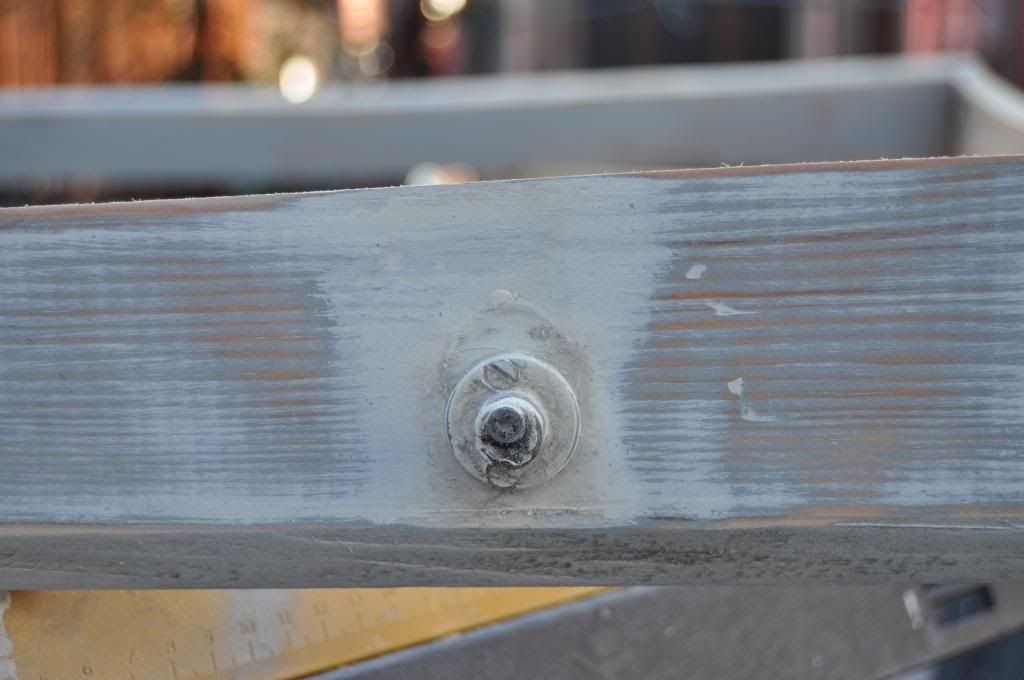
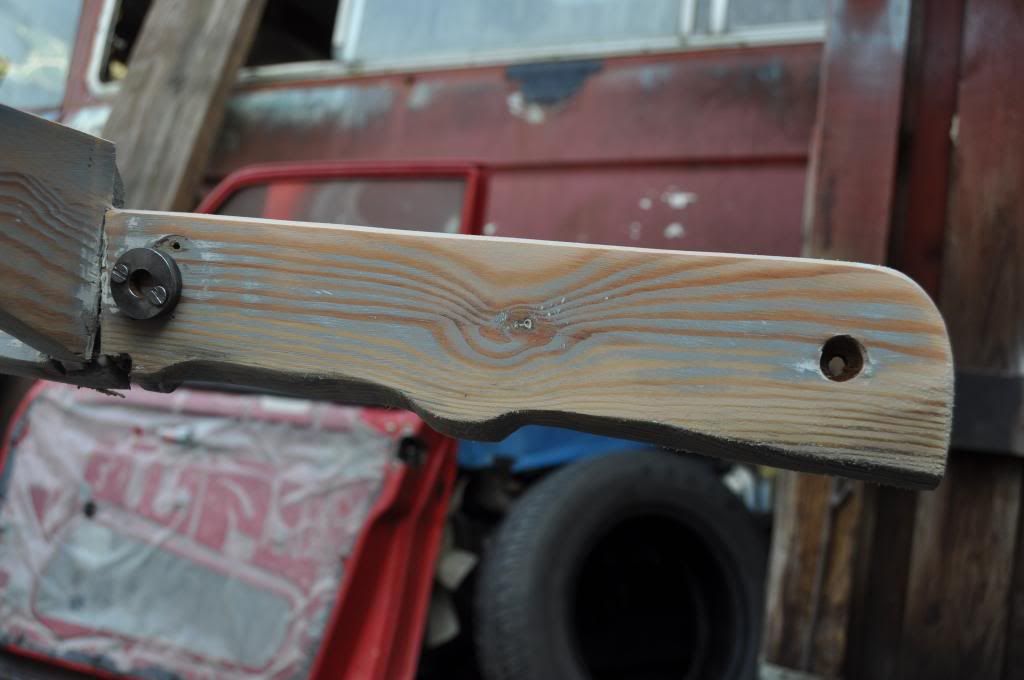
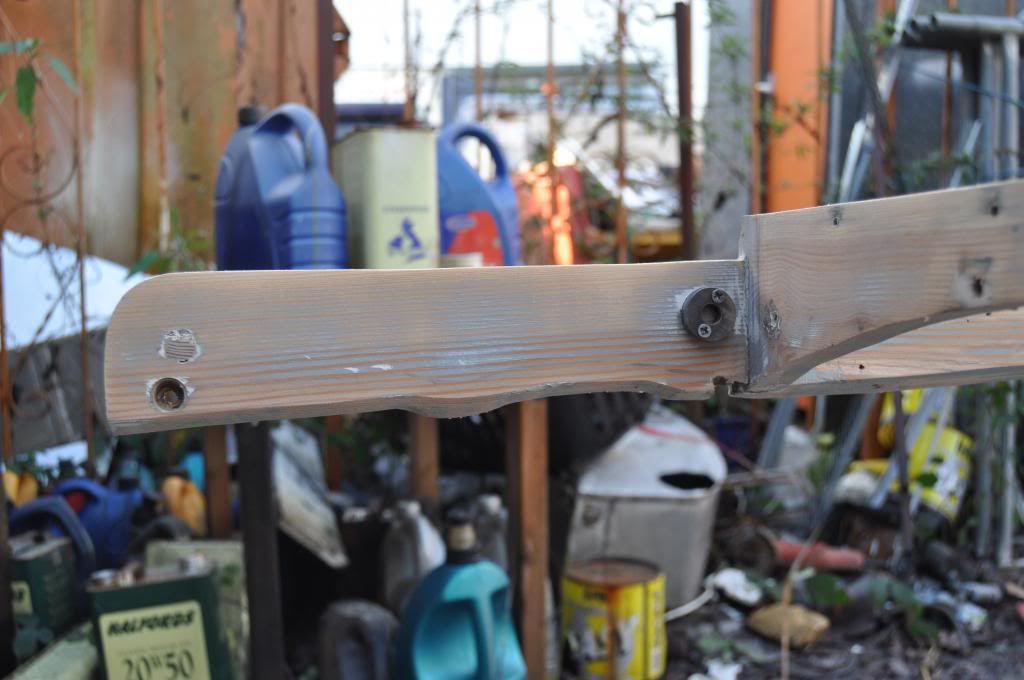
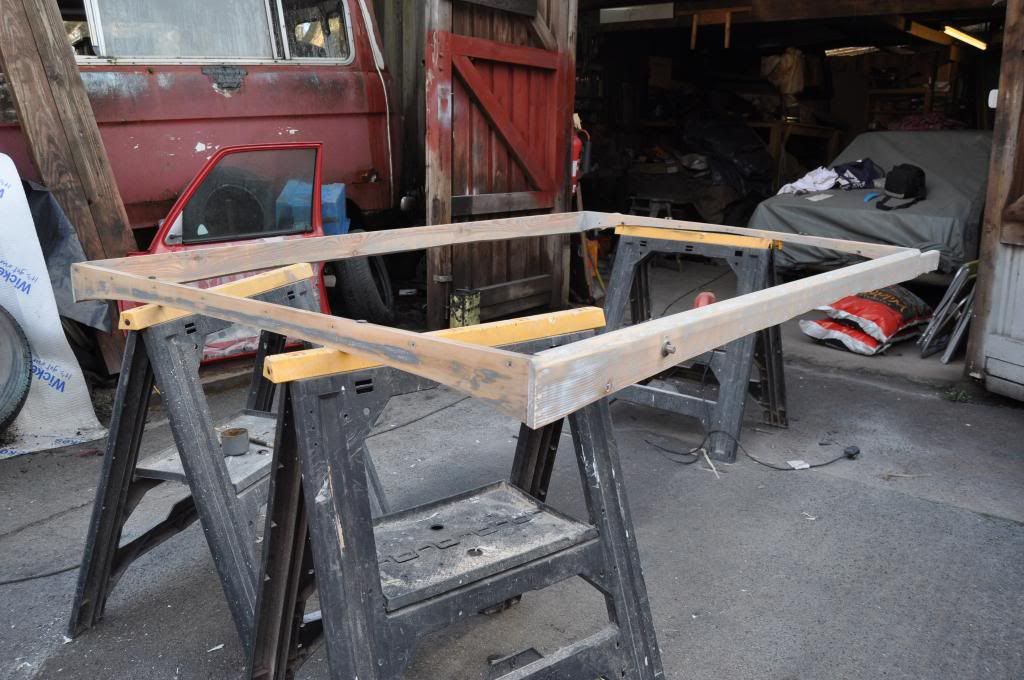
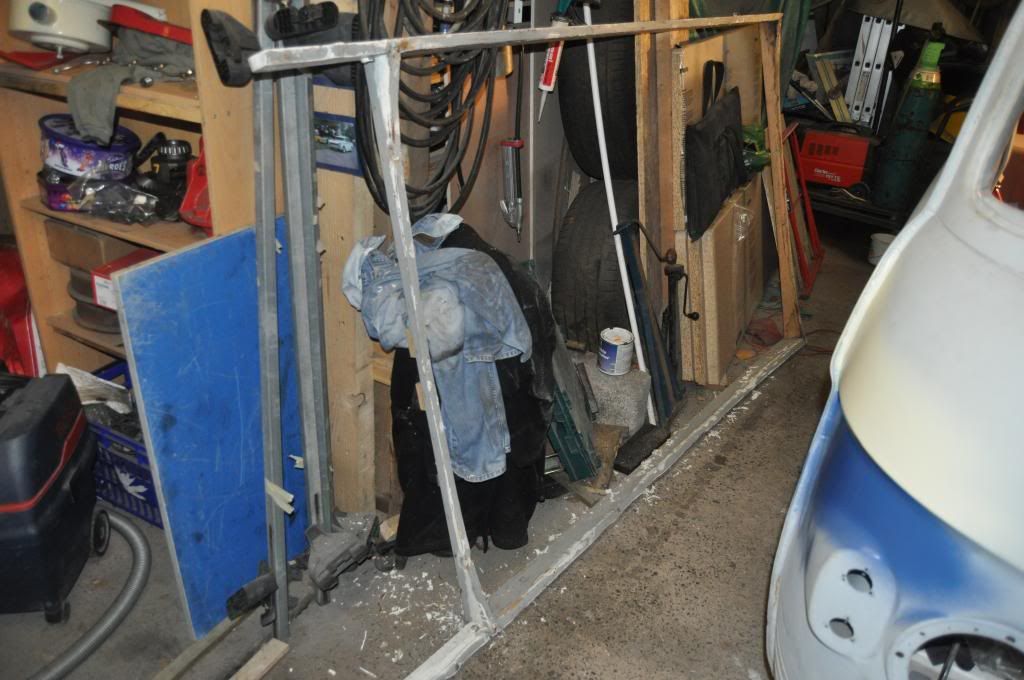
Been busy stripping the frame down, Looks to have been messed around with a lot in it's life. The rear locking pins have been moved up and also the front springs have been moved up and messed with.
Anyone think this could have been done in the factory? Seen the same on there van?
powered by rust and brimstone !
Yeah thats what I was thinking but it would be hard to do with the roof up in place on my van. I suppose I will never know lol
powered by rust and brimstone !
lolpowered by rust and brimstone !
It didn't sit well thats why i was keen to pull it to bits. I'm putting all the springs and latches back to there original positions and seeing is that makes it better.
powered by rust and brimstone !
powered by rust and brimstone !


The wiring continues, it is one massive headache even had to drew put a wiring diagram to help me through it.

I have a relay bored that is for, over drive, dip beam, main beam and a cooling fan. Also a fuse board that is split into 3 feeds, one that is ignition positive, one battery positive and then a leisure battery positive. There is a nice big switch charge relay thrown in the mix as well.
Also been finishing of the engine, It is now very close to getting it running [:0]


powered by rust and brimstone !
This is only the first fit of the wiring. All just put in place to get the lengths right and deciding where to put everything. I have to rip it all out again and then rap it all in loom rap, to make it all nice and pretty .
Thank you for your kind words tho! I have also put my first order of paint in as well. Sneak peak coming soon hopefully. It will look a "MILLION" dollars ;-)
powered by rust and brimstone !
. Thank you for your kind words tho! I have also put my first order of paint in as well. Sneak peak coming soon hopefully. It will look a "MILLION" dollars ;-)
powered by rust and brimstone !
not quite, you need to think a little harder!
powered by rust and brimstone !
powered by rust and brimstone !