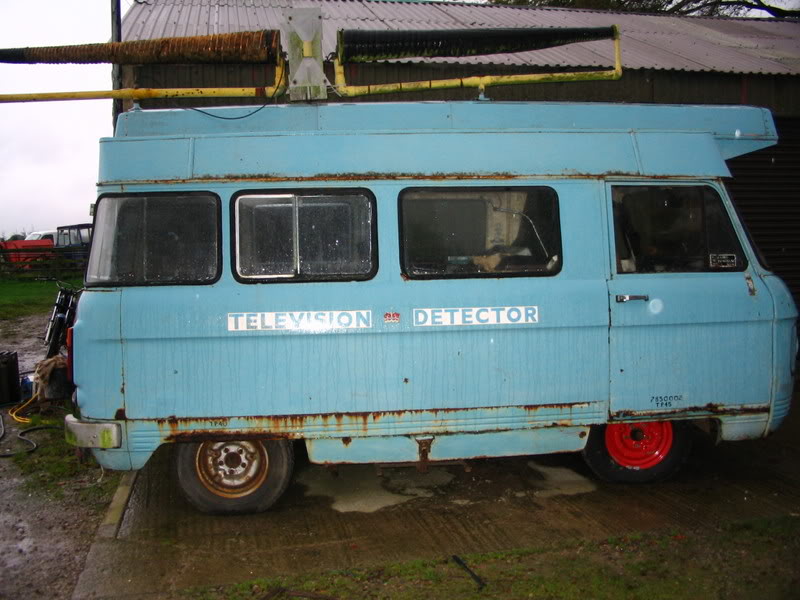
Bass' Automatic Camper

The images appear and disappear - must be where they are hosted though - hit F5 or refresh until they appear :)
 
lots more progress made today on the beastie, i will send bass the photos over for him to post in the next few days ,for all to see. i cant wait to see what the new side step panels are going to look like once i get around to fitting them. they look great in the flesh. i just wish it was my van getting all this treatment.(im still not on the road yet,so doubt i will be coming to the next meet):(
 
there will be many more pics later on tonight, as the outter panels are starting to go on today ,down the drivers side. watch this space fingers crossed.:p;)
 
Update from Woolfy.....

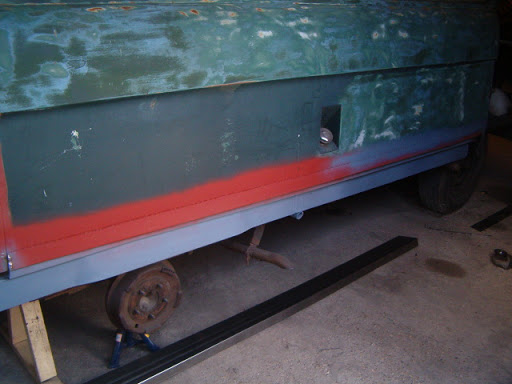
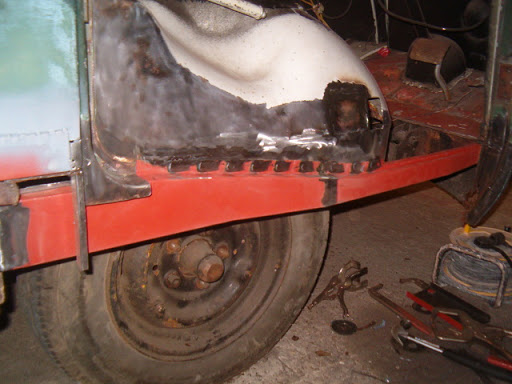
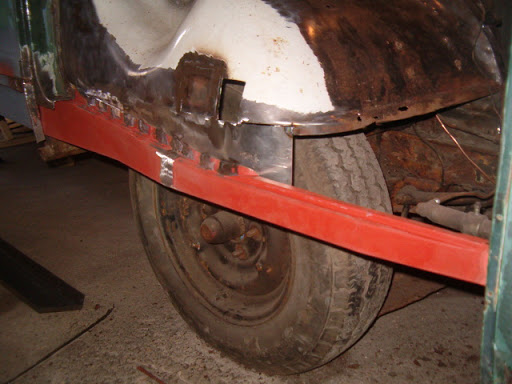
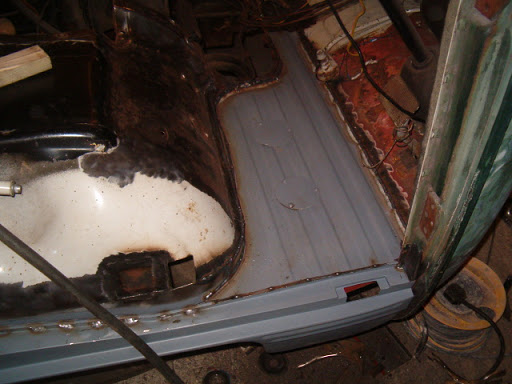
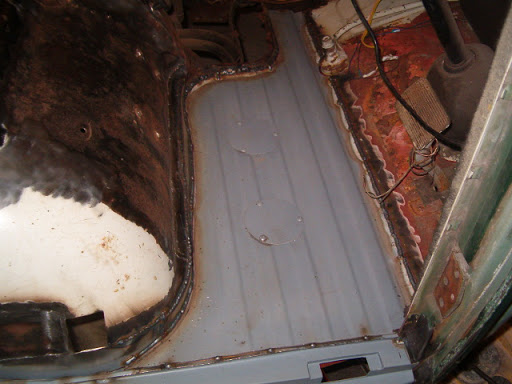
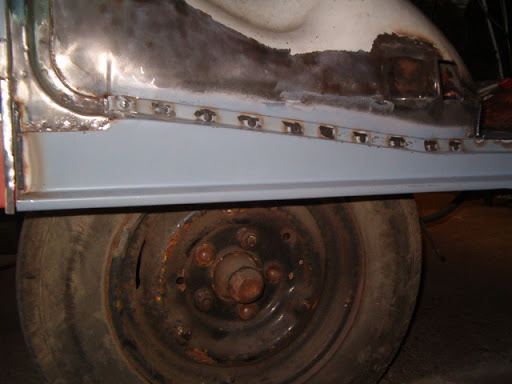
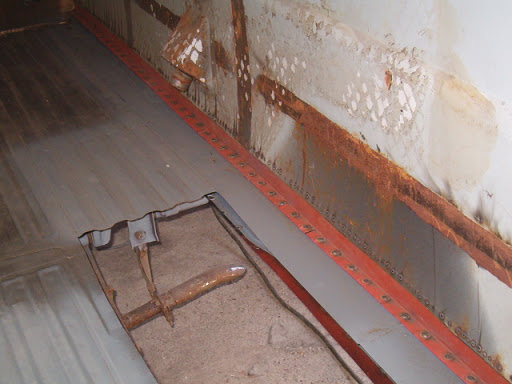
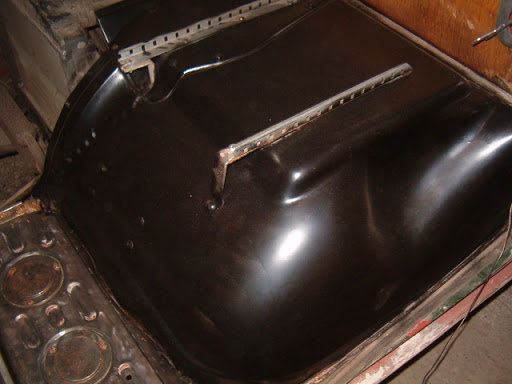
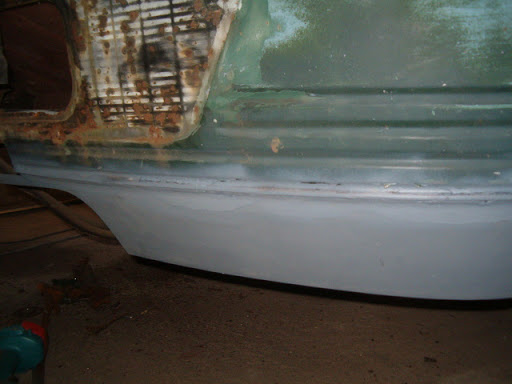
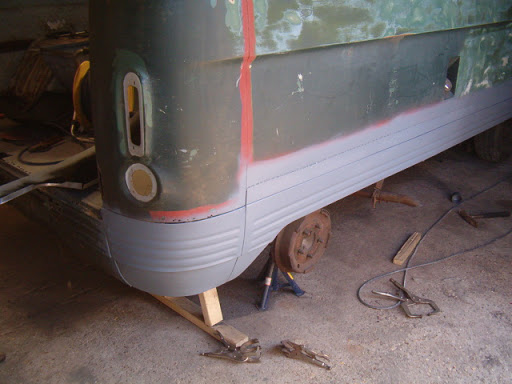
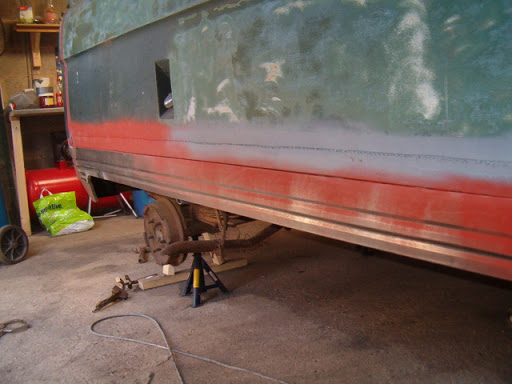
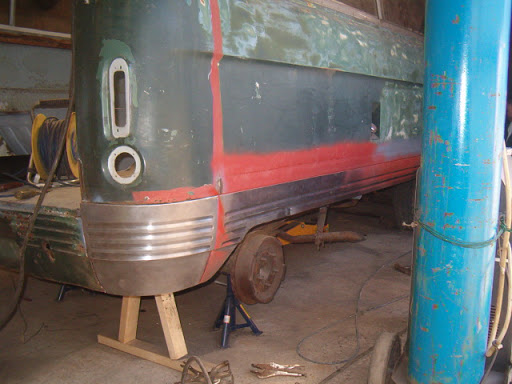
So far, after this weekend we should be about three quarters of the way through the welding. We should have one whole half of the van done, all the nice new panels fitted to that side. We have repaired both front doors so they are ready for fettling and painting. We also have transplanted the new front valance on to the bottom of the front of the van. We have cut out the driver’s front floor section ready for repairs and then the new floor pan to be fitted. We have also got all the inner cills fitted now down the drivers side and repaired the floor complete on that side. We cut an inch or so from the bottom of the main body panel which was rusting by the panel seam. This has now been replaced. So this weekend its just a case of fitting the outer fluted cill, rear corner and front side step plus floor pan down that side.

Pictures of Dog posted seperately

HPIM1425.JPG


HPIM1434.JPG


HPIM1435.JPG


file000.jpg


HPIM1440.JPG


HPIM1442.JPG


HPIM1444.JPG
 
yes we made good progress today,just hope tomorrow goes good aswell. we will be fitting the outter cill and rear corner tomorrow.;):p
 
the floor pan fitted like a glove, as did the step panel to be honest.well it did when i took my(BIG) hammer to it anyway. ONLY JOKING IT WENT REALLY WELL. more will be revealed tomorrow just hope the fluted side cill fitts as good as the ones today.;):D:p
 
looking good there (I had to go straight to picasa to see them again [V])

It must be so nice to know you're getting a proper rust free van. It must be loads easier working with full panels in a proper workshop. I've been fiddling about with scraggy bits of steel all afternoon on the drive

jelous!

Rupert

www.littleyellowcar.co.uk
 
Looking fantastic, and the panel fit looks just about perfect [^]

'Harvey the RV'
 
I'm going to see if there's an alternative to picasa for these photos. Anyone got any suggestions that they know work?

Rust free and as close to as good as new as I can afford and Woolfy can create was the plan from the start. I'm not able to do much work on the van when she's ready so as much as we can fix at this stage the better for me.
 
very wise Bass

with modern rust proofing and carefull handling there is no reason it shouldn't last for ever.

Rupert

www.littleyellowcar.co.uk
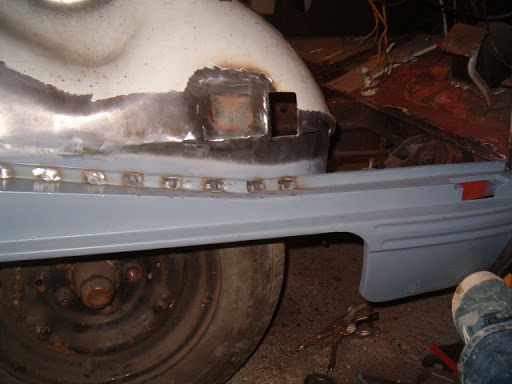
 
yes we had a pretty good day today on the van, like everyone else on here trying to fix up their vans ,every day is a lerning curve. things went rather well though considering that all of these panels are hand made from scratch.we had one or two teething problems to overcome but nothing to serious. one of which was that the top flange of the outter fluted cill could have done with being just a few millimeters wider as it was a bit awkward to trap inbetween the upper panel and lower panel at times but we got there in the end. and now i know to make the next ones just a bit wider in future. apart from that the panel fit was excelent really. now i can start to strip out the other side of the van,after ive put the lower hanging panel on first to this side and tidied up a few bits here and there.;):p
 
Back
Top